Table of Contents
Advertisement
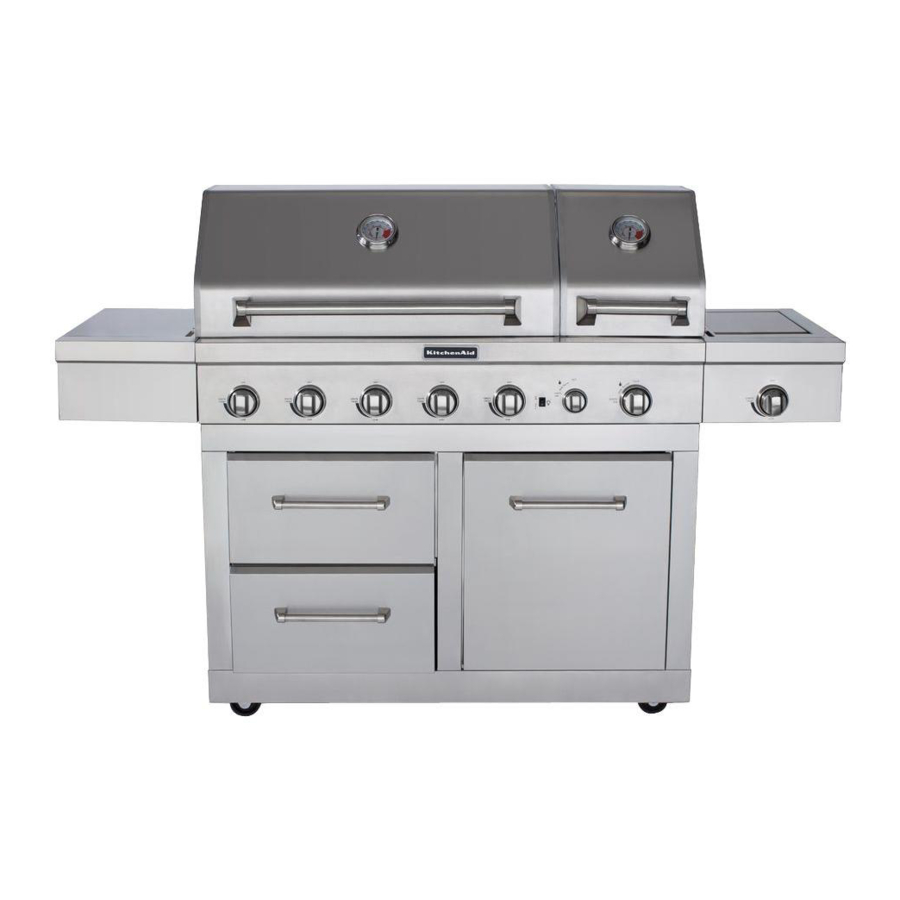
FREESTANDING OUTDOOR GRILL
Installation Instructions and Use & Care Guide
For questions about features, operation/performance, parts, accessories or service, call: 1-877-373-2301
or visit our website at www.Kitchenaidgrills.com
ASADOR AUTÓNOMO PARA EXTERIORES
Instrucciones de instalación y Manual de uso y cuidado
Para consultas respecto a características, funcionamiento, rendimiento, piezas, accesorios o servicio técnico, llame al:1-877-373-2301
o visite nuestro sitio de internet en www.Kitchenaidgrills.com
GRIL D'EXTÉRIEUR AUTOPORTANT
Instructions d'installation et Guide d'utilisation et d'entretien
Pour des questions à propos des caractéristiques, du fonctionnement/rendement, des pièces, des accessoires ou du service,
composer le : 1-877-373-2301 ou visiter notre site web www.Kitchenaidgrills.com
Table of Contents/Índice/Table des matières................................................................................. 2
19000409A1
720-0826 (LP) 730-0826(NG)
Advertisement
Table of Contents

Related Manuals for KitchenAid OUTDOOR GRILL


Summary of Contents for KitchenAid OUTDOOR GRILL
- Page 1 FREESTANDING OUTDOOR GRILL Installation Instructions and Use & Care Guide For questions about features, operation/performance, parts, accessories or service, call: 1-877-373-2301 or visit our website at www.Kitchenaidgrills.com ASADOR AUTÓNOMO PARA EXTERIORES Instrucciones de instalación y Manual de uso y cuidado Para consultas respecto a características, funcionamiento, rendimiento, piezas, accesorios o servicio técnico, llame al:1-877-373-2301 o visite nuestro sitio de internet en www.Kitchenaidgrills.com...
-
Page 2: Table Of Contents
OUTDOOR GRILL SAFETY……………………………… 3 Check and Adjust the burners…………………………….. 23 INSTALLATION REQUIREMENTS……………………… 5 OUTDOOR GRILL USE…………………………………… 24 Tools and Parts…..………………………………………… 5 Using Your Outdoor Grill…………………………..…….. 24 Location requirements……………………………….……. 5 Prepare Your Grill for Lighting……………………………. 25 Product Dimensions……………………………………….. 6 TIPS FOR OUTDOOR GRILLING……………..………… 29 Electrical Requirements…………………………………... -
Page 3: Outdoor Grill Safety
OUTDOOR GRILL SAFETY WARNING DANGER 1. Do not store or use gasoline or other If you smell gas: flammable liquids or vapors in the vicinity 1.Shut off gas to the appliance. of this or any other appliance. 2.Extinguish any open flame. -
Page 4: Important Safety Instructions
IMPORTANT SAFETY INSTRUCTIONS WARNING: To reduce the risk of fire, electrical shock, The LP gas supply cylinder to be used must be: Injury to persons, or damage when using the outdoor cooking - constructed and marked in accordance with the gas appliance, follow basic precautions, including the following: Specification for LP Gas cylinders of the U.S. -
Page 5: Installation Requirements
Installation Requirements Location Requirements Tools and Parts Gather these required tools and parts before starting installation. Read and follow the instructions provided with any tools listed here. Tools needed Scissors or cutting pliers (to Phillip screwdriver remove tie-downs) Wrench or pliers Noncorrosive leak-detection Pipe wrench solution... -
Page 6: Product Dimensions
Electrical Requirements A. Model/Serial number plate Recommended Ground Method The outdoor grill, when installed, must be electrically grounded in accordance with local codes or, in the absence of local codes with the National Electrical Code ANSI/NFPA 70, or Canadian Electrical Code, CSA C22.1. -
Page 7: Gas Supply Requirements
Gas Supply Requirements Observe all governing codes and ordinances. IMPORTANT: This installation must conform with all local codes and ordinances. In the absence of local codes, installation must conform with either the National Fuel Gas Code, ANSI Z223.1/NFPA54, Natural Gas and Propane Installation Code, CSA B149.1, Propane Storage And Handling Code, B149.2, or CSA B149.1, Propane Storage And Handling Code, B149.2, or the Standard for Recreational Vehicles, ANSI A119.2/NFPA... -
Page 8: Gas Connection Requirements
Place the 20 lb LP gas fuel tank bottom collar into the Burner Requirements for High Altitude mounting hole in the tank tray. Input ratings shown on the model/serial rating plate are for Tighten the locking screw against the bottom collar of the elevations up to 2,000 ft (609.6 m). -
Page 9: Package Contents List
PACKAGE CONTENTS LIST A. Firebox assembly-—1pc B. Left side shelf—1pc C. Side shelf control panel— D. Control knob—1pc E. Warming rack—1pc F. Cooking grid with hole—3pcs G. Battery—1pc H. Flame Tamer—5pcs I. Sear burner cooking grid --1pc J. Side burner cooking grid --1pc Main burner grease tray–... -
Page 10: Replacement Parts
Replacement Parts 90 81 103 101 NG Conversion Kit 113a 114a 113b 113g 113c 114b 113d 114c 113f 113e... - Page 11 Part List Part Warranty Part Warranty Part (description) Quantity Part description) Quantity Number Coverage Number Coverage Main lid Main burner igniter wire C Sear burner main lid Main burner igniter wire D Temperature gauge seat Lamp case Temperature gauge Lamp Main lid screw A Main lid bracket seat, left Main lid screw B...
- Page 12 Warranty Part Warranty Part (description) Quantity Quantity Part Coverage Number Coverage Number Part description) Spit fork Door hinge Spit rod Door hinge support bracket Rotisserie motor Side panel, right Rotisserie motor bracket Door Shaft Collar Door Handle Side burner lid hinge rod Gas tank tray slide bracket, right Side burner lid Gas tank tray slide...
-
Page 13: Installation Instructions
INSTALLATION INSTRUCTIONS Freestanding Outdoor Grill Installation Attach side burner assembly Unpack the side burner assembly. Loosen and remove 3 screws on left side burner. Unpack Grill Remove all packaging materials and remove grill from the shipping base. Move grill close to desired outdoor location. - Page 14 Attach the top of the side burner shelf to the grill firebox Connect side burner igniter wire to underside of side burner. by inserting three screws into the side burner shelf from inside the grill firebox and tighten. See (A) below. Attach the bottom of the side burner shelf to the side panel of the grill by tightening the two screws inserted in the keyhole slots in Step 3.
- Page 15 Attach Left Side Shelf Align the bottom keyhole slots on the side shelf, left 1. Unpack side shelf, left and side shelf front with the loosened screws. Hook the side shelf, left onto panel, left. Attach side shelf front panel, left with the the two loosened screws and let the shelf slide down so preassembled screws to the side shelf, left using the screws are in the narrow neck of the slots, Tighten...
- Page 16 Spare Parts Assembly Cover your grill Unpack the main burner grease tray searing burner grease Once your grill has cooled down, cover the grill between tray, 5 flame tamers, 3 cooking grids, warming rack, and sear uses. See below picture. burner cooking grid.
-
Page 17: Make Gas Connection
Replacement gas pressure supplied with the grill must be used. Replacement gas pressure regulator/hose assembly specific to your model is available from your outdoor grill dealer. Door Style Tank Tray Open cabinet doors. -
Page 18: Gas Conversion
To Disconnect the 20 lb LP Gas Fuel Tank: GAS CONVERSION Check that the burner control knobs are in the “Off” position and the grill is cool. Tools and Parts for Gas Conversion Check that the 20 lb LP gas fuel tank is in the “Off” position. If not, turn the valve clockwise until it stops. -
Page 19: Conversion From Lp Gas To Natural Gas
Conversion from LP Gas to Natural Gas Make Gas Connection Installation of the regulator Turn off the main gas supply valve. A combination of pipe fittings must be used to connect the grill to the existing gas line. Disconnect 20 lb LP gas fuel tank (if present). The 10 ft (3.0 m) PVC flexible gas supply hose design Turn off all burner control valves. - Page 20 Change Grill Main Burner Valve Orifices Change the Sear Burner Orifice Remove the 2 screws securing the igniter and remove the Remove the grates and flame tamers. igniter from the side burner. Remove 1 screw and cotter clip that hold the burner in place. Set the screw and clip aside.
- Page 21 Re-Insert the searing main burner and lock all removed Remove the access cover at the back of the grill hood by screws. removing the 4 screws (2 screws on each side of the rotisserie burner). Change Grill Rotisserie Burner Orifices Using a Phillips screwdriver, unscrew the 2 screws and remove the rotisserie burner heat shield.
- Page 22 Re-Attach the rear baffle and lock all removed screws. A. Closed valve B. Open valve 5. Test all connections using an approved noncorrosive leak- detection solution. Bubbles will show a leak. Correct any leak found Change the Side burner Orifices Record Conversion The appliance nameplate is located inside the grill 1.
-
Page 23: Check And Adjust The Burners
To Adjust: To Adjust: Hold valve stem with pliers and insert a small flat-blade Light grill using information in the “Outdoor Grill Use” section. screwdriver into the shaft. Observe flame to determine which burners need adjustment Watch the flame and slowly turn the screwdriver and how the flame is acting. -
Page 24: Outdoor Grill Use
E. Main burner control knob F. Rear burner control knob G. Searing burner control knob H. Side burner control knob Using Your Outdoor Grill Inspect the LP Gas Fuel Tank Supply Hose Inspect the gas pressure regulator/hose assembly before each use. -
Page 25: Prepare Your Grill For Lighting
Prepare the Grill for Lighting You will hear the “snapping” sound of the spark. When burner is lit, release the knob. Turn knob to desired setting. Repeat for each of the other burners as needed. Open the hood completely. Do not light burners with the hood IMPORTANT: If burner does not light immediately, turn the burner closed. - Page 26 The grill must be plugged in for the hood lights to work. See Open the infrared sear burner cover. Do not light burners with the cover on. “Plug in Grill” in the “Freestanding Outdoor Grill Installation” section. Do not lean over the grill.
- Page 27 IMPORTANT: If the rotisserie burner does not light Using Your Rotisserie Burner immediately, turn the rotisserie burner control knob to OFF To avoid damage to the warming rack, remove from grill when using the and wait 5 minutes before relighting. rotisserie burner.
- Page 28 Using Your Side Burner Lighting the Side Burner Manually Lighting The Side Burner Open the side burner cover. Do not light burners with the Open the hood completely. Do not light burners with the hood cover on. closed. Do not lean over the grill. Do not lean over the grill.
-
Page 29: Tips For Outdoor Grilling
TIPS FOR OUTDOOR GRILLING Cooking Methods Direct Heat Cooking by direct heat means the food is placed on grill grates directly above lighted burners. Hood position can be up or down. If hood is in the up position, total cooking times may be longer. -
Page 30: Grilling Chart
Grilling Chart Knobs have High, Medium and Low settings for flame When 2 temperatures are listed, for example: Medium to adjustment. Medium-Low, start with the first and adjust based on cooking Heat settings indicated are approximate. progress. Grilling times are affected by weather conditions. Cooking times may vary from chart times depending on the type of fuel, Natural or LP gas. - Page 31 FOOD COOKING METHOD/ INTERNAL TEMP. TIME (total minutes) SPECIAL INSTRUCTIONS BURNER SETTING Fish and Seafood Fillets, Steaks, Chunks Halibut, DIRECT Medium 4-6 per ½” (1.3 cm) Grill, turning once. Brush grill Salmon, Swordfish, 8 oz (0.25 thickness of fish with oil to keep fish from sticking. Remove when inside is opaque Whole, Catfish, Rainbow Trout, DIRECT High...
-
Page 32: Outdoor Grill Care
OUTDOOR GRILL CARE Replacing the igniter Battery If igniters stop sparking, the battery should be replaced. 4. To remove glass light cover, remove screw and gently pry 1. Unscrew igniter button cap counterclockwise to remove. downward with a small flat-blade screwdriver at the left edge of the cover near the screw and pull away from the retainer. -
Page 33: General Cleaning
OUTDOOR GRILL CARE 6. Remove bulb from socket. 7. Replace bulb with a new 12-volt, 10-watt maximum, halogen GRILL GRATES bulb, using a tissue or wearing cotton gloves to handle the IMPORTANT: To avoid damage to grill grates, do not use a steel bulb. - Page 34 BURNERS ROTISSERIE BURNERS Cleaning Method: Cleaning Method: Light the rotisserie burner. See the “Using Your Rotisserie Clean the exterior of the burner with a wire brush. Burner” section. Clear any clogged burner ports with a straightened Close the grill hood. paper clip.
-
Page 35: Trouble Shooting
Check to see if the grill will match-light. See “Manually 1. Turn tank valve and all control knobs off and wait 30 seconds. Lighting the Main Grill” in the “Outdoor Grill Use” section. 2. After shutting off the tank, very slowly open the tank valve and Check for loose wire connections to the igniter or electrodes. -
Page 36: Warranty
LIMITED WARRANTY (Model # 720/730-0826) Nexgrill warrants to the original consumer-purchaser only that this product (Model# 720/730-0826) shall be free from defects in workmanship and materials after correct assembly and under normal and reasonable home use for the periods indicated below beginning on the date of purchase. - Page 37 THIS LIMITED WARRANTY IS THE SOLE EXPRESS WARRANTY GIVEN BY THE MANUFACTURER. NO PRODUCT PERFORMANCE SPECIFICATION OR DESCRIPTION WHEREVER APPEARING IS WARRANTED BY MANUFACTURER EXCEPT TO THE EXTENT SET FORTH IN THlS LIMITED WARRANTY. ANY IMPLIED WARRANTY PROTECTION ARISING UNDER THE LAWS OF ANY STATE, INCLUDING IMPLIED WARRANTY OF MERCHANTABILITY OR FITNESS FOR A PARTICULAR PURPOSE OR USE, IS HEREBY LIMITED IN DURATION TO THE DURATION OF THIS LIMITED WARRANTY.