Haier AU182AEEAA Installation Instructions Manual
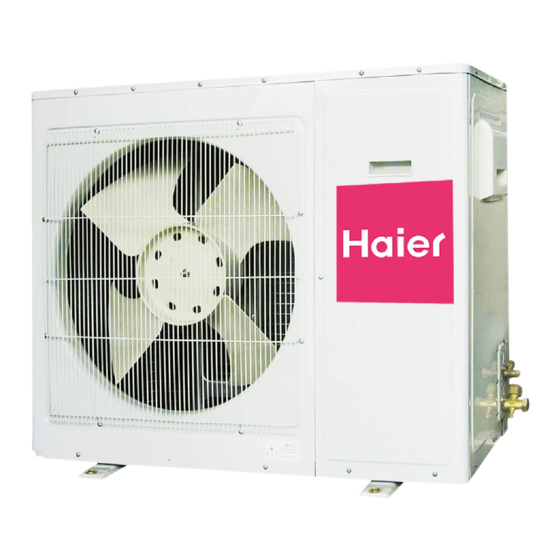
Outdoor unit
Hide thumbs
Also See for AU182AEEAA:
- Service manual (47 pages) ,
- Installation instructions manual (17 pages) ,
- Installation manual (16 pages)
Advertisement
ROOM AIR CONDITIONER
INSTALLATION INSTRUCTIONS
AU182AEEAA
AU242AGEAA
AU282AHEAA
AU28NAHEAA
No.0010577959
D
Before using the air conditioner,please read this manual carefully.
Please keep this manual properly for future use.
OUTDOOR UNIT
CONTENTS
Name of Parts----------------------1
Safety Cautions------------------2-3
Installation Procedure---------4-13
AU36NAIEAA
AU362AIEAA
AU48NAIEAA
AU60NAIEAA
Advertisement
Table of Contents

Related Manuals for Haier AU182AEEAA


Summary of Contents for Haier AU182AEEAA
-
Page 1: Room Air Conditioner
ROOM AIR CONDITIONER INSTALLATION INSTRUCTIONS AU182AEEAA AU242AGEAA AU282AHEAA AU28NAHEAA No.0010577959 Before using the air conditioner,please read this manual carefully. Please keep this manual properly for future use. OUTDOOR UNIT CONTENTS Name of Parts----------------------1 Safety Cautions------------------2-3 Installation Procedure---------4-13 AU36NAIEAA AU362AIEAA AU48NAIEAA... -
Page 2: Name Of Parts
Name of Parts AU182AEEAA Air inlet Air outlet Compressor (Inside of unit) AU282AHEAA AU28NAHEAA AU36NAIEAA AU362AIEAA AU48NAIEAA AU60NAIEAA AU242AGEAA Air inlet Air outlet Compressor (Inside of unit) Air inlet Air outlet Compressor (Inside of unit) Air inlet Air outlet Compressor... -
Page 3: Safety Cautions
Safety Cautions Carefully read the following information in order to operate the airconditioner correctly. Below are listed three kinds of Safety Cautions and Suggestions. Incorrect operations may result in severe consequences of death or serious injuries. WARNING! CAUTION! Incorrect operations may result in injuries or machine damages; in some cases may cause serious consequences. - Page 4 Safety Cautions Installed electrical-leaking circuit breaker. It easily cause electrical shock without circuit breaker. Air-conditioner can't be installed in the environment with inflammable gases because the inflammable gases near to air-conditioner may cause fire hazard. Please let the dealer be responsible for installing the conditioner.
- Page 5 Installation Procedure 1. Accessories "Edging" for protection of electric wires from an opening edge. 2. Selection of the place of installation Select the place of installation satisfying the following conditions and, at the same time, obtain a consent from the client or user. Place where air circulates.
-
Page 6: Installation Procedure
3. Installation of outdoor unit (1) Installation Fix the unit in a proper way according to the condition of a place where it is installed by referring to the following . AU182AEEAA (a) Concrete foundation Anchor bolt AU242AGEAA (a) Concrete foundation... - Page 7 Installation Procedure (2) Installation sketch of outdoor unit AU182AEEAA AU242AGEAA AU282AHEAA AU28NAHEAA Power Wiring Terminal Power Wiring Distribution Hole Power Wiring Terminal Power Wiring Distribution Hole Power Wiring Terminal Power Wiring Distribution Hole Installation of outdoor unit...
-
Page 8: Refrigerant Piping
Installation Procedure AU362AIEAA AU36NAIEAA 4. Refrigerant piping (1) Outline piping AU182AEEAA Flare connection Gas pipe Indoor unit Liquid pipe AU242AGEAA AU282AHEAA AU28NAHEAA AU48NAIEAA AU60NAIEAA Flare connection Indoor unit AU48NAIEAA AU60NAIEAA Power wiring Terminal 3-way stop valve Flare connection 2-way stop valve... - Page 9 Installation Procedure (2) Piping size AU182AEEAA AU242AGEAA AU282AHEAA AU28NAHEAA AU36NAIEAA AU362AIEAA AU48NAIEAA AU60NAIEAA (3) Limitations for one way piping length and vertical height difference. Model AU182AEEAA AU242AGEAA AU282AHEAA AU28NAHEAA AU362AIEAA AU36NAIEAA AU48NAIEAA AU60NAIEAA Precautions for refrigerant piping Do not twist or crush piping.
- Page 10 Installation Procedure 5. Air discharging method After finishing connection of refrigerant pipe, it shall perform air tightness test. The air tightness test adopts nitrogen tank to give pressure according to the pipe connection mode as the following figure shown. The gas and liquid valve are all in close state. In order to prevent the nitrogen entering the circulation system of outdoor unit, tighten the valve rod before giving pressure (both gas and liquid valve rods).
- Page 11 If the connecting pipe (L) exceeds 5m, it shall charge Mg additional refrigerant per meter. That is: Refrigerant charging amount = (L-5) x M (g) For AU182AEEAA, M=30 For AU242AGEAA, AU282AHEAA, AU28NAHEAA, AU362AIEAA, AU36NAIEAA , AU48NAIEAA, AU60NAIEAA, M=65 Only in COOLING operation can charge the additional refrigerant.
-
Page 12: Electric Wiring
Use copper conductor only,the parameter of connecting cable is H05RN-F 4G 0.75mm ,but for AU182AEEAA,the parameter of connecting cable should H05RN-F 3G 2.0mm The wiring method should be in line with the local wiring standard. - Page 13 Installation Procedure For: AU182AEEAA For :, AU242AGEAA, AU282AHEAA, AU362AIEAA 1PH, 220-230V~, 50Hz POWER SUPPLY: For: AU28NAHEAA, AU36NAIEAA, AU48NAIEAA, AU60NAIEAA DO NOT CONNECT THE NEUTRAL WIRE INTERCONNECTING WIRES MUST BE WIRED ACCORDING TO FIG.1 FIG.2 FIG.3.INCORRECT WIRING CAUSE EQUIPMENT DAMAGE. (3) Wiring procedure 1) Remove set screws on the side before taking off the front panel toward the direction shown in figure.
-
Page 14: Test Run
Installation Procedure 6. Test run THIS UNIT WILL BE STARTED INSTANTLY WITHOUT "ON" OPERATION WHEN ELECTRIC POWER IS SUPPLIED.BE SURE TO EXECUTE "OFF" OPERATION BEFORE ELECTRIC POWER IS DISCONNECTED FOR SERVICING. This unit has a function of automatic restart system after recovering power stoppage. (1) Before starting test run (for all Heat pump models) Confirm whether the power source breaker (main switch) of the unit has been turned on for over 12 hrs to energize the crankcase heater in advance of operation. - Page 15 HAIER GROUP Qingdao Haier Air Conditioner Electric Co., Ltd. Address: Haier Garden, Qianwangang Road, Economic Development Zone, Qingdao, Shandong 266500, P.R.China Web Site: http://www.haier.com...