Table of Contents
Advertisement
Advertisement
Table of Contents

Related Manuals for Pioneer SX-20-K


Summary of Contents for Pioneer SX-20-K
- Page 1 Operating Instructions Stereo Receiver...
- Page 2 WARNING IMPORTANT This equipment is not waterproof. To prevent a fire or shock hazard, do not place any container filled with CAUTION liquid near this equipment (such as a vase or flower RISK OF ELECTRIC SHOCK pot) or expose it to dripping, splashing, rain or DO NOT OPEN moisture.
-
Page 3: Table Of Contents
Thank you for buying this Pioneer product. VENTILATION CAUTION Please read through these operating instructions so that you will know how If the AC plug of this unit does not match the AC to operate your model properly. When installing this unit, make sure to leave space... -
Page 4: Caution
Before you start Chapter 1: • Do not use any batteries other than the ones specified. Also, do not use a new battery together Installing the receiver Before you start with an old one. When installing this unit, make sure to put it on a level •... -
Page 5: Making Cable Connections
Connecting up Chapter 2: Important Connecting speaker cables Connecting up • The SIGNAL GND terminal is provided to reduce noise when connecting the unit to components Twist the cable cores. such as an analog turntable. • Do not connect the PHONO (MM) terminals to any Loosen the nut on the SPEAKERS component other than a turntable;... -
Page 6: Connecting Antennas
Connecting up Using external antennas Connecting antennas Plugging in To improve FM reception Connect the AM loop antenna and the FM wire antenna Use a PAL connector (not supplied) to connect an as shown below. To improve reception and sound external FM antenna. -
Page 7: Controls And Displays
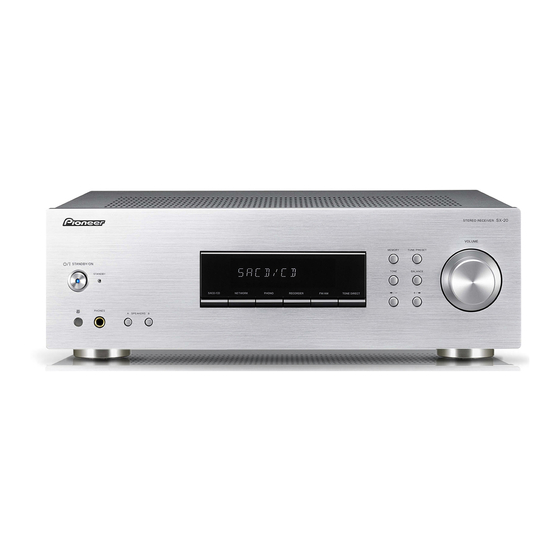
Controls and displays Chapter 3: Front panel Controls and displays SX-20 STEREO RECEIVER Rear panel VOLUME See pages 5-6 for details regarding connections. MEMORY TUNE / PRESET STANDBY ON BALANCE TONE STANDBY AC IN PHONES A SPEAKERS B SPEAKERS SIGNAL PHONO (MM) SACD/CD NETWORK RECORDER... -
Page 8: Remote Control
12 NETWORK AUDIO PLAYER control Remote control Switches the receiver between standby and on. buttons Use to control Pioneer network audio player. Numeric buttons (0 ~ 9) Press to select or to store preset. 13 SLEEP Press to change the amount of time before the receiver... -
Page 9: Playback
Operation Chapter 4: Set the power to Standby Note Operation • If the power cord is disconnected when the unit is Press the remote control’s STANDBY/ in the standby mode the unit will turn off, but when ON button. the cord is then reconnected, the unit will not The next time you wish to turn on the power, press the automatically turn on. -
Page 10: Listening To The Radio
Operation Improving FM sound Within 5 seconds, press / to select Scanning preset stations in sequence Listening to the radio the station preset you want. When FM stereo broadcasts are poor because of weak You can also use the numeric buttons. broadcast signals, select the FM MONO mode to reduce The following steps show you how to tune in to FM and FM MODE... -
Page 11: An Introduction To Rds
Operation Searching for RDS programs Press / to search the station. An introduction to RDS Sound settings The system starts searching through the station presets There are three ways of search for RDS programs as for a match, stopping when it was found one. Repeat to follows. -
Page 12: Switching The Desired Speakers On
Operation Listening in surround sound Switching the desired speakers on To set for automatic standby status Restoring all the settings to the Allows you to create natural surround sound effects using just the left and right speakers. (Auto Power Down) factory default settings Then the corresponding speaker indication (SPK A (and/ •... -
Page 13: Additional Information
If the trouble cannot be rectified even after exercising the checks • Remove the obstacle or operate from another position. listed below, ask your nearest Pioneer authorized service center or your dealer to carry out repair work. • Avoid exposing the remote sensor on the front panel to direct light. -
Page 14: Specifications
Additional information Miscellaneous Specifications Power requirements ..AC 220 V to 230 V, 50 Hz/60 Hz Power consumption ......210 W Amplifier section In standby . - Page 15 253 Alexandra Road, #04-01, Singapore 159936 TEL: 65-6472-7555 PIONEER ELECTRONICS AUSTRALIA PTY. LTD. 5 Arco Lane, Heatherton, Victoria, 3202, Australia, TEL: (03) 9586-6300 PIONEER ELECTRONICS DE MEXICO S.A. DE C.V. Blvd.Manuel Avila Camacho 138 10 piso Col.Lomas de Chapultepec, Mexico, D.F. 11000 TEL: 55-9178-4270 K002_B3_En ©...