Electrolux IQ-Touch EIMGD60LT Use & Care Gude
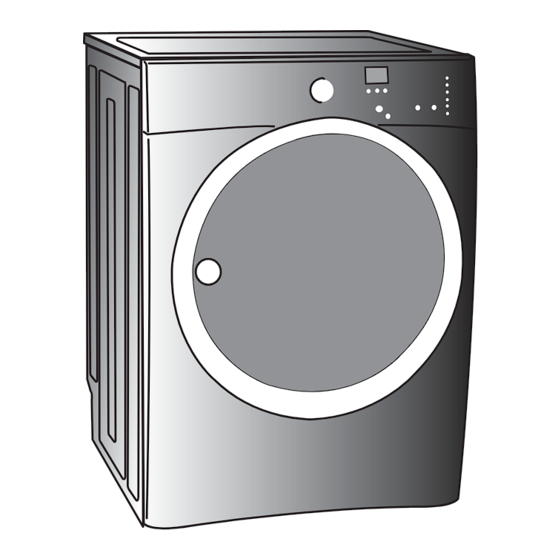
Front-load gas & electric dryer
Hide thumbs
Also See for IQ-Touch EIMGD60LT:
- Installation instructions manual (76 pages) ,
- Installation manual (2 pages)
Table of Contents
Advertisement
Quick Links
Advertisement
Table of Contents

Related Manuals for Electrolux IQ-Touch EIMGD60LT


Summary of Contents for Electrolux IQ-Touch EIMGD60LT
- Page 1 Use & Care Guide IQ-Touch™ Front-Load Gas & Electric Dryer Guide d’utilisation et d’entretien Sécheuse à gaz et à l’électricité à chargement frontal IQ-Touch Guía de Uso y Cuidado Secadora eléctrica y a gas de carga frontal IQ-Touch 137464900 A (1106)
-
Page 2: Table Of Contents
Please read and save this guide Thank you for choosing Electrolux, the new premium brand in home appliances. This Use & Care Guide is part of our commitment to customer satisfaction and product quality throughout the life of your new appliance. -
Page 3: Safety
Safety Important Safety Instructions Recognize safety symbols, words and WARNING labels For your safety the following information in this Your safety and the safety of others is very manual must be followed to minimize the risk of important. fi re or explosion or to prevent property damage, We have provided many important safety personal injury or death. - Page 4 Safety WARNING - RISK OF FIRE To reduce the risk of fi re, electrical shock, or injury to persons when using this dryer, comply with the basic warnings listed below. Failure to comply with these warnings could result in serious personal injuries.
- Page 5 Safety Important Safety Instructions, continued PREVENT INJURY PREVENT INJURY AND DAMAGE TO THE DRYER • To prevent shock hazard and assure stability during operation, the dryer must be installed • All repairs and servicing must be performed by and electrically grounded by a qualifi ed service an authorized servicer unless specifi...
-
Page 6: Features
Features Touch-2-Open™ LCD Display Cycle Selector Control Lock 3 Drum Vanes Dual Stage, (2 tumbling) Wide-Angle (1 mixing) Door Hinge Reversible, Theater-Style, Touch-2-Open™ Luxury-Lighting™ Door System System Large Surface Moisture Sensor Door Strike Exhaust Channel Outlet Touch-2-Open™ Door Latch Gentle Tumble™ Drying System Touch-2-Open™... -
Page 7: Operating Instructions
Operating Instructions Normal Operating Sounds You may or may not hear the following sounds from your new dryer: A. WATER VALVE (Steam models only.) The fl ow of water is controlled by electric solenoids. During operation there may be a clicking sound as the valve opens and closes to control the water fl... - Page 8 Operating Instructions OPERATING YOUR DRYER, continued • Place delicate or small items in a mesh bag. the cycle selected. See the “Dryer Settings Chart” for more details. • Be sure buckles, buttons and trim • To change the drying temperature and dryness are heatproof and level, press the temperature and dryness but- won’t damage...
-
Page 9: Cycle Selection
Operating Instructions Cycle Selection This manual covers many models and not all cycles, options, or features listed are available on every model. Console shown above for reference only. Your model may differ. Turn the cycle selector in either direction to the Room temperature and humidity, type of installa- cycle desired. - Page 10 Operating Instructions Cycle Selection, continued MY FAVORITE CYCLE TIME DRY CYCLES To program a cycle with your preferred settings, select the desired cycle, drying temperature, dry- TIME DRY ness level and options. Then press and hold the To manually select the drying time for any load, my favorite button for 3 seconds.
- Page 11 Operating Instructions Specialty Cycle Selection SPECIALTY CYCLES COMFORTER For use with large and king size comforters, uses To access you dryer’s specialty cycles: low heat to thoroughly dry comforter without dam- aging stuffi ng or fi llers. • Press the button under the LCD corresponding to specialty cycles.
-
Page 12: Drying Temperature
Operating Instructions Cycle Settings This option will kill 99.9% of bacteria with no car- DRYING TEMPERATURE ryover of bacteria between loads. A higher tempera- The appropriate drying temperature will auto- tures is required. Please check fabric care labels to matically be indicated for the cycle selected. prevent damage. -
Page 13: Cycle Options
Operating Instructions Cycle Options Suitable options will automatically be indicated DELAY START when the cycle is selected. Press delay start to select a drying time conve- nient to your schedule or during off peak energy To add options, press the corresponding options hours. -
Page 14: Dryer Features
Operating Instructions Other Features DRYING RACK STATUS DISPLAY Use the drying rack for items which should not be The estimated total cycle time will be displayed tumble dried. Insert the rack into the dryer drum, when the cycle is selected. The estimated remain- resting the back support on the moisture sensor ing cycle time is displayed during the cycle. -
Page 15: Options
Operating Instructions Dryer Setting Chart These temperature, dryness levels and options are available with the following cycles: specialty cycles Temperature sanitize high normal air dry Dryness normal less damp dry Options extended tumble delay start add steam line dry shrink guard eco friendly press &... -
Page 16: Care & Cleaning
Care & Cleaning WARNING WARNING To reduce risk of fi re or serious injury to persons FIRE HAZARD or property, comply with the basic warnings listed A clothes dryer produces combustible lint. in the Important Safety Instructions and those The dryer must be connected to an outdoors listed below. -
Page 17: Solutions To Common Problems
Solutions to Common Problems Common Drying Problems Many drying problems involve poor cleaning results, poor soil and stain removal, residues of lint and scum, and fabric damage. For satisfactory drying results, follow these suggestions provided by The Soap and Detergent Association. PROBLEM POSSIBLE CAUSES SOLUTIONS... -
Page 18: Service Prevention Checklist
Solutions to Common Problems Service Prevention Checklist Before calling for service, review this list. It may save both time and expense. The list includes common occurrences that are not the result of defective workmanship or materials in this dryer. OCCURRENCE POSSIBLE CAUSE SOLUTION Dryer does not start. -
Page 19: Warranty Information
Warranty Information Your appliance is covered by a one year limited warranty. For one year from your original date of purchase, Electrolux will repair or replace any parts of this appliance that prove to be defective in materials or workmanship when such appliance is installed, used, and maintained in accordance with the provided instructions. -
Page 20: Notes
Notes...