Panasonic DMR-E30 Operating Instructions Manual
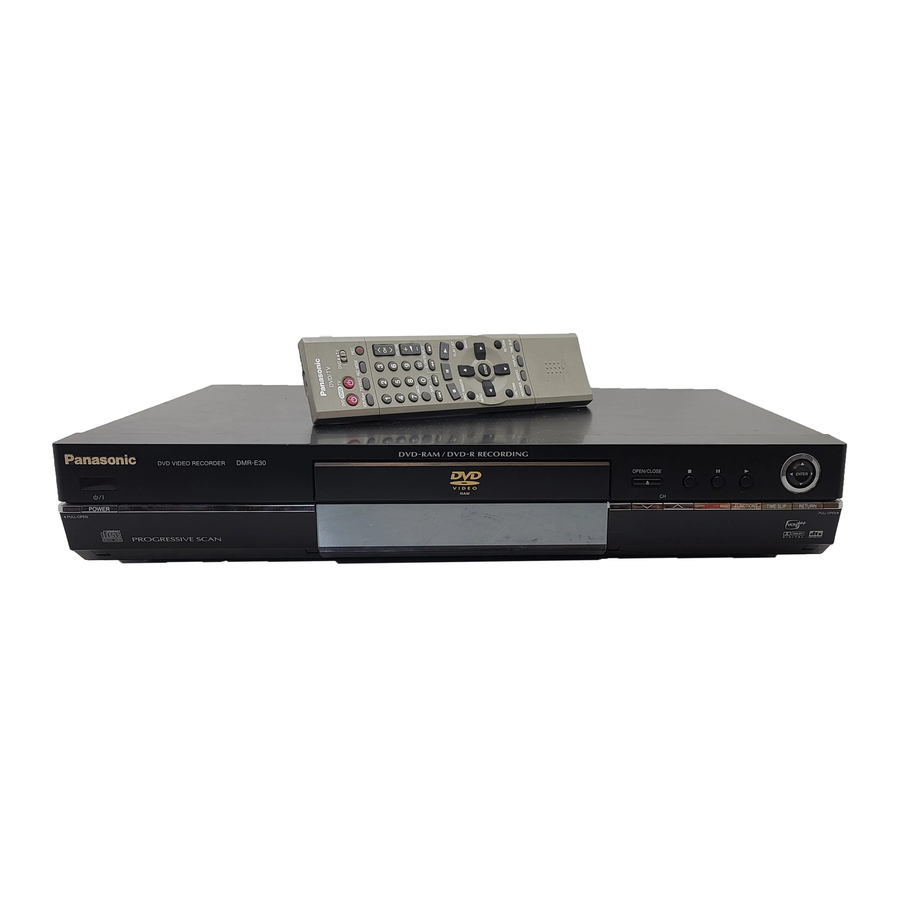
Panasonic dmr-e30 dvd video recorder
Hide thumbs
Also See for DMR-E30:
- Bedienungsanleitung (76 pages) ,
- Operating instructions manual (40 pages) ,
- Installation instructions manual (6 pages)
Table of Contents
Advertisement
Region number supported by this unit
Region numbers are allocated to DVD players and software
according to where they are sold.
≥The region number of this unit is "1".
≥The unit will play DVDs marked with labels containing "1" or
"ALL".
Example:
1
1
ALL
2
4
This manual was printed with soy based ink.
PP
DVD VIDEO RECORDER
Operating Instructions
DMR-E30
Model No.
Dear customer
Thank you for purchasing this product. For optimum performance
and safety, please read these instructions carefully.
Before connecting, operating or adjusting this product, please read
these instructions completely. Please keep this manual for future ref-
erence.
[For\U.S.A.]
The warranty can be found on page 64.
[For\Canada]
The warranty can be found on page 65.
En las páginas 66 y 67 hay una guía de referen-
cia rápida en español.
RQT6559-P
Advertisement
Table of Contents

Related Manuals for Panasonic DMR-E30


Summary of Contents for Panasonic DMR-E30
- Page 1 DVD VIDEO RECORDER Operating Instructions DMR-E30 Model No. Dear customer Thank you for purchasing this product. For optimum performance and safety, please read these instructions carefully. Before connecting, operating or adjusting this product, please read these instructions completely. Please keep this manual for future ref- Region number supported by this unit erence.
-
Page 2: Accessories
Product Registration Card Before moving the unit, ensure the disc tray is empty. Please complete and return the included product registration card, or register via the Internet at: http://www.prodreg.com/panasonic/ Failure to do so will risk severely damaging the disc and the unit. -
Page 3: Table Of Contents
Features Explanatory notes Table of contents This unit allows recording of high quality video on Getting started Timer recording Symbols used in these operating instructions DVD-RAM, the compact and durable digital media with fast random access. This media also outdoes past tape Accessories . -
Page 4: Control Reference Guide
Control reference guide Remote control Main unit 1 POWER button (Í, DVD (POWER)) ....11 Press to switch the unit from on to standby mode or vice versa. In standby mode, the unit is still consuming a small amount of power. -
Page 5: Disc Information
≥Audio format from the cold. ≥heat or expose to flame. ≥We recommend using Panasonic discs as they have been con- ≥take apart or short circuit. firmed to be compatible with this unit. Other discs may not perform Dolby Digital ( page 57) DVD-RAM and DVD-R ≥attempt to recharge alkaline or manganese batteries. -
Page 6: Step 2 Antenna And Television Connections
. . For your reference To enjoy CATV ( page 46) All televisions manufactured by Panasonic and that have 480p input VOLUME Please push the ENTER key. (You need to subscribe to a cable TV or satellite TV service, to connectors are compatible. -
Page 7: Step 3 Plug-In Auto Tuning
STEP 3 Plug-in Auto Tuning STEP VCR Plusi guide channel settings Press [3, 4] to select “TV” or Press [3, 4] to select “VCR Plusr VOLUME “CATV” and press [ENTER]. CH Setting” and press [ENTER]. CANCEL DVD/TV CANCEL TV broadcast (2CH–69CH) For example, when the current antenna system is CATV. -
Page 8: Step 5 Selecting Tv Screen Type
STEP STEP Selecting TV screen type Television operation TV Aspect Code No. Manufacturer DVD/TV POWER Panasonic/National QUASAR DVD/TV Í Í DVD, TV POWER Press [3, 4] to select “TV Í Í TV/VIDEO VCR Plus+ TV/VIDEO REC MODE REC Panasonic/National QUASAR Aspect”... -
Page 9: Playing Discs
Playing discs [RAM] [DVD-R] [DVD-V] [CD] [VCD] When a menu screen appears on the ≥ television Press [Í, DVD POWER] to turn the unit on. 3,4,2,1, [DVD-V] [VCD] Press the numbered buttons to select an item. ENTER Press [<, OPEN/CLOSE] to open the Example:“5”: [0] tray and insert a disc (‹... -
Page 10: Recording Television Programs
Recording television programs [RAM] [DVD-R] Flexible Recording—recording the best ≥ Press [Í, DVD POWER] to turn the quality pictures in a set time unit on. The unit calculates a recording rate that enables the recording to fit Press [<, OPEN/CLOSE] to open the in the time you set (within the remaining time on the disc) and with the best possible picture quality. -
Page 11: Using The Direct Navigator
Using the Direct Navigator Playing play lists [RAM] [DVD-R] Playing play list scenes A list of programs is created as you record them. You can use this DVD/TV list to find programs to watch. DVD/TV POWER While stopped POWER Í Í... -
Page 12: Skipping Programs And Commercials
Skipping programs and commercials Other methods of play Skipping a minute forward—CM Skip Frame-by-frame viewing [RAM] [DVD-R] [DVD-V] [VCD] DVD/TV [RAM] [DVD-R] DVD/TV POWER POWER Í Í While paused Í Í During play VCR Plus+ TV/VIDEO REC MODE REC Press [2;] or [;1]. VCR Plus+ TV/VIDEO REC MODE REC Press [CM SKIP]. -
Page 13: Random Play
Marking places to play again—MARKER Other methods of play Using on-screen menus to mark posi- Program play tions DVD/TV [CD] [VCD] DVD/TV POWER POWER Í Í Displaying the marker icon Í Í You can select up to 100 tracks to play in the order you choose. VCR Plus+ TV/VIDEO REC MODE REC VCR Plus+ TV/VIDEO REC MODE REC During play... -
Page 14: Changing Audio
Changing audio ∫ While receiving Multi-channel Television Sound ∫ While playing DVD-RAM Stereo (MTS) DVD/TV LR>L>R Stereo > SAP > Mono POWER ^---------------} Í Í ^--------------------------------} ≥If you have recorded an SAP broadcast by pressing [AUDIO] to VCR Plus+ TV/VIDEO REC MODE REC Depending on the type of television broadcast and sound selected, select SAP received and recorded sound is as follows:... -
Page 15: Playing While You Are Recording
Playing while you are recording Recording from a video cassette recorder Preparation Simultaneous rec and play ≥Connect a video cassette recorder to this unit’s input terminals ( page 48). [RAM] DVD/TV DVD/TV ≥Insert a disc that can be recorded on. POWER POWER ≥Select the recording mode, XP, SP, LP, or EP ( page 19). -
Page 16: Timer Recording
Timer recording Press [ENTER]. Manually programming timer recordings The timer recording setting screen appears. Confirm the pro- Press [ENTER] when you have fin- gram and make corrections if necessary using [3, 4, 2, 1]. DVD/TV You can enter up to 16 programs up to a month in advance. Each ished programming the timer. -
Page 17: Entering Text
Entering text Timer recording [RAM] [DVD-R] To check programs DVD/TV DVD/TV After the titling screen appears POWER POWER Press [PROG/CHECK]. Í Í Press [3, 4, 2, 1] to select the char- Í, POWER DVD Í Í VCR Plus+ TV/VIDEO REC MODE REC The timer recording list appears. -
Page 18: Disc Setting
Play may not be possible due to the player you are using, the DVD-R, or the or select “Cancel” or “No” and press condition of the recording. Use this unit to play the disc if the player is unable. [ENTER]. Visit Panasonic’s homepage for more information about DVDs. http://www.panasonic.com/playDVD-R RQT6559 RQT6559... -
Page 19: Editing Programs
Editing programs Operation Erase Program Erase Program The program is erased. Press [RAM] [DVD-R] Remaining Recording Time 0 : 58 SP [DIRECT NAVIGATOR]. Corresponding PLAY LIST will also be erased. [Note] Press [2] to Erase Cancel ≥ The disc’s available recording time may not increase after select “Erase”... -
Page 20: Editing Play Lists
Editing play lists [RAM] page 21, Playing play list scenes Play Scenes Operation ∫ Add PLAY LIST No.3 Dinosaur PLAY LIST While stopped The scene is added. Add Scenes Scene No. Edit Scenes PLAY Press [PLAY LIST]. Start Press [3, 4, 2, 1] Next Press [2, 1] to select Press [ENTER]... -
Page 21: Creating Play Lists
Creating play lists Using the FUNCTIONS window While stopped While stopped Press [PLAY LIST]. Press [FUNCTIONS]. DVD/TV DVD/TV POWER POWER Press [3, 4] to select “–– ––/––” and e.g., DVD-RAM Í Í Í Í VCR Plus+ TV/VIDEO REC MODE REC VCR Plus+ TV/VIDEO REC MODE REC press [ENTER]. -
Page 22: Using On-Screen Menus
Using on-screen menus Disc menu Play menu [RAM] [DVD-R] [DVD-V] [CD] [VCD] [RAM] [DVD-R] [DVD-V] [VCD] DVD/TV POWER e.g., DVD-RAM e.g, DVD-RAM Í Í Disc † † VCR Plus+ TV/VIDEO REC MODE REC Disc A-B repeat Î Digital 2/0 ch Sound track Play Play... -
Page 23: Video Menu
Home Theater Using on-screen menus Refer to the relevant pages for details. Video menu [RAM] [DVD-R] [DVD-V] [VCD] Enjoying CATV broadcasts ∫ When you have set “TV Type” to “480P” in Disc Picture Normal Play SETUP ( page 14) MPEG-DNR Reference Reference Video... -
Page 24: Connecting A Cable Tv Box/Satellite Receiver
Home Theater ≥The equipment connections described are examples. ≥Peripheral equipment and optional cables sold separately unless otherwise indicated. Connecting an amplifier or system component ≥Before connection, turn off all equipment and read the appropriate operating instructions. This model can play Dolby Digital, but only in two channels. This model does not have a DTS decoder. You must connect a unit with a ≥The signal from the cable TV box or satellite receiver passes through this unit to the television even when this unit is turned off. -
Page 25: Connecting Other Video Equipment
Other antenna connections Home Theater Other antenna connection to the unit Other antenna connection from the unit Connecting other video equipment to the television Use one of the following connections to suit the antenna lead. Use one of the following connections to suit the antenna terminals ∫... -
Page 26: Changing The Remote Control Code
Select “On” in this case. trol’s code to suit the unit. The display disappears after about 5 Channel Caption Channel Most of the DVD recorders and players manufactured by Panasonic seconds. Preset Channel Caption Set Up use the same remote control system. If you have more than one Manual Channel Caption Converted to 48 kHz for output. -
Page 27: Summary Of Settings
Changing the unit’s settings Summary of settings Tabs Menus Options This chart shows the initial settings for this unit. See page 51 for details on menu operation. ≥Automatic Video Still Mode ≥Underlined items are the factory presets. ≥Field: Select the type of picture shown when you pause play. Less blurred field stills are shown. -
Page 28: Clock Settings
Changing the unit’s settings ≥If the time was not set correctly, use manual clock setting or time Press [3, 4] to select the caption and VOLUME zone adjust. Channel Settings CANCEL ≥If you connect the unit through a cable TV box or DSS receiver then press [1]. -
Page 29: On-Screen Displays
On-screen displays Glossary Bitstream Interlace and progressive output Changing the information displayed This is the digital form of multi-channel audio data (e.g., 5.1 chan- NTSC, the video signal standard, has 480 interlaced (i) scan lines, nel) before it is decoded into its various channels. whereas progressive scanning uses twice the number of scan lines. -
Page 30: Error Messages
Error messages Maintenance On the television Page The precision parts in this unit are readily affected by the environment, especially temperature, humidity, and dust. Cigarette smoke No disc. ≥You haven’t inserted a disc. also can cause malfunction or breakdown. Correctly insert a disc that this unit can use. ≥The disc is upside down. -
Page 31: Troubleshooting Guide
Sound Page In the U.S.A., contact the Panasonic Customer Call Center at 1-800-211-7262, or e-mail consumerproducts@panasonic.com, or web site ≥Check the connections. Check the input mode on the amplifier if you have connected one. No sound. -
Page 32: Product Service
Refer all other servicing For product information or assistance with product operation: to authorized servicing personnel. In the U.S.A., contact the Panasonic Customer Call Center at 1-800-211-7262, or e-mail consumerproducts@panasonic.com, or web site (http://www.panasonic.com). In Canada, contact Panasonic Canada Inc. Customer Care Centre at 1-800-561-5505, web site (www.panasonic.ca), or an authorized... -
Page 33: Limited Warranty (Only For U.s.a.)
PANASONIC/TECHNICS PRODUCT—LIMITED WARRANTY Panasonic DVD Player/Recorder Panasonic Canada Inc. warrants this product to be free from defects in material and workmanship and agrees to remedy any such defect for a Limited Warranty period as stated below from the date of original purchase. -
Page 34: Guía De Referencia Rápida En Español
Guía de referencia rápida en español Conexiones de antena y televisor Reproducción de discos Salto [RAM] [DVD-R] [DVD-V] [CD] [VCD] TV por cable Puede saltar al comienzo de las pistas (CD y CD de vídeo) y de los AUDIO VIDEO capítulos (DVD-Vídeo) y reanudar la reproducción desde ese VHF/UHF Pulse... -
Page 35: Index
Division of Matsushita Electric 5770 Ambler Drive Mississauga, Ontario Electric Corporation of America of Puerto Rico, Inc. (“PSC”) L4W 2T3 One Panasonic Way Secaucus, Ave. 65 de Infantería, Km. 9.5 www.panasonic.ca New Jersey 07094 San Gabriel Industrial Park, Carolina, http://www.panasonic.com Puerto Rico 00985 C 2002 Matsushita Electric Industrial Co., Ltd.