
Related Manuals for Electrolux E32AR85PQS


Summary of Contents for Electrolux E32AR85PQS
-
Page 1: Guia De Uso Y Cuidado
Use & Care Guide Refrigerator Guia de Uso y Cuidado Refrigerador Guide d’utilisation et d’entretien Réfrigérateur 297299400 August 2010 A01061501 August 2014... -
Page 2: Table Of Contents
Finding Information Please read and save Table of contents this guide Finding Information ......2 Thank you for choosing Electrolux, our new premium brand in home appliances. Installation Checklist......2 This Use & Care Guide is part of our Safety ............ 3... -
Page 3: Safety
Safety Important safety instructions Safety Precautions • Remove all staples from the carton to avoid injury. Staples can also damage Do not attempt to install or operate your unit finishes if they come in contact with until you have read the safety precautions other appliances or furniture. -
Page 4: Electrical Information
Safety Electrical information IMPORTANT WARNING To disconnect power to the unit, unplug You must follow these guidelines to the unit or switch the breaker that supplies ensure that your appliance’s safety power to the unit to the off position. mechanisms are operating correctly. •... -
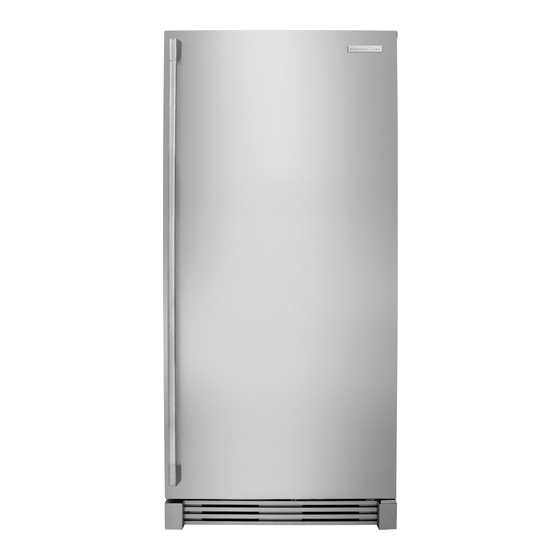
Page 5: Feature Overview
Feature Overview Understanding features and terms Your Electrolux appliance is designed for optimal convenience and storage flexibility. The illustration below is provided to assist you with familiarizing yourself with product features and terminology. NOTE *Features may vary according to model. -
Page 6: Installation
Installation Required Tools NOTE You will need the following tools: Tools Necessary: Adjustable If your appliance is placed with the door Wrench hinge against a wall, you may have to allow additional space so the door can be opened wider. (OR) Installation Phillips Head... -
Page 7: Installing Door Handle
Installing Door Handle Door Handle Mounting Instructions Remove handle from carton and any other protective packaging. Position handle end caps over upper and lower preinstalled shoulder bolts (A) that are fastened into door. While holding handle firmly against door, fasten upper and lower Allen set screws (B) with supplied Allen wrench. -
Page 8: Leveling
Leveling To Level The Refrigerator: Leveling Door with Adjustable Hinge While unit is lying on its back, note the location of the 4 leg levelers installed at Use the lower hinge adjustment to fine each corner. These leg levelers will be tune the door height and for final cabinet used to level the refrigerator and to adjust spacing. -
Page 9: Door Removal & Temperature Control
Door Removal & Temperature Control Door Removal If door must be removed: CAUTION Doors are heavy. It is recommended to have 2 people remove or replace the door assembly from the cabinet. • Unplug the unit or switch the breaker Hinge Cover that supplies power to the unit to the off position. -
Page 10: Electronic Control & Alarms
10 Electronic Control & Alarms Custom Set™ Electronic Control Features Replace Air Filter When the “REPLACE AIR FILTER” LED is illuminated yellow, the air filter needs to be replaced. The control will signal for air filter replacement after 3600 hours of operation. After replacing the air filter, reset the air filter timer by pressing the AIR FILTER key for 3 seconds. -
Page 11: Alarms & Sabbath Mode
Alarms & Sabbath Mode Door Ajar Alarm This alarm will sound to alert you that the door has been open for 5 minutes or more. The DOOR AJAR LED will illuminate and the audible alarm will sound until the door is closed. The audible alarm can be turned off by pressing the ALARM OFF key or by closing the door. -
Page 12: Air Filter & Theater™ Lighting
In general, you should change the air filter with Part Number “EAFCBF” every six months to ensure optimal filtering of appliance odors. The replacement air filter can be purchased on the Electrolux website (http://www.electroluxappliances.com) or call toll free in the U.S. and Canada: 1-877-4ELECTROLUX (1-877-435-3287). -
Page 13: Storage Components
Storage Components Custom Design™ Glass Shelves Multi-position adjustable slide-out glass shelves can be moved to any position for larger or smaller packages. The shipping Insert into spacers that stabilize the shelves for slots shipping may be removed and discarded. To Adjust The Shelves •... - Page 14 14 Storage Components Adjustable 2-Liter Door Bins This model is equipped with adjustable door bins that can be moved to suit individual needs. To Move Door Bins: • Lift the bin straight up. • Remove the bin. • Place the bin in desired position. •...
-
Page 15: Storing Food & Saving Energy
Storing Food & Saving Energy Ideas For Storing Foods Vacation And Moving Tips Fresh Food Storage Short Vacations: • Keep the fresh food compartment • Leave the unit operating during between 34° F and 40° F with an vacations of less than three weeks. optimum temperature of 37°... -
Page 16: Care And Cleaning
16 Care & Cleaning NOTE CAUTION • Do Not use abrasive cleaners • Turning the temperature control to such as window sprays, scouring “OFF” (See Custom Set Electronic cleansers, flammable fluids, Control) turns off the compressor, but cleaning waxes, concentrated does not disconnect electrical power detergents, bleaches, or cleansers to the LED lights or other electrical... -
Page 17: Solutions To Common Problems
Solutions to Common Problems Troubleshooting Guide Before calling for service, review this list. It may save you time and expense. This list includes common occurrences that are not the result of defective workmanship or materials in this appliance. Concern Potential Cause Common Solution Appliance Operation Appliance does... - Page 18 18 Solutions to Common Problems Concern Potential Cause Common Solution “E7”, “E8”, “E9” • The control has • For toll-free telephone support is displayed on registered an error code. in the U.S. and Canada: control. 1-877-4ELECTROLUX (1-877- 435-3287) “Sb” is displayed •...
- Page 19 Solutions to Common Problems Concern Potential Cause Common Solution Lighting Problems Light bulb is not on. • The LED or light bulb is • Follow directions under “Theater™ burned out. LED Lighting” in the “Air Filter and Theater™ Lighting” section. •...
-
Page 20: Warranty Information
Alaska) In the U.S.A., your appliance is warranted by Electrolux Home Products, Inc. We authorize no person to change or add to any of our obligations under this warranty. Our obligations for service and parts under this warranty must be performed by us or an authorized Electrolux Home Products, Inc.