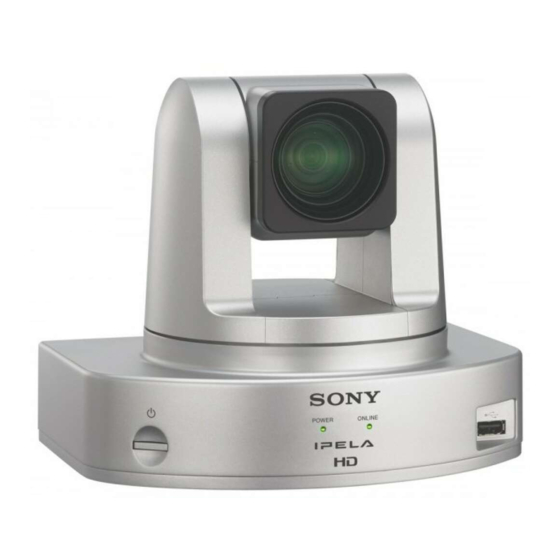
Sony Ipela PCS-XC1 Installation Manual
Hd visual communication system
Hide thumbs
Also See for Ipela PCS-XC1:
- Operating instructions manual (190 pages) ,
- Quick connection manual (2 pages) ,
- Manual (98 pages)
Advertisement
Quick Links
HD Visual Communication System
PCS-XC1
Installation Guide
Connections
Note
We recommend using Sony HDMI cables.
Caution
ˎ
Be sure to turn off all equipment before making connections.
ˎ
For safety, do not connect the 1000BASE-T connector to a network
that will apply excess voltage to the connector.
ˎ
Do not connect small USB devices to the USB port on the front of
the unit, as they may become impossible to remove. Connect small
devices to the USB port on the rear of the unit.
© 2014 Sony Corporation
Printed in China
4-545-842-11 (1)
Front
POWER
ONLINE
to
(USB) port
Computer
Rear
HDMI IN(PC)
HDMI OUT
MAINTENANCE
to HDMI OUT
to HDMI IN (PC)
Wacom pen
tablet
(not supplied)
HDMI cable
(not supplied)
to HDMI OUT
HDMI cable
(supplied)
PCS-A1 microphone (supplied)
to MIC
19.5V
MIC
to
to DC 19.5V
Power cord (supplied)
to power outlet
AC adapter
(supplied)
LAN
UTP cable (Category 6,
straight, not supplied)
TV monitor
(not supplied)
to HDMI IN
Continued on
reverse side
Advertisement

Summary of Contents for Sony Ipela PCS-XC1
-
Page 1: Installation Guide
AC adapter Wacom pen (supplied) Note tablet (not supplied) We recommend using Sony HDMI cables. UTP cable (Category 6, straight, not supplied) HDMI cable (not supplied) Caution ˎ Be sure to turn off all equipment before making connections. - Page 2 VIDEO INPUT button (once) Number button 2 (three times) The “Frequency” setting is changed, and the unit shuts down. Press the (power) switch on the unit again to turn it on. “IPELA” and are trademarks of Sony Corporation.


