
Related Manuals for Electrolux EI24BL10QS


Summary of Contents for Electrolux EI24BL10QS
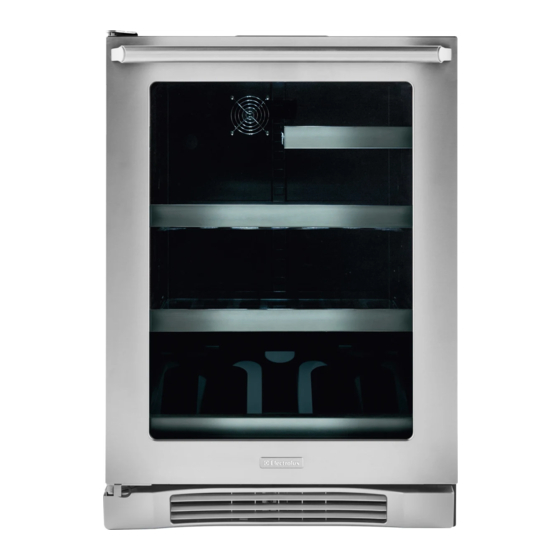
- Page 1 EN BEVERAGE CENTER USE AND CARE GUIDE FR CENTRE DE BOISSONS GUIDE D’UTILISATION ET D’ENTRETIEN ES CENTRO DE BEBIDAS GUIA DE USO Y CUIDADO 242332700 June 2014...
-
Page 2: Finding Information
Please Read and Save Product Registration This Guide Card Thank you for choosing Electrolux, the The package containing this manual new premium brand in home appliances. also includes your product registration This Use & Care Guide is part of our information. -
Page 3: Table Of Contents
Finding Information Table of Contents Finding Information ..............2 Please Read and Save This Guide ..........2 Make a Record for Quick Reference ..........2 Product Registration Card ..............2 Questions? ..................2 Safety ....................4 Important Safety Instructions ............4 Safety Precautions..............4 Definitions................4 General Precautions ...............4 Installation ...................5 Installing the Beverage Center ............5 Site Preparation ................6... -
Page 4: Safety
Allow unit temperature to stabilize for 24 hours before use. IMPORTANT CAUTION Indicates installation, operation, or maintenance information which is • Use only genuine Electrolux important but not hazard-related. replacement parts. Imitation parts can damage the unit and may void the warranty. -
Page 5: Installation
¼ inch over the dimensions given for your unit. NOTE All units require zero clearance when installed flush with a cabinet or wall. Electrolux stainless steel models require a minimum 2 ⁄ inch handle clearance when installed against a wall or cabinet that extends beyond the front edge of the unit. -
Page 6: Site Preparation
Installation Site Preparation Installing the Anti-Tip Device 1 Position the unit on a flat, level surface capable of supporting the entire weight of the unit. Remember WARNING the unit will be significantly heavier once it is fully loaded. Do not double stack two units 2 This unit requires a grounded and as shown below. - Page 7 Installation installation does not allow marking the rear CAUTION corner of the cabinet, then make temporary lines on the floor marking the front corner of Any finished flooring should be the cabinet, excluding the drawer. Slide the protected with appropriate material to beverage center out of the way.
-
Page 8: Leveling
The overall height of your Electrolux appliance may be adjusted between the minimum, 33 ¾” (85.7cm),by turning the leveling leg in and the maximum, 34 ¾” (88.3cm), by turning the leveling leg out. -
Page 9: Operation
Operation System Temp Temp On/Off Lock Minus Plus Display Area Status Keypad Keypad Indicators Keypad Keypad door ajar power failure temp on-off light lock air filter alarm reset Figure 8 Electronic Control Display To wake the display press any keypad. A confirm tone will sound, and the current storage compartment temperature will be Power Failure... -
Page 10: Temperature Mode
Operation on-off light light Adjusting the temperature: Interior display lighting: (Glass door models only) To set or check the set-point temperature Your appliance is equipped with a dual (with the control out of sleep mode), press the "-" or "+" keypads. "SET" will light level display lighting feature. -
Page 11: Alarms
Operation Alarms The control will alert you to conditions that could adversely affect the performance of on-off the appliance. Temp alarm reset Door Ajar Temperature alarm - If the storage compartment temperature exceeds 10°F on-off from set-point for more than a one hour alarm reset duration, the System Status indicator will turn off, the "Temp"... -
Page 12: Vacation/Sabbath Mode
Operation on-off Air Filter alarm reset Air Filter - The control will notify you as to when it is time to replace the air filter (every six months). The System Status indicator will turn off and the "Air Filter" indicator will flash. -
Page 13: Storage
Storage Proper Storage Figure 12 Display Rack The bottom rack in your beverage center is designed for storage as well as for display purposes. The unit holds five standard size wine bottles in the display rack. Stocking Recommendations The two sliding glass shelves can easily be converted to wine storage by removing Wine display rack the glass panels. -
Page 14: Shelving Installation/Removal
Storage CAUTION Make sure your cantilever shelf is secure on the shelf supports by pressing down on the shelf before loading the shelf. To Add or Remove a Shelf: Remove stored product from the shelf. Do not try to remove a loaded shelf from the appliance. -
Page 15: Maintenance
• Rust that is allowed to linger can beverage center. Electrolux recommends penetrate into the surface of the stainless that you order extra filters when you first steel and become impossible to remove. -
Page 16: Door Alignment
If alignment is warranty period please contact your necessary the door may be adjusted by dealer or call Electrolux Customer removing the grille, then loosening the 2 Service at 877.435.3287 for screws which secure the door adjustment... -
Page 17: Troubleshooting
Temperature” in the “Start-Up and Temperature Control” section). No interior light. • Failed LED assembly. • Contact a qualified Electrolux Service Technician. Light will not go • Manual light control • Turn off manual light control. out when door is is ON. -
Page 18: 18 Warranty Information
Your appliance is covered by a one year limited warranty. For one year from your original date of purchase, Electrolux will repair or replace any parts of this appliance that prove to be defective in materials or workmanship when such appliance is installed, used, and maintained in accordance with the provided instructions.