Table of Contents
Advertisement
Operating Instructions | Mode d'emploi | Bedienungsanleitung |
Istruzioni per I'uso | Handleiding | Manual de instrucciones |
Инструкции по эксплуатации
ME06
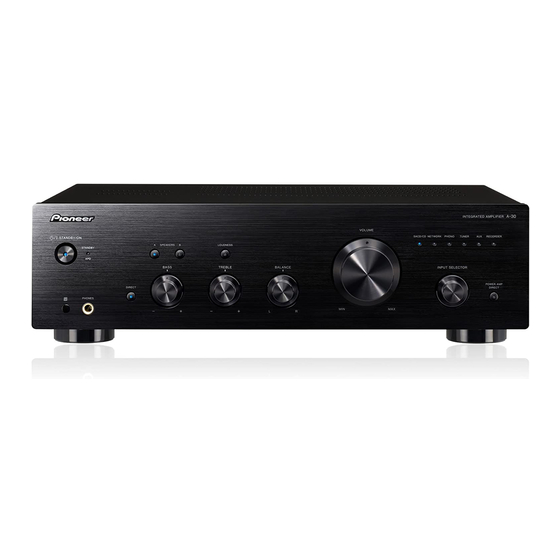
Integrated Amplifier | Amplificateur Intégré |
Eingebauter Verstärker | Amplificatore Integrato |
Geïntegreerde versterker | Amplificador integrado |
30
A-
-K/-S
20
A-
-K/-S
10
A-
-K/-S
Advertisement
Table of Contents

Related Manuals for Pioneer A-30-K/-S


Summary of Contents for Pioneer A-30-K/-S
- Page 1 Operating Instructions | Mode d’emploi | Bedienungsanleitung | Istruzioni per I’uso | Handleiding | Manual de instrucciones | Инструкции по эксплуатации -K/-S ME06 -K/-S Integrated Amplifier | Amplificateur Intégré | Eingebauter Verstärker | Amplificatore Integrato | Geïntegreerde versterker | Amplificador integrado | -K/-S...
- Page 2 WARNING IMPORTANT This equipment is not waterproof. To prevent a fire or shock hazard, do not place any container filled with CAUTION liquid near this equipment (such as a vase or flower RISK OF ELECTRIC SHOCK pot) or expose it to dripping, splashing, rain or DO NOT OPEN moisture.
-
Page 3: Table Of Contents
Thank you for buying this Pioneer Operating Environment This product is for general household purposes. Any product. Operating environment temperature and humidity: failure due to use for other than household purposes Please read through these operating instructions so that +5 °C to +35 °C (+41 °F to +95 °F); less than 85 %RH (such as long-term use for business purposes in a you will know how to operate your model properly. -
Page 4: Caution
Before you start Chapter 1: • Do not use any batteries other than the ones specified. Also, do not use a new battery together Installing the amplifier Before you start with an old one. When installing this unit, make sure to put it on a level •... -
Page 5: Connecting Up
Connecting up Chapter 2: • During playback, be sure that both the SPEAKERS Caution A button and SPEAKERS B button are set to ON Connecting up (page 7). • The SIGNAL GND terminal is provided to reduce noise when connecting the unit to components Speaker system Speaker system such as an analog turntable. -
Page 6: Connecting Speaker Cables
CONTROL IN jack • The use of a power cord other than the one provided Caution will invalidate the warranty, since Pioneer will not Other Pioneer • When using only one set of speaker terminals be responsible for any damage incurred. (The... -
Page 7: Controls And Displays
Controls and displays Chapter 3: Remote sensor (Except A-10) 13 INPUT SELECTOR knob/indicators Receives the signals from the remote control (page 4). Turn the knob clockwise or counterclockwise so that the Controls and displays indicator lights for your desired input source. Turning PHONES jack the knob clockwise causes the lit indicator to right. -
Page 8: Rear Panel
Controls and displays Rear panel See pages 5-6 for details regarding connections. 2 2 3 2 4 2 5 A-30 2 10 2 12 GND (Turntable ground) terminal 10 AUX IN terminals This ground terminal is designed to help reduce noise 11 NETWORK IN terminals when a turntable is connected. -
Page 9: Remote Control (Except A-10)
(Cannot be used to perform playback/pause on the OPTION INPUT PD-D6/PD-D6MK2/PD-D9/PD-D9MK2 models.) SACD PLAYER FUNC NETWORK AUDIO PLAYER control buttons Use to control Pioneer network audio player. NETWORK AUDIO PLAYER FUNC LOUDNESS Use to set the loudness circuit ON/OFF (page 7). VOLUME LOUDNESS MUTE Mutes/unmutes the sound. -
Page 10: Operation
Operation Chapter 4: Set the power to Standby When using the unit as a power amplifier Operation (A-30 only) Press the remote control’s STANDBY/ When a pre-amplifier is connected to the unit’s POWER ON button. AMP DIRECT terminals, the unit can be used as a power amplifier. -
Page 11: Making An Audio Recording
Operation Making an audio recording To set for automatic standby status (Auto Power Down) You can make an audio recording from any audio source connected to the amplifier. When this condition is set, if no input signal is detected for 30 minutes, the unit will automatically enter standby status. -
Page 12: Additional Information
If the trouble cannot be rectified even after exercising the checks listed below, ask your nearest Pioneer authorized service center or your dealer to carry out repair work. • If the unit does not operate normally due to external effects such as static electricity disconnect the power plug Cleaning the unit from the outlet and insert again to return to normal operating conditions. -
Page 13: Specifications
Bi-wiring ......4 Ω to 16 Ω © 2012 PIONEER CORPORATION. All rights reserved.