Pioneer a-10-k Operating Instructions Manual
Hide thumbs
Also See for a-10-k:
- Operating instructions manual (13 pages) ,
- Operating instructions manual (88 pages)
Table of Contents
Advertisement
Advertisement
Table of Contents

Related Manuals for Pioneer a-10-k


Summary of Contents for Pioneer a-10-k
- Page 1 Operating Instructions Integrated Amplifier...
- Page 2 When you find it K041_A1_En (cooling vents not blocked) damaged, ask your nearest PIONEER authorized Do not install this unit in a poorly ventilated area, or in service center or your dealer for a replacement.
-
Page 3: Table Of Contents
Thank you for buying this Pioneer product. Please read through these operating instructions so that you will know how to operate your model properly. After you have finished reading the instructions, put them in a safe place for future reference. -
Page 4: Before You Start
Before you start Chapter 1: Before you start What’s in the box Please confirm that the following accessories are in the box when you open it. • Power cord • Operating instructions (This document) Note • Illustrations featured in the Operating Instructions may have been modified or simplified for ease of explanation, and may therefore differ from the actual product appearance. -
Page 5: Connecting Up
Connecting up Chapter 2: • During playback, be sure that both the SPEAKERS Caution A button and SPEAKERS B button are set to ON Connecting up (page 7). • The SIGNAL GND terminal is provided to reduce noise when connecting the unit to components Speaker system Speaker system such as an analog turntable. -
Page 6: Connecting Speaker Cables
Caution • The use of a power cord other than the one provided will invalidate the warranty, since Pioneer will not • If you want to use speaker cables terminated with be responsible for any damage incurred. (The... -
Page 7: Controls And Displays
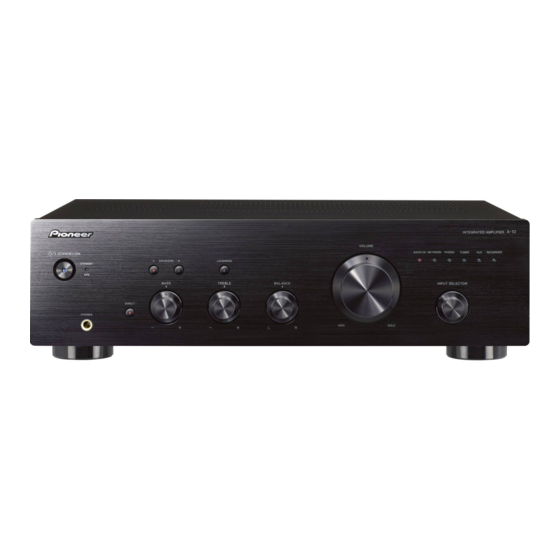
Controls and displays Chapter 3: BASS tone control Use to adjust the low-frequency tone. The center position Controls and displays is the flat (normal) position. When turned to the right, low-frequency tones are emphasized; when turned to the left, low-frequency tones are de-emphasized. •... -
Page 8: Rear Panel
Controls and displays Rear panel See pages 5 to 6 for details regarding connections. 2 2 2 3 2 4 2 5 2 10 2 12 GND (Turntable ground) terminal 10 AUX IN terminals This ground terminal is designed to help reduce noise 11 NETWORK IN terminals when a turntable is connected. -
Page 9: Operation
Operation Chapter 4: Making an audio recording Operation You can make an audio recording from any audio source connected to the amplifier. iPod dock, etc Turntable SACD/CD player iPod Music> Network audio player Extras> Settings> Shuffle Songs Backlight Tuner Playback MENU NETWORK AUDIO PLAYER N-50... -
Page 10: To Set For Automatic Standby Status (Auto Power Down)
Operation To set for automatic standby status (Auto Power Down) When this condition is set, if no input signal is detected for 30 minutes, the unit will automatically enter standby status. If the unit’s power is ON, hold the unit’s front-panel DIRECT button and LOUDNESS button depressed simultaneously for three seconds. -
Page 11: Additional Information
Pioneer authorized service center or your dealer to carry out repair work. • If the unit does not operate normally due to external effects such as static electricity disconnect the power plug Accessories from the outlet and insert again to return to normal operating conditions. - Page 12 253 Alexandra Road, #04-01, Singapore 159936 TEL: 65-6472-7555 PIONEER ELECTRONICS AUSTRALIA PTY. LTD. 5 Arco Lane, Heatherton, Victoria, 3202, Australia, TEL: (03) 9586-6300 PIONEER ELECTRONICS DE MEXICO S.A. DE C.V. Blvd.Manuel Avila Camacho 138 10 piso Col.Lomas de Chapultepec, Mexico, D.F. 11000 TEL: 55-9178-4270 K002_B3_En ©...