Motorola MC55A0 User Manual
Enterprise digital assistant
Hide thumbs
Also See for MC55A0:
- User manual (184 pages) ,
- Quick start manual (2 pages) ,
- Quick start manual (2 pages)
Table of Contents
Advertisement
Advertisement
Table of Contents

Related Manuals for Motorola MC55A0


Summary of Contents for Motorola MC55A0
- Page 1 Getting Started 1 - 11 Select Wireless Manager. Wireless Manager Window Figure 1-10 To enable or disable a wireless connection, tap the specific button. To enable or disable all wireless connections, tap and hold the All button. To configure settings for a connection, tap Menu.
-
Page 2: Handstrap Replacement
1 - 12 MC55A0/MC55N0 Enterprise Digital Assistant User Guide Handstrap Replacement Removal To remove the handstrap: Press the red Power button to suspend the MC55. The PowerKey Action window appears. Tap Safe Battery Swap. The Decode LED lights red and then turns off. -
Page 3: Installation
Getting Started 1 - 13 Handstrap and Pin Removal Figure 1-12 Repeat for the other side of the handstrap. Remove the pin from the handstrap. Pin Removal Figure 1-13 Pull the handstrap through the handstrap slot. Installation To install the handstrap: Feed the bottom end of the handstrap into the handstrap slot on the bottom of the MC55. - Page 4 1 - 14 MC55A0/MC55N0 Enterprise Digital Assistant User Guide Feed Handstrap into Handstrap Slot Figure 1-14 Slide the pin into the bottom of the handstrap. Center the pin in the handstrap loop. NOTE Handstrap and pin should fit securely into the handstrap mounting area. When pulling on handstrap use enough force to engage pin into place.
-
Page 5: Chapter 2 Operation
CHAPTER 2 OPERATION Introduction This chapter explains the buttons, status icons, and controls on the MC55, and provides basic instructions for using the MC55, including powering on and resetting. Finger Scrolling Finger scrolling can be used to scroll up and down web pages, documents, and lists such as the contacts list, file list, message list, calendar appointments list, and more. - Page 6 2 - 2 MC55A0/MC55N0 Enterprise Digital Assistant User Guide Status Bar Home Screen Tile Bar Open the Start Menu Tiles Windows Mobile Home Screen Figure 2-1 Touch and hold the screen with your finger and move the Home screen up and down. As the application names move under the Information Status bar, information relevant to that application appear in the bar.
-
Page 7: Classic Today Screen
Operation 2 - 3 Application Icon Application Information Information Bar Example Figure 2-4 To customize the screen, tap > > . On the horizontal scroll, use Home Settings Today Appearance customize the background and the to change the display format. Items Classic Today Screen The user can change to the classic Today screen layout that is used in Windows Mobile 6.1. -
Page 8: Status Bar
2 - 4 MC55A0/MC55N0 Enterprise Digital Assistant User Guide Home Screen Settings Figure 2-6 Deselect the Windows Default checkbox and select any of the other checkboxes. The task bar at the bottom of the screen can contain the task tray icons listed in Table 2-1. - Page 9 Operation 2 - 5 Notifications Connectivity Audio Battery Battery Clock Status Bar Icons Figure 2-7 Status Bar Icons Table 2-2 Icon Description Icon Description Notifications Indicates a reminder of an upcoming Notification that one or more instant calendar event. messages were received. Notification that one or more e-mail/text There are more notification icons than can messages were received.
-
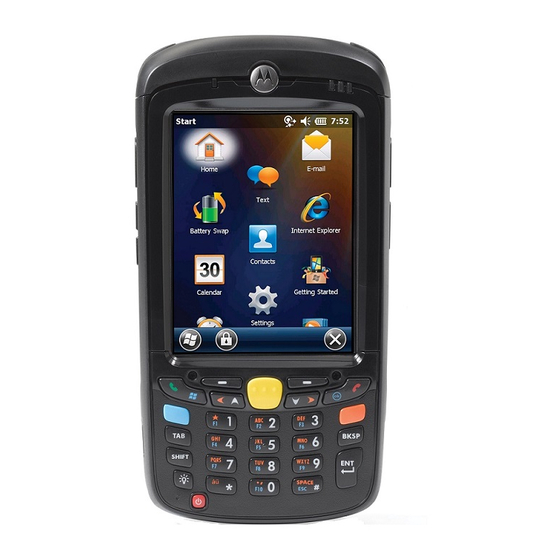
Page 10: Start Screen
2 - 6 MC55A0/MC55N0 Enterprise Digital Assistant User Guide Icon Bar Icon Bar Figure 2-8 Task Tray Icons Table 2-3 Icon Name Description Magnify Enlarges the screen. Notifications Indicates that notifications are available. Headset Indicates that a wireless stereo headset is connected to the MC55. - Page 11 Operation 2 - 7 Swipe upward to view more program and folder icons. Move often-used program and folder icons anywhere on the Start screen for easy access. Press and hold the icon and drag the icon to a new location and release. Table 2-4 lists the default icons available on the Start screen.
- Page 12 2 - 8 MC55A0/MC55N0 Enterprise Digital Assistant User Guide Programs on the Start Screen (Continued) Table 2-4 Icon Name Description Icon Name Description Calculator Perform basic arithmetic Tasks Keep track of your tasks. and calculations, such as addition, subtraction, multiplication, and division.
- Page 13 Requires the level of management purchase of an MSP client functionality required. license per device. DEMO Provides a link to Motorola’s BTExplorer Manages StoneStreet One featured demos. Bluetooth connections. Refer to the MC55 Series Mobile Computer Integrator Guide for more information.
- Page 14 2 - 10 MC55A0/MC55N0 Enterprise Digital Assistant User Guide Setting Applications (Continued) Table 2-5 Icon Name Description Icon Name Description Connections Folder Beam Set the MC55 to receive Connections Set up one or more types of incoming IrDA beams. Not modem connections for your supported on MC55.
-
Page 15: Start Screen Settings
Operation 2 - 11 Setting Applications (Continued) Table 2-5 Icon Name Description Icon Name Description Memory Check the device memory Regional Set the regional allocation status and Settings configuration to use, memory card information including the format for and stop currently running displaying numbers, programs. -
Page 16: Ie Zoom Mapping
2 - 12 MC55A0/MC55N0 Enterprise Digital Assistant User Guide Start Screen Settings Tab Figure 2-10 Select the number of columns. Tap OK. NOTE Tap Reset to return to the default 3 Column setting. Tap OK. Preform a warm boot. IE Zoom Mapping When Internet Explorer opens, the volume keys on the side of the MC55 are used to zoom in and out. -
Page 17: Locking The Mc55
Operation 2 - 13 Locking the MC55 Lock the MC55 by disabling key presses and screen tap or by requiring a password. Locking the MC55 turns off keyboard and touch screen functionality. This is helpful when the MC55 is turned on and you want to prevent accidental key presses. -
Page 18: Locking With Strong Password
2 - 14 MC55A0/MC55N0 Enterprise Digital Assistant User Guide Locking with Strong Password When the MC55 is locked, the Lock screen appears. Strong Password Lock Screen Figure 2-14 Enter the strong password and then tap Unlock. Password Locking Setup Use the window to set a password to disable unauthorized access to the MC55. -
Page 19: Battery Status Indications
Operation 2 - 15 Enter a seven character password in the field. A strong password must contain at least Password: seven characters and contain at least three of the following: uppercase and lowercase letters, numerals, and punctuation. Re-enter the password in the field. -
Page 20: Battery Reserve Options
2 - 16 MC55A0/MC55N0 Enterprise Digital Assistant User Guide Battery Reserve Options If the charge of the battery reaches a critical threshold, the MC55 shuts down. This threshold can be changed but affects the amount of time that data can be retained.