
Related Manuals for Toro Power Plex 51482


Summary of Contents for Toro Power Plex 51482
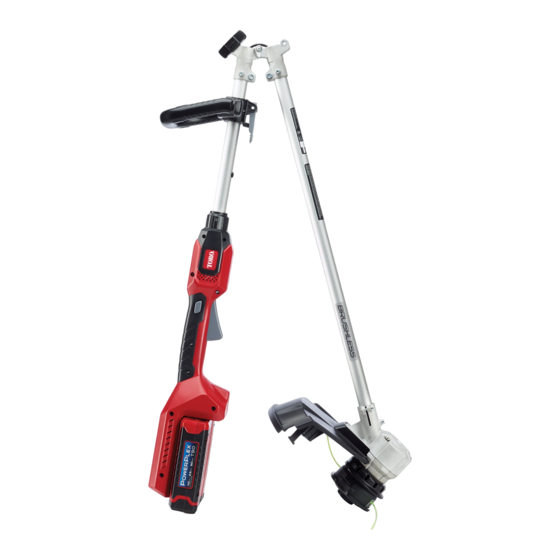
- Page 1 Form No. 3415-819 Rev A Power Plex ™ 14in 40V MAX String Trimmer Model No. 51482—Serial No. 317000001 and Up Model No. 51482T—Serial No. 317000001 and Up *3415-819* A Register at www.Toro.com. Original Instructions (EN)
- Page 2 Do not use a power tool You may contact Toro directly at www.Toro.com for while you are tired or under the influence product and accessory information, help finding a of drugs, alcohol, or medication.
- Page 3 E. Store idle appliances indoors. When not C. Use only the following type and size in use, appliances should be stored indoors battery(ies): Toro battery Model 88540 or in a dry and high or locked-up place, out of 88541. the reach of children.
-
Page 4: Safety And Instructional Decals
Safety and Instructional Decals Safety decals and instructions are easily visible to the operator and are located near any area of potential danger. Replace any decal that is damaged or missing. decal136-2465 136-2465 Model 51482 decal136-2466 136-2466 Model 51482T decal136-2473 136-2473 decal136-2471 136-2471... - Page 5 decal136-2539 136–2539 1. Charge the battery where the temperature is between 0°C and 40°C (32°F and 104°F). decal136-2533 136-2533 1. Warning—read the Operator’s Manual; keep away from moving parts; keep all guards and covers in place; wear eye protection; do not operate in wet conditions. decal136-2534 136-2534 1.
-
Page 6: Loose Parts
Setup Loose Parts Use the chart below to verify that all parts have been shipped. Procedure Description Qty. – No parts required Mount the battery charger (optional). Connector knob Unfold the handle. Auxiliary handle Install the auxiliary handle. Guard Install the guard. Phillips head screw Note: The battery pack is not fully charged when you purchase it. -
Page 7: Unfolding The Handle
Unfolding the Handle Parts needed for this procedure: Connector knob Procedure 1. Unfold the handle (A of Figure 2. Install the connector knob to secure the handle (B of Figure Note: The nut that holds the handle connector knob in place is lightly secured in the connector housing with a piece of tape. -
Page 8: Installing The Auxiliary Handle
Installing the Auxiliary Installing the Guard Handle Parts needed for this procedure: Guard Parts needed for this procedure: Phillips head screw Auxiliary handle Procedure Procedure Remove the 4 Phillips head screws that are taped to 1. Line up the groove along the handle with the the guard and use them to install the guard (Figure groove on the auxiliary handle and slide the... -
Page 9: Product Overview
Product Overview Operation Specifications Starting the Trimmer 1. Make sure that the vents on the trimmer are Appropriate Temperature Ranges clear of any dust and debris. Charge the battery at 0°C (32°F) to 40°C (104°F)* Use products at -15°C (5°F) to 60°C (140°F) Store products at -20°C (-4°F) to 60°C (140°F) Unplug the charger if... -
Page 10: Stopping The Trimmer
Stopping the Trimmer To stop the trimmer, release the trigger. Removing the Battery Pack from the Trimmer Press the battery latch on the machine to release the battery pack and slide the battery pack out of the machine (Figure g192748 Figure 9 1. -
Page 11: Adjusting The Auxiliary Handle
Adjusting the Auxiliary Left Light Right Light Indicates: Charger is on; no battery Handle pack inserted 1. Release the auxiliary-handle latch (A of Figure Battery pack is charging 12). Green Battery pack is charged 2. Slide the auxiliary handle up or down to your Orange Battery pack is too warm desired height (B of... -
Page 12: Operating Tips
Operating Tips • Keep the trimmer tilted toward the area being cut; this is the best cutting area. • The string trimmer cuts when you move it from left to right. This prevents the trimmer from throwing debris at you. •... -
Page 13: Maintenance
After each use of the trimmer, complete the following: string. Use the original manufacturer’s replacement string for best performance (Toro Part No. 88546). 1. Remove the battery from the trimmer. 2. Wipe the trimmer clean with a damp cloth. Do... -
Page 14: Replacing The String
Replacing the String Storage 1. Remove the battery. Important: Store the tool, battery pack, and charger only in temperatures that are within the 2. Remove the spool; refer to Replacing the Spool appropriate range; refer to Specifications (page (page 13). Important: If you are storing the tool for a year or longer, remove the battery pack from the tool and... -
Page 15: Troubleshooting
Troubleshooting Perform only the steps described in these instructions. All further inspection, maintenance, and repair work must be performed by an authorized service center or a similarly qualified specialist if you cannot solve the problem yourself. Problem Possible Cause Corrective Action The tool does not start. - Page 16 Problem Possible Cause Corrective Action An audible tone sounds when advancing 1. This is a normal occurrence. 1. Stop the tool by releasing the trigger the line using the bump feed. and then start the tool. It is difficult to remove the battery pack 1.
- Page 17 Notes:...
- Page 18 Notes:...
- Page 19 Notes:...
- Page 20 Does not include the battery. 1 Year Battery Warranty for Residential Use. If you think your Toro Product contains a defect in materials or workmanship, if you have questions or problems, and before returning this product call toll free:...