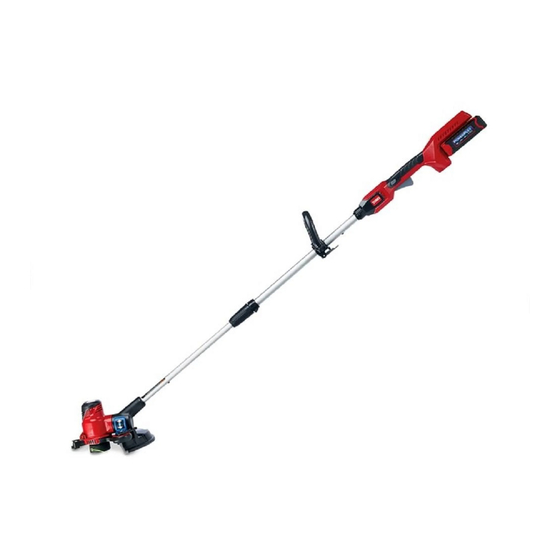
Summary of Contents for Toro Power Plex 51481
- Page 1 Form No. 3408-721 Rev A Power Plex™ 13in 40V MAX String Trimmer Model No. 51481—Serial No. 317000001 and Up Model No. 51481T—Serial No. 317000001 and Up *3408-721* A Register at www.Toro.com. Original Instructions (EN)
- Page 2 A. Stay alert; watch what you are doing and use common sense when operating a power tool. Register your product at www.Toro.com to ensure that Toro Do not use a power tool while you are tired can notify you in the case of a safety or warranty product or under the influence of drugs, alcohol, or recall.
- Page 3 B. Do not use battery-operated appliance in the rain. C. Remove the battery pack from the power tool C. Use only the following type and size battery(ies): Toro before making any adjustments, changing battery Model 88540 or 88541. accessories, or storing power tools. Such D.
-
Page 4: Safety And Instructional Decals
Safety and Instructional Decals Safety decals and instructions are easily visible to the operator and are located near any area of potential danger. Replace any decal that is damaged or missing. decal136-2463 136-2463 Model 51481 decal136-2473 136-2473 decal136-2464 136-2464 Model 51481T decal136-2474 136-2474 decal136-2471... - Page 5 decal136-2482 136-2482 1. String trimmer edger decal136-2534 136-2534 1. The battery does not 4. Stop—follow these come out of the box fully instructions before first charged. use. 2. Place the battery in the 5. Read the Operator’s decal136-2484 battery charger. Manual.
- Page 6 Setup Loose Parts Use the chart below to verify that all parts have been shipped. Procedure Description Qty. – No parts required Mount the battery charger (optional). – No parts required Unfold the handle. Auxiliary handle Install the auxiliary handle. Guard Install the guard.
-
Page 7: Unfolding The Handle
Unfolding the Handle No Parts Required Procedure 1. Unfold the handle (A of Figure 2. Press and hold the locking button on the upper shaft, align the locking button with the slotted hole on the lower shaft, and slide the 2 shafts together. Once the slotted hole on the lower shaft is past the locking button, release the locking button, and slide the lower shaft into the upper shaft until the trimmer is at the desired height (B of Figure Note: Use the locking button only for assembly and disassembly. -
Page 8: Installing The Auxiliary Handle
2. Secure the guard onto the base of the trimmer with the 2 Phillips screws (B of Figure Installing the Auxiliary Handle Parts needed for this procedure: Auxiliary handle g203804 Figure 4 Procedure 1. Line up the groove along the handle with the groove on the auxiliary handle and slide the auxiliary handle toward the trimmer handle (A of Figure... -
Page 9: Operation
Stopping the Trimmer Operation To stop the trimmer, release the trigger. Starting the Trimmer Removing the Battery Pack 1. Make sure that the vents on the trimmer are clear of any dust and debris. from the Trimmer Press the battery latch on the machine to release the battery pack and slide the battery pack out of the machine (Figure g194612... -
Page 10: Charging The Battery Pack
Charging the Battery Pack Important: Read all safety precautions. Important: For best results, charge your battery pack in a location where the temperature is more than 0°C (32°F) but less than 50°C (122°F). To reduce the risk of serious personal injury, do not store it outside or in vehicles. -
Page 11: Advancing The Line
Adjusting the Handle Height Left Light Right Light Indicates: Charger is on; no battery 1. Loosen the lower shaft connector (A of Figure 13). pack inserted 2. Slide the telescoping shaft to your desired position (B Battery pack is charging Figure 13). -
Page 12: Operating Tips
Trimming Operating Tips • Keep the trimmer tilted toward the area being cut; this is the best cutting area. • The string trimmer cuts when you move it from left to right. This prevents the trimmer from throwing debris at you. •... -
Page 13: Maintenance
Replacing the Spool Use only 2 mm (0.080 inch) diameter monofilament string. Use the original manufacturer’s replacement string for best performance (Toro Part No. 88545). Important: Using a larger diameter string causes the motor to overheat and fail. 1. Remove the battery. -
Page 14: Preparing The Battery Pack For Recycling
Storage Important: Store the tool, battery pack, and battery charger only in temperatures between -20°C (-4°F) and 70°C (158°F). Important: Unplug the charger if you store it below -20°C (-4°F) or above 70°C (158°F). Important: If you are storing the tool for a prolonged period of time, remove the battery pack. -
Page 15: Troubleshooting
Troubleshooting Perform only the steps described in these instructions. All further inspection, maintenance, and repair work must be performed by an authorized service center or a similarly qualified specialist if you cannot solve the problem yourself. Problem Possible Cause Corrective Action The tool does not start. - Page 16 Does not include the battery. 1 Year Battery Warranty for Residential Use. If you think your Toro Product contains a defect in materials or workmanship, if you have questions or problems, and before returning this product call toll free:...


