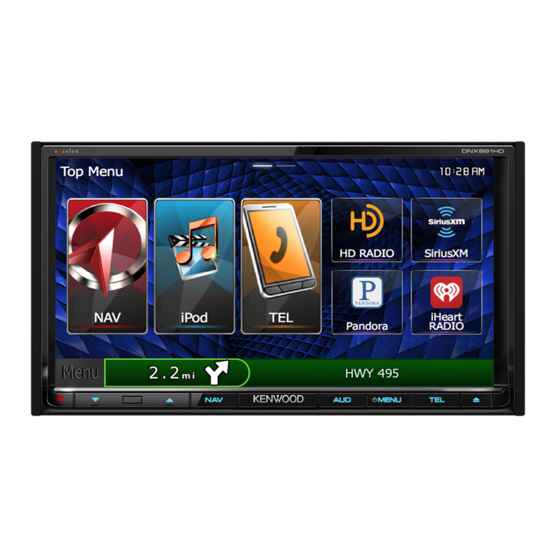
Kenwood DNX891HD Firmware Upgrade Manual
Bluetooth built-in 7" wide vga dual din monitor with gps navigation system
Hide thumbs
Also See for DNX891HD:
- Quick start manual (214 pages) ,
- Instruction manual (143 pages) ,
- Quick start manual (56 pages)
Advertisement
Quick Links
Download this manual
See also:
Instruction Manual
2014 NAVIGATION/MULTIMEDIA Receiver Firmware Update Guide
Introduction
• This document describes the procedure and precautions for
upgrading the 2014 NAVIGATION/MULTIMEDIA receiver firmware.
• If an error occurs while you are updating the firmware, the 2014
NAVIGATION/MULTIMEDIA receiver may become unusable. Be sure
to read the following procedure and precautions carefully before
updating the firmware.
Target Models
This updater can be used to update the firmware of the following
models.
DNX891HD
DNX771HD
DNX691HD
DNX571HD
DNX535VBTM
DNX535VBT
DNX5350BT
DNX525DAB
DNX4250BT
Target Firmware
This updater can be used to update the following firmware version:
Ver 1.3.0 or earlier
To check the firmware version, refer to "Checking the Firmware
Version" below for information on how to check the firmware version.
By executing this updater, the firmware version will become
"Version 1.4.0".
Creating the Update Media
Create the update media on your PC.
1. Download the Updates from the Web site.
2. Decompress the downloaded file.
3. Copy the decompressed file to the top of hierarchy in USB
memory.
⁄
• USB memory is recommended as the update media.
• You can also copy the updater to a device containing audio files and
update the firmware from it.
• Update cannot be performed if it is copied inside a folder.
• If the updater file name is changed, update cannot be performed.
Checking the Firmware Version
1. Press the [Menu].
2. Press the [SETUP] icon to display the Setup Menu screen.
Kenwood Car Audio
DNX7710BT
DNX7250DAB
DNX571EX
DNX5710BT
DNX5350DAB
DNX5350BTM
DNX5250BT
DNX4250DAB
3. Press the [Software] to display the Software Information
screen.
4. Check the version.
Updating the Program
1. Connect the USB memory.
2. When an audio file is played or "No Media File" is displayed,
press the [MENU] button and select "STANDBY" (standby
state).
3. Press the [SETUP] icon to display the Setup Menu screen.
4. Press the [Software] to display the Software Information
screen.
5. Press the [Update] to update starts. (It takes about 5
minutes.)
Caution: The screen may go blank for a few seconds.
Do not unplug the USB memory or Power Off the unit
during the Update Procedure.
6. System Reboot & Software Update Screens
7. Once the "Update completed" screen is displayed, remove
the USB memory and restart the unit.
8. Check that the firmware version is updated, by referring to
"Checking the Firmware Version".
When "Version 1.4.0" is displayed, the firmware version is
updated successfully.
Precautions
• Update cannot be performed with other media.
• Be sure to park the vehicle in a safe place before updating. Keep the
engine running in order to prevent battery from running out.
• Do not turn off the engine or Navigation/Multimedia receiver power
while updating. Update cannot be performed correctly and the
Navigation/Multimedia receiver may become unusable.
Car Audio & Electronics
Advertisement


