Beko CEG5331X User Manual
Fully automatic espresso machine
Hide thumbs
Also See for CEG5331X:
- User manual (351 pages) ,
- User manual (29 pages) ,
- User manual (290 pages)
Table of Contents
Advertisement
Quick Links
Advertisement
Table of Contents

Related Manuals for Beko CEG5331X


Summary of Contents for Beko CEG5331X
- Page 1 Fully Automatic Espresso Machine User Manual CEG5331X 01M-8813563200-2419-03...
- Page 2 CONTENTS ENGLISH 12-38...
- Page 12 Please read this user manual first! Dear Customers, Thank you for selecting a Beko product. We hope that you get the best results from your product which has been manufactured with high quality and state-of-the-art technology. Therefore, please read this entire user manual and all other accompanying documents carefully before using the product and keep it as a reference for future use.
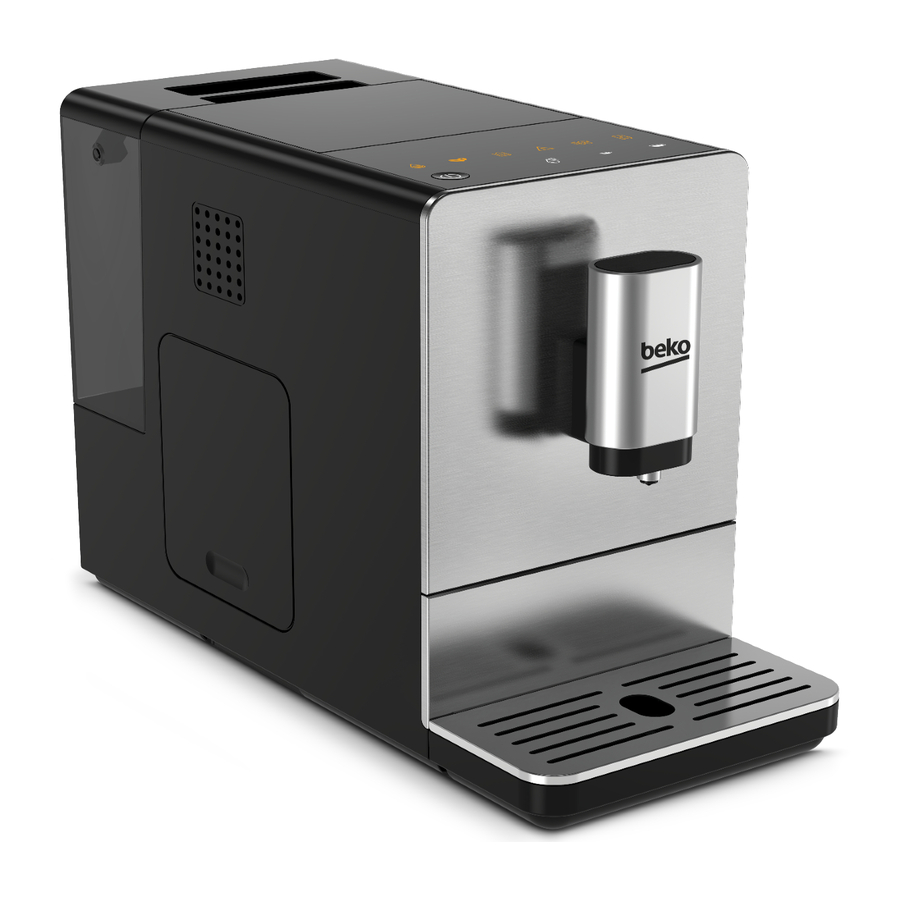
- Page 13 Technical data 1. External Drip Tray 2. Internal Drip Tray Power supply: 3. Coffee Grounds Container 220-240 V~, 50-60 Hz 4. Adjustable coffee spout Power: 1350 W 5. Control Panel Technical and design 6. Coffee Bean compartment modifications reserved. 7. Coffee Beans Container Cover All declared values on the product and on the printed leaflets 8.
-
Page 14: Important Instructions For Safety And Environment
1 Important instructions for safety and environment This section includes the safety instructions that will help providing protection against personal injury and material loss risks. Failure to follow these instruc- tions invalidates the granted warranty. 1.1 Danger of electric current Danger to life by electric current! Contact with live wires or components could lead to serious injury or even death! -
Page 15: Danger Of Burning Or Scalding
1 Important instructions for safety and environment • Before cleaning the bean container, pull the mains plug of the appliance out of the socket. Danger from rotating coffee mill! 1.2 Danger of burning or scalding Parts of the coffee machine can become very hot during operation! Dispensed drinks and escaping steam are very hot! Observe the following safety precautions to avoid... - Page 16 1 Important instructions for safety and environment • Inspect the coffee machine for visible signs of damage before use. Do not use a damaged coffee machine. • If the connecting cable is damaged, it should only be replaced by a service agent recommended by the manufacturer in order to prevent any danger! Please contact the manufacturer or his customer service.
- Page 17 1 Important instructions for safety and environment • This appliance can be used by children from the age of 8 up as well as by persons with reduced physical, sensory or mental abilities or with lacking experience and/or knowledge, if these persons are supervised or have been instructed how to use the appliance in a safe way and have understood the hazards which could arise from using it.
- Page 18 1 Important instructions for safety and environment • Never immerse the coffee machine itself, the mains cable or the mains plug into water or other liquids. • Do not clean the coffee machine or accessories in a dish washer. • Do not pour any other liquids apart from water or place foodstuffs into the water tank.
-
Page 19: Intended Use
1.4 Intended use The fully automatic coffee machine Beko is intended for use in homes and similar applications, for instance in staff kitchens, shops, offices and similar areas or by customers in bed & breakfast, hotels, motels and other living accommodation. -
Page 20: Limitation Of Liability
1 Important instructions for safety and environment 1.5 Limitation of liability All technical information, data and instructions on installation, operation and maintenance of the coffee machine contained in these operating in- structions represent the current status at the time of printing and are based on the best possible knowledge gained by experience and knowhow. -
Page 21: Compliance With Rohs Directive
1 Important instructions for safety and environment 1.7 Compliance with RoHS Directive The product you have purchased complies with EU RoHS Directive (2011/65/EU). It does not contain harmful and prohibited materials speci- fied in the Directive. 1.8 Package information Packaging materials of the product are manufactured from re- cyclable materials in accordance with our National Environment Regulations. -
Page 22: Plug Wiring
1 Important instructions for safety and environment 1.9 Plug Wiring The moulded plug on this appliance incorporates a 13 A fuse. Should the fuse need to be replaced an ASTA approved BS1362 fuse of the same rating must be used. Do not forget to refit the fuse cover. In the event of losing the fuse cover, the plug must not to be used until a replacement fuse cover has been fitted. -
Page 23: Control Panel
Display 2.1 Control Panel Flashing: Low water level/ Water tank missing Lack of bean Lights up stably: coffee grounds container is full Flashing: Internal Drip Tray/coffee grounds container is missing Lights up stably: Brewer is missing/ installed improperly Flashing: Service door is opened / installed improperly Lights up stably: Requires to do descaling Flashing: Descaling is under process... - Page 24 Display Hot Water Button Espresso Button Cappuccino Latte Macchiato One time: Quick clean Two time: Milk frother function In the box, three packs of cleaning agents are included for the process of self-cleaning. 24 / EN Fully Automatic Coffee Machine / User Manual...
-
Page 25: Installation
Preparation 3.1 Installation Remove any protective films, stickers and any other packing material on the appliance. 3.3 Filling the water tank WARNING: When is flashing, the water tank is in low water level and requires filling the water tank. To prevent overflow of water from the water tank, do not add water directly into the appliance with another container. -
Page 26: Operation
Operation When is flashing, the appliance needs to be filled with cof- fee bean. WARNING: Fill the coffee bean container only with coffee beans. Grounded coffee, instant coffee, caramelized coffee and any other objects may damage the machine. Press the hot water button to clean inside of the coffee maker before first use. -
Page 27: Hot Water
Operation There is a protective cover for the milk tube connector inlet, just take it off when you need to insert the milk tube connector. Cleaning the automatic milk froth system before first use. Use cold milk (at a temperature of approximately 5°C/41°F) with a protein content of at least 3% to ensure an optimal frothing result After use, press button once to perform quick cleaning the... - Page 28 Operation ting. ECO Mode Speed Mode Default Setting Illumination Light Pre-brewing* Auto shut off time 10mins 30mins 20mins Cup Volume memory The pre-brewing function moistens the grounded beans in the brewer with a small amount of water before full extraction. This expands the coffee grounds to build up a greater pressure in the brewer which help extraction of all the oils and full flavor from the grounded beans.
- Page 29 Operation Cappuccino button Latte button Espresso button In ECO Mode Lights ON Flashing Flashing In Speed Mode Flashing Lights On Flashing In Default Setting Flashing Flashing Lights On 3. Press the Cappuccino button for ECO mode, Latte button for speed mode and Espresso button for default setting.Two Beep sound will be heard indicates that the mode is being selected.
-
Page 30: Cleaning Of The Appliance
Cleaning 5.1 Cleaning of the appliance WARNING: Never use any abrasive, vinegar or descaling agents not included in the box to clean the appliance. When lights up, the coffee grounds container needs to be empty. When lights up stably, it indicates that the brewer is missing / installed improperly. - Page 31 Cleaning WARNING: Do not use vinegar or other cleaning agent to do self-cleaning of this appliance. The cleaning agent might damage the appliance. 3. Plug in the appliance. 4. Place a sufficient large container under the coffee spout. 5. In standby condition, press and hold and Latte button for 5 se- conds.
-
Page 32: Manual Rinsing
Cleaning 5.3 Empty System Function The empty system function is recommended to be used before long period of non-use, frost protection and before talking to repair agent. 1. In standby condition, press and hold the and Espresso button gether for 5 seconds. will then be flashing. - Page 33 Cleaning WARNING: Water comes out of the coffee nozzle is hot and is collected in the drip tray underneath. Avoid contact with splashes of water. 3. After rinsing, the appliance will return to the standby condition. 5.5 Further Setting 5.5.1 Adjusting The Quantity Of Your Coffee/ Hot Water The machine can memorize your desired volume of coffee and hot water.
- Page 34 Cleaning 4. The machine dispenses hot water. Touch and hold the button; release the button when it reaches your desired volume. Dispensing stops now and the volume is now stored The Latte/Cappuccino/Coffee/Hot water button is programmed: every time it’ s pressed, the machine will brew the same amount set.
-
Page 35: Troubleshooting
Troubleshooting Problem Cause Solution The appliance does not work. The appliance is not connected - Plug in and press the switch. to the mains. - Check the cable and the Plug No or delayed response in - Appliance is under an Unplug the appliance. - Page 36 Troubleshooting Problem Cause Solution The touch buttons are not Not pressing the touch button Press the lower bottom part of sensitive from the front direction of the the icon of the touch button appliance from the front direction of the appliance.
- Page 37 Troubleshooting Problem Cause Solution No milk foam out from the The hole of Milk tube connector Refer to section “Daily Cleaning machine is blocked by milk residues of the appliance” ,follow “cleaning the milk container and connection milk tube”, Clean the connector and make sure all the hole on the connector is clean, use needle or bristle of brush to clean the...
- Page 38 Product Guarantee 12 months breakdown and repair guarantee Guarantor: Beko plc, 1 Greenhill Crescent, Watford, Hertfordshire. WD18 8UF The guarantee does not in any way diminish your statutory or legal rights. Your appliance has the benefit of our manufacturer’s guarantee which covers the product for 12 months from the date of original purchase.
- Page 39 www.beko.co.uk...