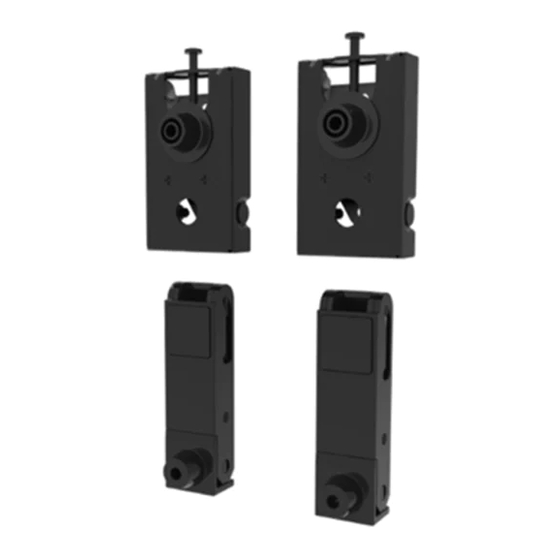
Summary of Contents for LG MSW240
- Page 1 OWNER’S MANUAL Mini Wall Mounting Bracket Please read this manual carefully before installing this product and retain it for future reference. MSW240 www.lg.com (Korea : www.lge.co.kr) P/NO : MFL63640541 (1302-REV01) (Brazil : www.lge.com)
-
Page 2: Product Composition
Product Composition <Main Unit> <Component> Guide spacer Guide space screw Lower spacer screw 2 units 2 units 2 units Wall Bracket Top 2 units Wall mount anchor User manual VESA guide paper 4 units Lower spacer Safety/horizontal 2 units alignment screws 2 units IMPORTANT SAFETY INSTRUCTIONS Read these instructions. -
Page 3: Before Installation
Caution Install the product according to the directions in the When installing the product or adjusting the height of user manual. the product after installing, always do so with 2 people. If the product is not installed based on the directions in Working alone can cause the product to fall off and result in the user manual, it can cause a serious injury or damage injury or damage to the product. -
Page 4: Installation Method
Installation method - The actual product may differ from the illustrations in this manual. Attaching the mounting bracket to the TV - If the screws are not fully tightened when you attach the guide spacers and the lower spacers, check the length of the screws and refer to the technical service manual. - Page 5 How to attach to masonry walls Please follow the directions below. - Check the material and thickness of the wall. - Do not mount the device on a wall made with plaster board or medium density fiberboard (MDF). Otherwise, you must attach the anchor and screws to the retaining wall (concrete) inside the finishing material. If there is no retaining wall, you must install a separate hanger first and then attach the anchors and screws.
- Page 6 Installing Wall Mounting Bracket <Attaching the screws> b Install the brackets to the desired mounting locations on the wall. b If either of the mounting locations is inappropriate for installation, move both of the brackets to the locations that meet the conditions above.
- Page 7 <Attaching Cables> Lift the set as shown in the left figure to attach cables. Pull the lower part of the set forward as shown in ❶, Turn the lower spacer brackets to 90 degrees as shown in ❷. Make sure that the set maintains this angle. After the installation, follow the instructions in reverse order (❷...
- Page 8 Horizontal Level Adjustment If the set is not correctly horizontal aligned after the installation, adjust it using the ❶ screw. (The product tilt is changed according to bolt’s rotation direction.) VESA 200X200 : ± 10 mm (Leveling) VESA 400X400 : ± 10 mm (Leveling) ❶...
-
Page 9: Adjusting Angle
Please follow the instructions. Cinema Screen models (LM64**, LM66**, LM67**, LM76**, LM86**, LA66**, LA69**, LA74**, LA79**, LA86**) are easily damaged by external shock, so please handle the product with care. Do not touch the screen when lifting the TV. For more information, please refer to the owner's manual of the TV. Adjusting Angle - Follow the instructions in the figure below to adjust the angle to watch with the set. -
Page 10: Product Specification
Cable and Protective Cushion Arrangement - Arrange the cables as shown in the picture. Use some type of cable banding device to hold all the cables together. Product specification MSW240 Model Name Wall Bracket Top Lower spacer Width (mm) Height (mm) Depth (mm) 22.5... - Page 11 Product Standard Size and Installation Dimensions [ Unit : mm ] < VESA 400 X 400 > Product specification Min. Max. < VESA 200 X 200 > Min. Max.
- Page 12 The model and serial number of the product is located Supported Displays on the back or one side of the product. Record it below (Please contract the retailers or refer to the TV owner’s should you ever need service. manual for applicable models.) MODEL SERIAL...


