
Related Manuals for Hitachi PHKM050SAH1


Summary of Contents for Hitachi PHKM050SAH1
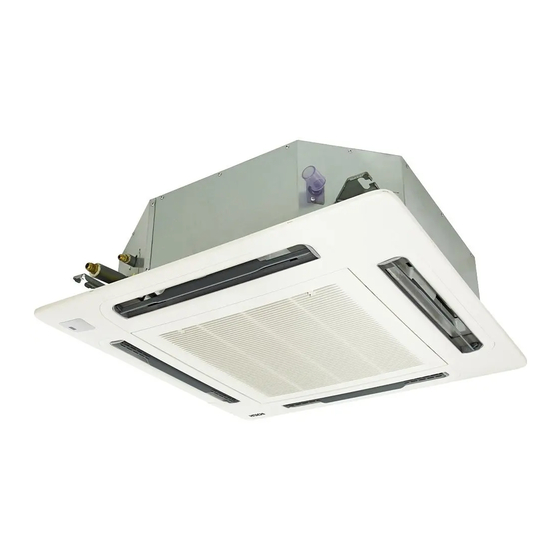
- Page 1 Installation Manual Technica l Catalog for Outdoor Unit For Air Panel Model: PHKM050SAH1 PHKF160SAH1 HPM2017021HB...
-
Page 2: Important Notice
Installation Manual IMPORTANT: For Air Panel READ AND UNDERSTAND THIS MANUAL BEFORE Model: PHKM050SAH1 USING THIS AIR PANEL. PHKF160SAH1 KEEP THIS MANUAL FOR FUTURE REFERENCE. PREFACE Do not install the unit in the following places. It causes failure to the unit in many cases. -
Page 3: Before Installation
Check to ensure that the following accessories are packed with the Step 2 air panel. Mount the air panel onto the air panel fixing position by using the For cassette supporting panels PHKM050SAH1: factory-supplied fixing screws (M5×25 screws). INDOOR UNIT Name Q’ty... - Page 4 Projection 2.3.2 For cassette supporting panels PHKF160SAH1 Step 1 Remove the corner pocket cover as shown below(4 portions). Pull the fixing hook towards the arrow mark according to the order “①”, “②” and “③”. Band The corner pocket cover can be lifted. After lifting, move it in “④”direction, disconnect the L-shaped hook and dismantle the corner pocket cover.
- Page 5 2.4 Wiring Connection for Air Panel The wiring connector is located at the panel as shown in the figure. If the long screws are tightened insufficiently, it may cause of the failure. Air Leakage Smudge Dewing When there is still the gap even after tightening the long screws firmly enough, readjust the height of the indoor unit.
- Page 6 Specifications in this document are subject to change without notice, in order that Hitachi -Johnson Controls Air Conditioning, Inc.may bring the latest innovations to their customers. Hitachi-Johnson Controls Air Conditioning, Inc. ©2017Hitachi-Johnson Controls Air Conditioning, Inc.