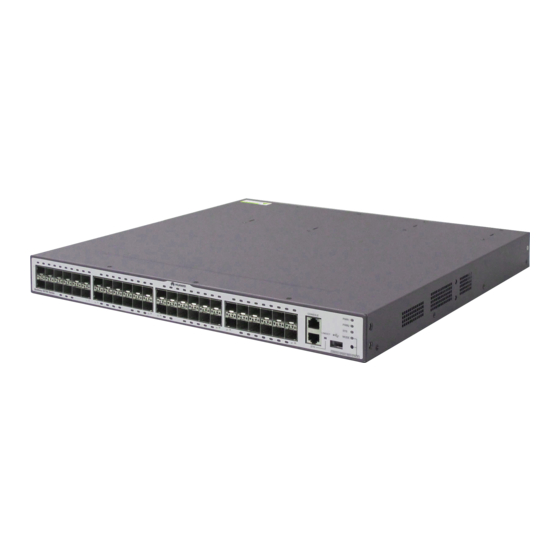
Huawei S2700 Series Quick Installation Manual
Hide thumbs
Also See for S2700 Series:
- Configuration manual (354 pages) ,
- Hardware installation and maintenance manual (183 pages) ,
- Quick start manual (62 pages)
Advertisement
Quick Links
S2700/3700/5700/6700
S2700/3700/5700/6700
S2700/3700/5700/6700
Series Ethernet Switches
Series Ethernet Switches
Series Ethernet Switches
Quick Installation Guide
Quick Installation Guide
Part number: 31504991
Rev: 07
The device model is on the product nameplate.
Tool List
Crosshead
Flathead
Marker pen
screwdriver
screwdriver
Claw hammer
Adjustable
ESD-preventive
Cable tie
spanner
Accessories
AC terminal
Rubber pads
Captive nut
M4 screw
M6 screw
loose-proof pinch
Precautions
● Before installation, take ESD-preventive measures, for example, wear ESD-preventive gloves or a wrist strap.
● When the devices without fans are piled, ensure that the distance between each two devices is no less than 1U.
● Leave at at least 50 mm space beside and behind the chassis to allow for cooling air circulation.
● The AC terminal loose-proof pinch is used only when the switch is placed on a desk or wall-mounted.
Installing the Device in a Cabinet
● When the ground screw is located on one side of the switch, the ground cable cannot be connected when the switch is in a cabinet. Connect the
ground cable before installing the switch in the cabinet.
● The S6700 chassis is 420 mm in depth. To fix the S6300 chassis securely in a rack, install guide rails in the rack.
● When the 220 mm depth chassis of an S2700 or S3700 is installed in a cabinet, use two screws to install the rack-mounting ear onto the chassis.
● The dimensions of RPS1800 chassis are 442 mm x 310 mm x 43.6 mm (W x D x H) and can be installed only in a 19-inch IEC cabinet.
● The RPS1800 can use only short rack-mounting ears, which are installed at two ends and middle of each side.
1
Fix the rack-mounting ears.
A
B
C
M4
M4
IEC cabinet (19 inch)
IEC cabinet (19 inch)
ETSI cabinet (21 inch)
D
E
S2700-9TP-SI/EI
S5710-EI
M4
IEC cabinet (19 inch)
IEC cabinet (19 inch)
Service and Support
Huawei Technologies Co., Ltd.
Address: Administration Building,
Huawei Technologies Co.,
Ltd.,Bantian, Longgang
M6 Plug bolt
Percussion drill
District,Shenzhen,People's
(φ8 Drill bit)
Republic of China
Email: support@huawei.com
Website: http://www.huawei.com
Postcode: 518129
Optical fiber
Diagonal pliers
bundling tape
Rear
Long
Short
rack-mounting
rack-mounting ear
rack-mounting ear
ear(S5710 -EI)
2
Fix the captive nuts.
1U=44.45mm
M4
3
Install the device in a cabinet.
>=1U
Installing the Device on a Worktable(The S6700 cannot be placed on a worktable)
Adhibit the rubber pads.
Rubber pads
Installing the Device on a Wall
● The S6700 and S5710-EI cannot be wall-mounted.
● To prevent injuries, check that there is no electrical wire at the locations to be drilled before drilling holes in the wall.
● When the 220 mm depth chassis of an S2700 or S3700 is mounted on the wall, use two screws to install the rack-mounting ear onto the chassis.
● When a device is mounted to the wall, the front panel must face down to prevent water.
● Ensure that there are no flammable or explosive materials near the switch and no sundries within 100 mm around the switch.
Fix the rack-mounting ears.
Front
rack-mounting
ear(S5710 -EI)
Mark the hole locations on the wall according to
the device installed with rack-mounting ears.
Installing and Removing the Modules
1U
● The power supplies and fan modules are hot swappable, but service cards are not. (The service cards of S5700-28C-HI, S5700-28C-HI-24S,
S5710-28C-EI, and S5710-52C-EI are hot swappable.)
Installation of the power
supply module.
M6
● A 4-port GE optical interface card or 4-port 10GE optical interface card must be installed together with an external channel card (except on
an S5700-28C-HI or S5700-28C-HI-24S). Otherwise, the interface card cannot work.
● Remove blank panels before installing service modules.
Install the device on a worktable.
Install the plug bolt.
M4
φ8 Drill bit
90 。
Install the device on the wall.
Removal of the power
Installation of the front-access
supply module.
service module.
Copyright © Huawei Technologies Co., Ltd. 2012. All rights reserved.
M6 plug bolt
Installtion of the rear-access
service module.
Advertisement

Related Manuals for Huawei S2700 Series


Summary of Contents for Huawei S2700 Series
- Page 1 ● A 4-port GE optical interface card or 4-port 10GE optical interface card must be installed together with an external channel card (except on an S5700-28C-HI or S5700-28C-HI-24S). Otherwise, the interface card cannot work. ● Remove blank panels before installing service modules. Copyright © Huawei Technologies Co., Ltd. 2012. All rights reserved.
- Page 2 ● Lay out and bundle power cables, optical fibers, and Ethernet cables separately, with the distances in between longer than 10 cm. During the cabling, if the quantity of cables is rather great, you can route the cables in the cabinet first, and then install connectors to the cables. Copyright © Huawei Technologies Co., Ltd. 2012. All rights reserved.