Epson ET-8500 Quick Start Manual
Hide thumbs
Also See for ET-8500:
- User manual (284 pages) ,
- User manual (347 pages) ,
- Quick start manual
Advertisement
Quick Links
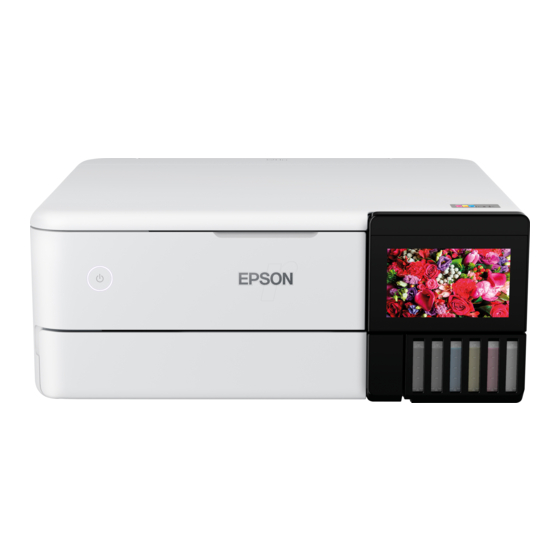
ET-8500/ET-8550
Start Here
IMPORTANT: Before using this product, make sure you read
these instructions and the safety instructions in the online User's
Guide.
The illustrations show the ET-8500, but the steps are the same
for the ET-8550, unless otherwise specified.
1
Unpack
Note:
• Do not open the ink bottles until you are ready to fill the ink tanks.
The ink bottles are vacuum packed to maintain reliability.
• The CD/DVD tray is on the bottom of paper cassette 2.
1
Remove all protective materials from the product.
2
Lift up the scanner unit and remove all protective
materials from inside the product.
Caution:
Do not touch the areas shown inside the product. The
printer ships with the transportation lock in the printing position.
Do not move it from the printing position.
ET-8550
3
Connect the power cord to the back of the product and to
an electrical outlet.
Caution:
Do not connect to your computer yet.
You can set up your product to print and scan wirelessly
from your mobile device or computer using the Epson
Smart Panel
app. To use the app, see "Setup from a
®
mobile device" on the back of this sheet. If you do not want
to use the app for setup, go to the next section.
2
Fill ink tanks
Warning:
Keep the ink bottles out of the reach of children and do not
drink the ink.
Caution:
This product requires careful handling of ink. If ink spills,
wipe it off immediately with a damp towel to avoid permanent stains.
If ink gets on your clothes or belongings, it may not come off.
Note:
• Epson cannot guarantee the quality or reliability of third-party ink.
• Use the ink bottles included with the printer to set up the product.
Part of the ink will be used to charge the print head. These bottles
may print fewer pages compared with replacement ink bottles.
• Epson strongly recommends the use of genuine ink to ensure
optimal print quality and performance.
1
Press the
power button to turn on the product.
Note:
If an error message appears, turn off the product and
check that no protective material has been left inside the product
and that the transportation lock is in the printing position.
2
Select your language on the LCD screen.
Note:
You can change this setting later using the product's
control panel. For more information, see the online User's Guide.
3
Open the ink tank cover, then open the cap for the
black (BK) ink tank.
Note:
Refer to the label above the ink tank to identify the color of
each tank.
Advertisement

Related Manuals for Epson ET-8500


Summary of Contents for Epson ET-8500
- Page 1 Guide. Caution: Do not connect to your computer yet. The illustrations show the ET-8500, but the steps are the same You can set up your product to print and scan wirelessly for the ET-8550, unless otherwise specified. from your mobile device or computer using the Epson Smart Panel app.
- Page 2 Unpack the black (BK) ink bottle. Hold the ink bottle Close the ink tank cover and lower the scanner unit. upright and slowly turn the bottle cap to remove it. When the message to see the Start Here sheet appears on the LCD screen, press and hold OK for 5 seconds.
- Page 3 Cassette 1 Cassette 2 Keep the cassette flat as you insert it all the way. Note: For additional information on the Epson Smart Panel app, visit www.epson.com/support/smartpanel (U.S.) or www.epson.ca/support/smartpanel (Canada). Download the Epson Smart Panel app from your device’s app store.
- Page 4 Android, Chromebook, and Google Play are trademarks of Google LLC. General Notice: Other product names used herein are for identification purposes only and may be trademarks of their respective owners. Epson disclaims any and all rights in those marks. This information is subject to change without notice.