Advertisement
Quick Links
Replace Drum
The Replace Drum message appears when the drum unit needs to be
replaced. When the Replace Drum message appears, the following LED
indications is shown on the control panel. The Error LED ( ) will blink 3
times at 0.5 second intervals and the Ready LED ( ) will light up.Then
both LED will turn off for 1 second.
Please follow the steps below to clear the Replace Drum message.
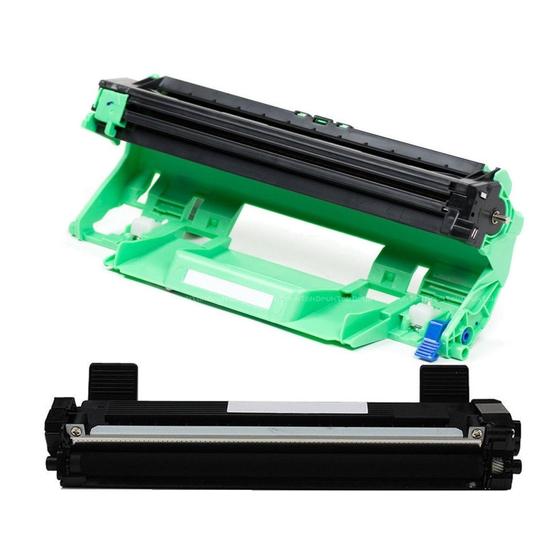
The Brother machine has separate consumables the toner cartridge and the
drum unit. Verify you replace only the drum unit and not the toner
cartridge.
> Click here to see information for the difference between the toner
cartridge and the drum unit.
1. Open the top cover.
Advertisement

Related Manuals for Brother DR-1090


Summary of Contents for Brother DR-1090
- Page 1 LED will turn off for 1 second. Please follow the steps below to clear the Replace Drum message. The Brother machine has separate consumables the toner cartridge and the drum unit. Verify you replace only the drum unit and not the toner cartridge.
- Page 2 2. Slowly take out the drum unit and toner cartridge assembly.
- Page 3 3. Push down the lock lever (1) and take the toner cartridge out of the drum unit (2). 4. Unpack the new drum unit and put the toner cartridge firmly into the new drum unit until you hear it lock into place. If you put the cartridge in correctly, the lock lever on the drum unit will lift automatically.
- Page 4 6. Press 4 times. 7. Close the top cover.
- Page 5 8. Make sure that the Error LED ( ) is now off. Replace Drum The Brother machine has separate consumables the toner cartridge and the drum unit. Verify you replace only the drum unit and not the toner cartridge. Follow the steps below to clear the Replace Drum message.
- Page 6 1. Keep the machine powered ON. 2. Open the scanner cover. The pull-arm (1) on the left side of the machine will lock. Open the top cover. 3. Slowly take out the drum unit and toner cartridge assembly. 4. Push down the lock lever (1) and take the toner cartridge out of the drum unit (2).
- Page 7 5. Unpack the new drum unit and put the toner cartridge firmly into the new drum unit until you hear it lock into place. If you put the cartridge in correctly, the lock lever on the drum unit will lift automatically.
- Page 8 7. After pulling the pull-arm (2) on the left side of the machine down, close the scanner cover. Reset the drum counter 1. Press Menu. 2. Press the Up or Down arrow key to choose Machine Info.. Press 3. Press the Up or Down arrow key to choose Reset Drum. Press OK for 3 seconds.