Table of Contents
Advertisement
Quick Links
Advertisement
Table of Contents

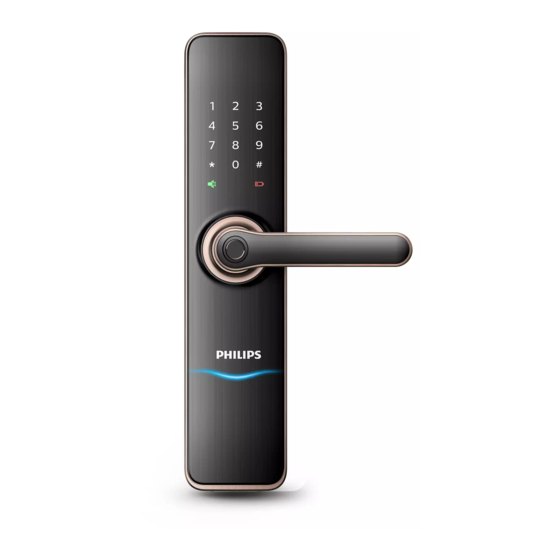
Summary of Contents for Philips EasyKey 7100DS
-
Page 2: Table Of Contents
Contents 1 Important Info 5 How to use your EasyKey Security Warning Unlock Disposal of used products and Unlock from Outside --With Pin Code 2 EasyKey Installation -With Fingerprint Packaging List Unlock from Inside Exploded Views --With Handle Pre-installation Instruction Lock Installation Steps Locking from Outside... -
Page 3: Important Info
⑦QSG ⑧Warranty Card ◆You can have your locks reclaimed ◆Do not hang any object on the by Philips and its authorized service handle, in case it might affect the centers, in case your products meet normal use of the lock. -
Page 4: Exploded Views
Exploded Views Before installation Step 1 | Check the door opening direction This product can be installed on doors of 4 types of opening directions: left-out pull, right-in push, right-out pull and left-in push. Right Open Left Open Indoor Indoor Left-in Right- push... -
Page 5: Installation Steps
Step 3|Latch Bolt Reversing Change the direction of latch bolt to adapt to the direction of door opening Tighten the four fixing screws on Attach the connecting bolts and from inside and outside. The inclined surface of the latch bolt opens toward the the mortise. -
Page 6: Get To Know Your Easykey
3 Get to know your EasyKey Insert the compression spring Tighten the 4 fixed screws. and the square shaft on the inner body in turn, and insert the safety knob switch sheet. Insert the outer Outer Body body cable and the motor cable into the corresponding sockets on the inner body, and then insert the paddles on the inner body and the... -
Page 7: How To Set Up Your Easykey
4 How to set up your EasyKey User Settings ◆How to enter master mode Add User Password Pre-setup Instructions: ◆There are 2 modes in the EasyKey: General mode and Dual-verification mode. Light up Keypad General Mode Dual-verification Mode Press [#] and input master Pin code, Unlock with any two methods from then press [#] to confirm. -
Page 8: Delete A User
Delete User Info Delete all fingerprints Delete one-time password Add a Fingerprint Delete single user password Press [#] and input master Pin code, Press [#] and input master Pin code, Press [#] and input master Pin code, then press [#] to confirm. then press [#] to confirm. -
Page 9: System Settings
[2]; For mute mode, press [3]. After extended functions, please download factory settings". All user information will hearing a voice prompt of “Succeeded”, and open the Philips EasyKey APP via be emptied. press [*] until you exit master mode. your mobile phone. -
Page 10: How To Use Your Easykey
5 How to Use EasyKey Unlock|Unlock from the inside door With a Handle Unlock|Unlock from the outside door Philips EasyKey adopts indoor With Password With Fingerprint fast opening motise,which allows you to push or pull the handle to unlock directly. -
Page 11: Deadlock From Inside
Deadlock from Inside 6 Other Functions Anti-door view, to lock the handle from inside After the door is locked, if switch the Function: twist knob to the red scale(as per This feature allows the handle to be left photo), will deadlock from inside locked from inside and the door lock function be enabled. -
Page 12: One Key To Mute Mode
One Key to Mute Mode Low Battery indicator light Functions: The silent mode can be enabled with one Meanings or indicator light’s color: button, and the voice prompt is blocked when the door is opened, which is suitable for scenes Red:... -
Page 13: Troubleshooting
8 Troubleshooting How to apply an emergency power Alarm types and alarm modes Low battery alarm reminds you to replace the batteries. When the battery voltage is insufficient, and the door cannot be opened from Triggering: After waking up, the system will the outside, you can power up the lock run an automatic examination on the battery through the Micro USB interface by using... - Page 14 Philips and the Philips Shield Emblem are registered trademarks of Koninklijke Philips N.V. and are used under license. This product has been manufactured by and is sold under the responsibility of Shenzhen Conex Intelligent Technology Co., Ltd. and Shenzhen Conex Intelligent Technology Co., Ltd. is the warrantor in relation to this product.


