Advertisement
Quick Links
T echnical Support Setup Procedure
DIR-X5460 Initial Setup using Web Configuration page
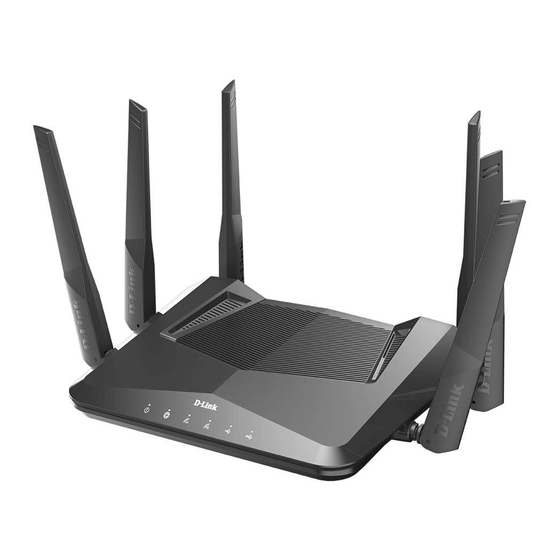
Step 1: Connect the two antennas to its corresponding connectors on the router.
Step 2: Power off the modem.
Step 3: Connect the Ethernet cable from the internet port of the router and the other end to the
modem.
1
Advertisement

Summary of Contents for D-Link DIR-X5460
- Page 1 T echnical Support Setup Procedure DIR-X5460 Initial Setup using Web Configuration page Step 1: Connect the two antennas to its corresponding connectors on the router. Step 2: Power off the modem. Step 3: Connect the Ethernet cable from the internet port of the router and the other end to the...
- Page 2 Step 6: Connect an Ethernet cable from your computer/laptop to a LAN port (Port 1,2,3 or 4) on your router, or connect to the pre-defined wireless network of the D-Link router. Step 7: Open your Internet browser (Google Chrome/Safari/Internet Explorer/Firefox) and enter http://192.168.0.1...
- Page 3 T echnical Support Setup Procedure Step 8: Login using the device password indicated on the configuration card. Step 9: Click NEXT to continue the setup wizard. Step 10: Select Others if you are connecting the router to an existing router. If not, then select your Internet Service Provider then click Next.
- Page 4 T echnical Support Setup Procedure Step 11: Wait until it is done detecting your internet connection. Step 12: Select the connection type that your internet service provider requires.
- Page 5 T echnical Support Setup Procedure Step 13: Enter the username and password that the internet service provider provided if you select Username/Password Connection (PPPoE). Step 14: Create your own Wi-Fi name and password then click Next.
- Page 6 T echnical Support Setup Procedure Step 15: Create an admin password to secure your router then click Next. Step 16: Select your Time Zone then click Next.
- Page 7 T echnical Support Setup Procedure Step 17: Select Keep my device up to date automatically then click Next. Step 18: Take note of the settings that you made then click Next.
- Page 8 T echnical Support Setup Procedure Step 19: Wait until it is done saving. --- END ---...


