
Related Manuals for Huawei CloudEngine 9800 Series


Summary of Contents for Huawei CloudEngine 9800 Series
- Page 1 Quick Start Guide CloudEngine 9800 Series Switches Issue: 03(2021-08-25) Part Number: 31500BEY HUAWEI TECHNOLOGIES CO., LTD.
-
Page 2: About This Guide
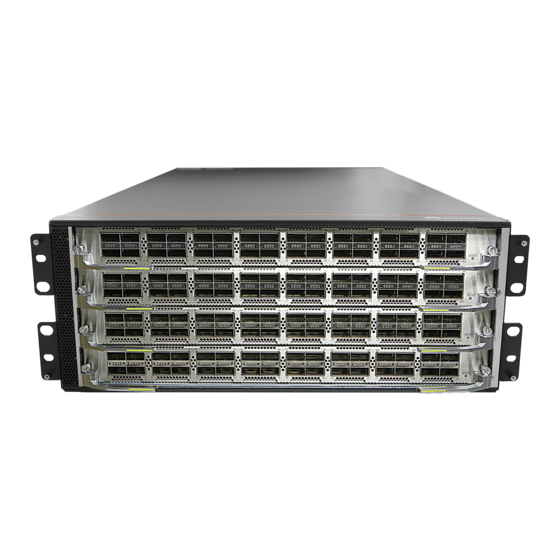
Thank you for purchasing a Huawei CloudEngine 9800 series switch. This guide describes how to install CloudEngine 9800 series switches. It also explains how to log in to your switch for the first time. CE9860-4C-EI is used as an example to illustrate how to install, connect, and log in to CloudEngine 9800 series switches. -
Page 3: Installing The Switch
Hardware Description requirements. For the specific requirements, see the for your switch on the Huawei support website. 5 Installing the Switch 5.1 Requirements for the Cabinet The dimensions (height x width x depth) of the CloudEngine 9860-4C-EI are 175.0 mm x 442.0 mm x 765.0 mm, and the width complies with industry standards. - Page 4 Step 2 Mount the expandable guide rails on the mounting rails. Hold an expandable guide rail horizontally and move it to the planned position. The bottom edge of the expandable guide rail must be aligned with a scale line on the mounting rails. With the side marked L or R facing the front of the cabinet, expand the expandable guide rail and hook the positioning pins onto the mounting rails.
- Page 5 Step 5 Install the switch in the cabinet. a. Lift the switch onto the expandable guide rails by two persons. b. Slowly push the switch into the cabinet until the mounting brackets are attached to the mounting rails. c. Secure the front mounting brackets on the mounting rails with M6 screws. Step 6 Install cable management frames.
-
Page 6: Installing A Card
6 Installing Power Modules and Fan Modules CAUTION The switch must use the power modules and fan modules matching the product model. Do not install both AC and DC power modules on the same switch. Before You Start Before installing a power module, remove the filler panel in the slot. Power modules support 2+2 backup. -
Page 7: Connecting Cables
Installation Procedure Step 1 Remove a filler panel. a. Use a Phillips screwdriver to loosen the captive screws on the filler panel. b. Depress the ejector levers at both ends of the filler panel and slowly pull out the filler panel. Step 2 Install a card. - Page 8 Country-specific AC power cable Power cables must be more than 10 cm away from signal cables. The country-specific AC power outlet must have a current rating of 10 A and comply with local standards. The AC power cable must be locked using a locking strap or bundled to the power module handle using a velcro strap.
- Page 9 Item Connect To Item Connect To Upstream network USB port USB flash drive Optical fiber device Country-specific AC power outlet Country-specific AC power cable Copper cable Protection ground AC PDU, 240 V Ground cable C13 straight female to high-voltage DC PDU C14 straight male or power distribution box AC power cable...
-
Page 10: Importer Information
(https://forum.huawei.com/enterprise) and post your questions in the community. Technical Support Importer Information Importer: Huawei Tech. Investment Co., Ltd. C/O Huawei Technologies Netherlands B.V. Address: Karspeldreef 4, 1101 CJ Amsterdam, Netherlands VAT# NL815095326B01 Contact information: Huawei ETW/ Li Wenting/+31-20-4300732 Open Source Software Notice...