Advertisement
Quick Links
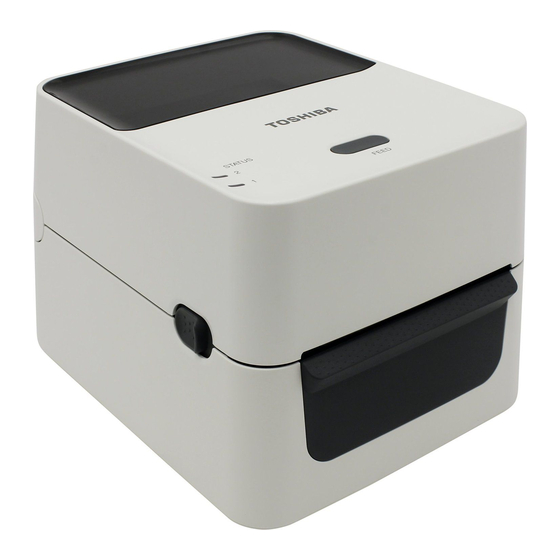
TOSHIBA Barcode Printer
B-FV4D SERIES
Quick Installation Manual
Important Information to the User
In order to meet Product Safety, FCC and CE marking requirements, it is
advised to use the power cord which was shipped with this product. Otherwise
this cable needs to meet the following standards.
Power Cord
For this product a UL listed, detachable power cord is required. Outside the US,
power cords need to meet the particular country's certification and application
requirements. If a different power cord is used from that described above you
might violate safety certifications which are in force in the country of use. The
socket-outlet needs to be installed near the equipment and must be easily
accessible.
Pull out the plug from the outlet more than once a year to clean around the
prongs. Accumulating dust and dirt could cause a fire due to the heat released
by electric leakage.
NOTES:
1. This manual may not be copied in whole or in part without prior written permission of TOSHIBA TEC
CORPORATION.
2. The contents of this manual may be changed without notification.
3. Please refer to your local Authorized Service representative with regard to any queries you may have in
this manual.
4. Centronics is a registered trademark of Centronics Data Computer Corp.
E-1
1. Unpacking
Unpack the printer.
1.1 Accessories
When unpacking the printer, please make sure all the following accessories are supplied with the
printer.
CD-ROM (1 copy)
Power Adapter (1 pc.)
Safety Precautions (1 copy)
USB Cable (1 pc.)
NOTES:
1. Check for damages or scratches on the printer. However, please note that TOSHIBA TEC
CORPORATION shall have no liability for any damage of any kind sustained during transportation of the
product.
2. Keep the carton and internal packaging for future transportation of the printer.
Quick Installation Manual
(1 copy)
E-2
Advertisement

Related Manuals for Toshiba B-FV4D Series


Summary of Contents for Toshiba B-FV4D Series
- Page 1 Accumulating dust and dirt could cause a fire due to the heat released by electric leakage. NOTES: 1. This manual may not be copied in whole or in part without prior written permission of TOSHIBA TEC CORPORATION. 2. The contents of this manual may be changed without notification.
-
Page 2: Printer Overview
CAUTION! Printer Overview Media View Window To avoid injury, be careful not LED 2 Appearance to trap your fingers in the Paper Slot while opening or LED 1 2.1.1 Front View closing the Top Cover. FEED Button Paper Slot Media Outlet 2.1.3 Interior 2.1.2 Rear View WARNING! -
Page 3: Turning On The Printer
1. Before turning off the printer power switch, verify the following: Turning the Printer When the printer is connected to a host computer it is good practice to Turning OFF the LED 1 is illuminated in green, not flashing. ON/OFF turn the printer ON before turning on the host computer and to turn Printer LED 2 is extinguished. -
Page 4: Loading The Media
This section describes how to load the media in the printer. This printer accepts label rolls, tag rolls, and fanfold paper stocks. Please indicated by the arrows. use TOSHIBA TEC CORPORATION approved media. WARNING! 1. Do not touch any moving NOTES: parts. - Page 5 3. Pass the media through the Media Guides. Pull the media until it NOTES: reaches the front of the printer. 4. Check and adjust the media sensor position and select the sensor 1. The sensor type used in the last type to be used.
- Page 6 Strip mode (Option): 5. Close the Top Cover gently, then press the [FEED] button to check When printing in strip mode, labels are automatically removed from the media feeds correctly. the backing paper as each label is printed. NOTES: How to set the media 1.
- Page 7 Fanfold Paper Slot 5. Refer to the previous pages to complete the media loading. © 2014 TOSHIBA TEC CORPORATION All Rights Reserved 1-11-1, Osaki, Shinagawa-ku, Tokyo 141-8562, JAPAN PRINTED IN TAIWAN EO1-33100...