Table of Contents
Advertisement
Quick Links
Advertisement
Table of Contents

Related Manuals for Zanussi ZOHTC1X2


Summary of Contents for Zanussi ZOHTC1X2
- Page 1 User Manual GETTING STARTED? EASY. ZOHTC1X2 EN User Manual Oven...
-
Page 2: Table Of Contents
VISIT OUR WEBSITE TO: Get usage advice, brochures, trouble shooter, service and repair information: www.zanussi.com/support Subject to change without notice. CONTENTS 1. SAFETY INFORMATION....................2 2. SAFETY INSTRUCTIONS....................4 3. INSTALLATION.......................7 4. PRODUCT DESCRIPTION..................... 8 5. BEFORE FIRST USE......................8 6. DAILY USE........................9 7. - Page 3 be kept away from the appliance unless continuously supervised. Children should be supervised to ensure that they do not • play with the appliance. Keep all packaging away from children and dispose of it • appropriately. WARNING: The appliance and its accessible parts become •...
-
Page 4: Safety Instructions
Always use oven gloves to remove or insert accessories or • ovenware. To remove the shelf supports first pull the front of the shelf • support and then the rear end away from the side walls. Install the shelf supports in the opposite sequence. Do not use a steam cleaner to clean the appliance. - Page 5 • Make sure not to cause damage to the mains plug and to the mains cable. Should the mains cable need to be replaced, this must be carried out by our Authorised Service Centre. 2.3 Use • Do not let mains cables touch or come near the appliance door or the niche WARNING! below the appliance, especially when it...
- Page 6 2.5 Internal lighting • Discoloration of the enamel or stainless steel has no effect on the performance of the appliance. WARNING! • Use a deep pan for moist cakes. Fruit Risk of electric shock. juices cause stains that can be permanent.
-
Page 7: Installation
3. INSTALLATION 3.1 Building in WARNING! Refer to Safety chapters. (*mm) min. 550 min. 560 (*mm) min. 550 min. 560 3.2 Securing the oven to the cabinet ENGLISH... -
Page 8: Product Description
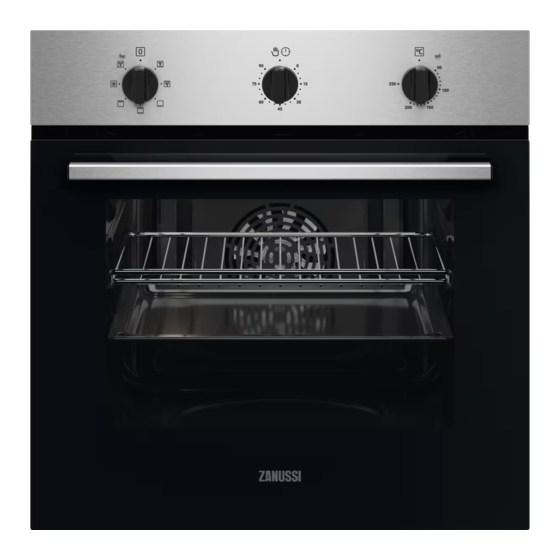
4. PRODUCT DESCRIPTION 4.1 General overview Control panel Power lamp / symbol Knob for the heating functions Knob for the timer Control knob (for the temperature) Temperature indicator / symbol Air vents for the cooling fan Heating element Lamp Cavity embossment - Aqua cleaning container Shelf support, removable Shelf positions... -
Page 9: Daily Use
Remove all accessories and removable shelf sup‐ Set the maximum temperature for the function: ports from the oven. Time: 1 h. Clean the oven and the accessories with a soft Set the maximum temperature for the function: cloth, warm water and a mild detergent. Time: 15 min. -
Page 10: Clock Functions
7. CLOCK FUNCTIONS 7.1 How to set: End of Cooking To set the switch-off time for oven functions. Step 1 Set the oven function and the temperature. Step 2 Turn the knob for the timer to its full range. Step 3 Turn the knob for the timer to set the switch-off time. -
Page 11: Additional Functions
Deep pan: Push the tray between the guide bars of the shelf support. Wire shelf, Deep pan: Push the tray between the guide bars of the shelf support and the wire shelf on the guide bars above. 8.2 Trivet and Grill- / Roasting pan Step 1 Put the trivet into a deep pan. -
Page 12: Hints And Tips
supply. The oven turns on again automatically when the temperature drops. 10. HINTS AND TIPS Leave the meat for approximately 15 minutes Refer to Safety chapters. before carving so that the juice does not seep out. To prevent too much smoke in the oven 10.1 Cooking recommendations during roasting, add some water into the The oven has four shelf positions. - Page 13 (°C) (min) Sweet rolls, 12 pieces baking tray or dripping pan 35 - 40 Rolls, 9 pieces baking tray or dripping pan 35 - 40 Pizza, frozen, 0.35 kg wire shelf 35 - 40 Swiss roll baking tray or dripping pan 30 - 40 Brownie baking tray or dripping pan...
-
Page 14: Care And Cleaning
(°C) (min) Small cakes, Conventional Baking tray 20 - 30 20 per tray Cooking Apple pie, 2 Conventional Wire shelf 80 - 120 tins Ø20 cm Cooking Sponge Conventional Wire shelf 35 - 45 cake, cake Cooking mould Ø26 Short bread Conventional Baking tray 20 - 35... - Page 15 Clean all accessories after each use and let them dry. Use a soft cloth with warm water and a mild detergent. Do not clean the accessories in a dishwasher. Do not clean the non-stick accessories using abrasive cleaner or sharp-edged objects. Accessories 11.2 How to remove: Shelf supports Remove the shelf supports to clean the oven.
- Page 16 Step 3 Close the oven door halfway to the Step 4 Put the door on a soft cloth on a stable first opening position. Then lift and surface and release the locking system pull forward and remove the door to remove the internal glass panel. from its seat.
-
Page 17: Troubleshooting
Before you replace the lamp: Step 1 Step 2 Step 3 Turn off the oven. Wait until the Disconnect the oven from the Put a cloth on the bottom of the cav‐ oven is cold. mains. ity. Back lamp Step 1 Turn the glass cover to remove it. -
Page 18: Energy Efficiency
13. ENERGY EFFICIENCY 13.1 Product Information Sheet according to UK Ecodesign and Energy Labelling Regulations Supplier's name Zanussi Model identification ZOHTC1X2 944068251 Energy Efficiency Index 95.1 Energy efficiency class Energy consumption with a standard load, conventional mode 0.89 kWh/cycle Energy consumption with a standard load, fan-forced mode 0.78 kWh/cycle... -
Page 19: Environmental Concerns
14. ENVIRONMENTAL CONCERNS appliances marked with the symbol with Recycle materials with the symbol . Put the household waste. Return the product to the packaging in relevant containers to your local recycling facility or contact your recycle it. Help protect the environment and municipal office. - Page 20 WWW.ZANUSSI.COM/SHOP...