Pioneer PRV-LX10 Quick Start Manual
Hide thumbs
Also See for PRV-LX10:
- Service manual (194 pages) ,
- Operating instructions manual (104 pages) ,
- Quick start manual (14 pages)
Advertisement
Quick Links
Advertisement

Related Manuals for Pioneer PRV-LX10

Summary of Contents for Pioneer PRV-LX10
- Page 1 Quick Start Guide PRV-LX10 Professional DVD Recorder...
-
Page 2: Table Of Contents
CONTENTS Introducing the PRV-LX10 Setting up Drive Selection Video Input Selection Audio Input Selection Recording Options Record your Video 11-13 Create a Menu Burn & Finalize the Disc... -
Page 3: Introducing The Prv-Lx10
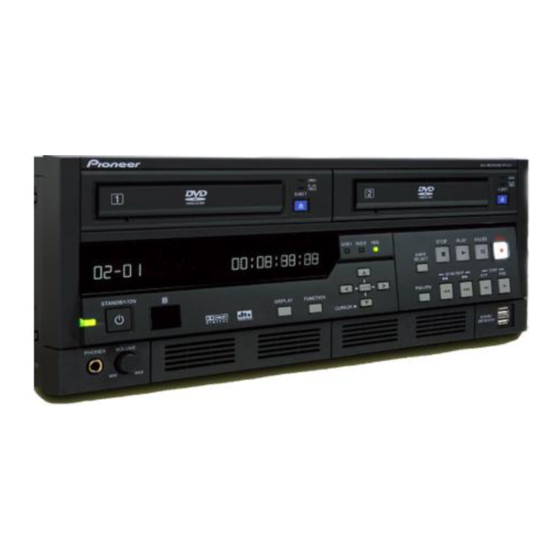
INTRODUCING THE PRV-LX10 The PRV-LX10 is designed for quick and easy video recording from all professional video sources onto DVD-R or DVD-RW media. PioneerÕs real- time hardware VBR encoding process provides the highest quality video, relative to the bit rate setting. -
Page 4: Setting Up
SETTING UP NOTE: For the purpose of the quick start guide, we have chosen to use Composite Video and analog audio to interconnect between the source and the PRV-LX10. Source Device Audio Out Video Out Monitor Please connect the source device and monitor as shown above. Once this... -
Page 5: Drive Selection
To record material from the source device directly to a disc, we need to select the target device to record to. To do this press the ÒFUNCTIONÓ button located on the front panel of the PRV-LX10, the main function menu should then appear on the monitorÕs display. -
Page 6: Video Input Selection
VIDEO INPUT SELECTION Although the source device is connected for Composite, the Video Input source must also be set to Composite. Using the function menu, highlight V Input in the status window then highlight Composite using the arrow buttons, then press ÒENTERÒ, a orange box ( ) appears next to the selected Video Input. -
Page 7: Audio Input Selection
AUDIO INPUT SELECTION Using the arrow buttons located on the front panel, highlight the A Input in the status window, verify that is highlighted and then press ÒENTERÓ, a orange box ( ) appears next to the selected Audio Input (see diagram). -
Page 8: Recording Options
RECORDING OPTIONS (1) Using the arrow buttons located on the front panel, highlight Recording located in the SETUP area, then press ÒENTERÓ to access the Recording Menu. (see diagram). - Page 9 (see diagram). Now you have set-up your PRV-LX10 and you are now ready to capture your video to the disc. To exit from the Menu, press the ÒFUNCTIONÓ...
-
Page 10: Record Your Video
Once you have completed your required playback, press the ÒSTOPÓ button to end the capturing of video into the PRV-LX10. Repeat this procedure until all required video is captured. Each recording session encodes as a Title. -
Page 11: Create A Menu
ÒENTERÓ to select your preferred design. You can also press the ÒPreviewÓ button located on the Menu to preview how your menu will look and feel. To return to the Function menu from DVD Menu preview, press the ÒFUNCTIONÓ button on the PRV-LX10 front panel. - Page 12 CREATE A MENU (2) After selecting your chosen Menu Design, you can decide how the disc plays when inserted into a DVD Player, whether the disc plays a title automatically, if the menu plays first, or just stops, to do this highlight the Navigation Cmd and then the First Play PGC...
- Page 13 CREATE A MENU (3) Once you have decided how the disc will act when it is inserted into a DVD Player, you can then decide how the disc will act after each title has been played, whether after the title has played the disc stops, returns to the menu or plays the next title straight away instead of going back to the menu.
- Page 14 The System will prompt you to confirm the finalization command to protect the disc against an accidental finalization. For More Information please contact: Pioneer Europe N.V, Multimedia Division, Slough SL2 4QP, United Kingdom. TEL +44 (0) 1753 789789 www.pioneer-eur.com...