
Related Manuals for Huawei SUN2000-29.9KTL


Summary of Contents for Huawei SUN2000-29.9KTL
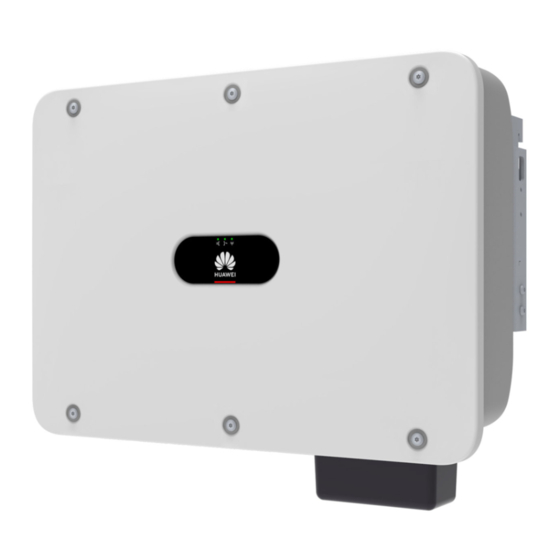
- Page 1 SUN2000-(29.9KTL, 33KTL-A, 36KTL, 42KTL) Quick Guide Issue: 08 Part Number: 31508547 Date: 2019-07-24 HUAWEI TECHNOLOGIES CO., LTD.
- Page 2 5. Use insulated tools when installing the device. For personal safety, wear insulation gloves and protective shoes. 6. Huawei shall not be liable for any consequence caused by violation of the storage, transportation, installation, and operation regulations specified in this document and the user manual.
-
Page 3: Installation Requirements
Enclosure dimensions Mounting bracket dimensions Installation Requirements Installation Angle Vertical Backward Upside down Forward Horizontal Installation Space NOTE For ease of installing the SUN2000 on the mounting bracket, connecting cables to the bottom of the SUN2000, and maintaining the SUN2000 in future, it is recommended that the bottom clearance be greater than or equal to 600 mm and less than or equal... -
Page 4: Installing The Sun2000
Installing the SUN2000 The SUN2000 mounting bracket has four groups of tapped holes, each group containing four tapped holes. Mark any hole in each group based on site requirements and mark four holes in total. Two round holes are preferred. The SUN2000 is delivered with M12x40 screw assemblies. -
Page 5: Electrical Connections
SUN2000-(29.9KTL, 33KTL-A, 36KTL, 42KTL) User Manual. 2. The SUN2000-42KTL supports the 3W+PE wiring mode. 3. The SUN2000-29.9KTL/33KTL-A/36KTL supports 3W+PE and 3W+N+PE wiring modes. Connect the neutral wire if required. Name... - Page 6 16 mm as the AC output power cable for the SUN2000-29.9KTL/33KTL-A and a three-core outdoor copper cable with a cross-sectional area of 25 mm as the AC output power cable for the SUN2000-36KTL.
- Page 7 16 mm as the AC output power cable for the SUN2000-29.9KTL/33KTL-A and a four-core outdoor copper cable with a cross-sectional area of 25 mm as the AC output power cable for the SUN2000-36KTL.
- Page 8 4. Remove the locking cap from the AC OUTPUT 1 connector and then remove the plug. 5. Select an appropriate rubber fitting based on the cable outer diameter. Route the cable through the locking cap and then the rubber fitting. •...
- Page 9 8 N· m 8 N· m 5 N· m e. SUN2000-29.9KTL/33KTL-A/36KTL f. SUN2000-29.9KTL/33KTL-A/36KTL (excluding the ground cable and neutral wire) (including the ground cable but excluding the neutral wire) 8 N· m 8 N·...
-
Page 10: Installing Dc Input Power Cables
SUN2000-29.9KTL/33KTL-A/36KTL h. SUN2000-29.9KTL/33KTL-A/36KTL (excluding the ground cable but (including the ground cable and neutral wire) including the neutral wire) 8 N· m 8 N· m 5 N· m 11.Use a torque wrench with an open end of 65 mm to tighten the locking cap to a torque of 7.5 N· m, and seal the waterproof connector. - Page 11 • Ensure that the PV module output is well insulated to ground. • Before inserting the positive and negative connectors respectively into the positive and negative DC input terminals of the SUN2000, check that the DC voltage does not exceed 1100 V DC using a multimeter and that the cables are connected correctly.
-
Page 12: Selecting A Communication Mode
Installing a DC input power cable (using metal stamping forming contacts) Positive metal contact Positive connector H4TC0003 (Amphenol) Negative metal contact Negative Ensure that the cable Recommended: PV cable connector Click cannot be removed after (PV1-F) with a cross- crimped. sectional area of 4 mm Ensure that cables are connected... - Page 13 1. Remove an appropriate length of the jacket and core wire insulation layer from the communications cable using a wire stripper. 2. Remove the locking caps from the COM1 and COM2 connectors at the SUN2000 bottom and then remove the plugs from the caps. 3.
- Page 14 RJ45 network port connection You are recommended to use a CAT 5E outdoor shielded network cable with an outer diameter less than 9 mm and internal resistance not greater than 1.5 ohms/10 m, as well as a shielded RJ45 connector. 1.
- Page 15 (Optional) Installing FE Communications Cables FE communication is mainly used in distributed rooftop scenarios with a small number of SUN2000s. The SUN2000 can directly connect to the PC over the Ethernet to implement monitoring networking. 1. If FE communication is used, a maximum of ten SUN2000s can be connected. In addition, the NetEco needs to be installed on the PC for monitoring networking.
-
Page 16: Verifying The Installation
6. Bind the communications cables. 5. Insert the RJ45 connector into the FE network port in the maintenance compartment of the SUN2000. 7. Use a torque wrench with an open end of 33 mm to tighten the locking cap to a torque of 7.5 N· m, and seal the waterproof connector. - Page 17 The app name is SUN2000. 2. Access Huawei application store (https://appstore.huawei.com) or Google Play (https://play.google.com), search for SUN2000, and download the app installation package. 3. Connect a USB data cable, a Bluetooth module, or a WLAN module to the USB port of the...
-
Page 18: Common Faults And Troubleshooting
WLAN or Bluetooth Connection USB Data Cable Connection Select Connection Login Page Select User Quick Settings Mode Function Menu • The screenshots in this document correspond to app version 3.2.00.001 (Android). • When the WLAN connection is used, the initial name of the WLAN hotspot is Adapter-WLAN module SN, and the initial password is Changeme. - Page 19 Huawei Technologies Co., Ltd. Huawei Industrial Base, Bantian, Longgang Shenzhen 518129 People's Republic of China www.huawei.com...