Table of Contents
Advertisement
Quick Links
Advertisement
Table of Contents

Related Manuals for Zanussi ZBT23420SA


Summary of Contents for Zanussi ZBT23420SA
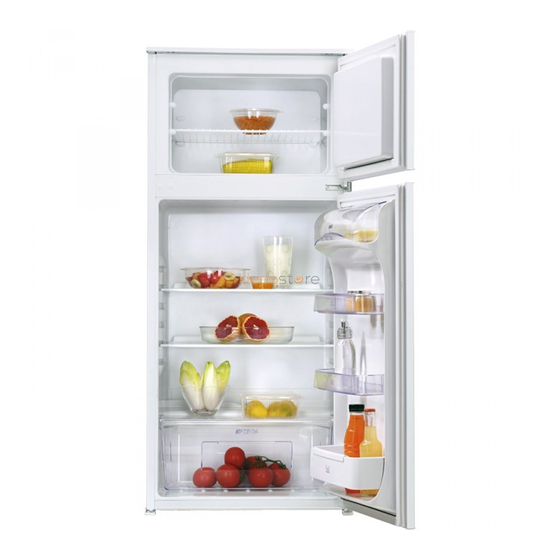
- Page 1 User Manual Fridge Freezer ZBT23420SA...
-
Page 2: Table Of Contents
Farm houses; staff kitchen areas in shops, offices and other – working environments By clients in hotels, motels, bed and breakfast and other – residential type environments Keep ventilation openings, in the appliance enclosure or in the • built-in structure, clear of obstruction. www.zanussi.com... -
Page 3: Safety Instructions
• Do not pull the mains cable to disconnect cellars. the appliance. Always pull the mains plug. www.zanussi.com... -
Page 4: Operation
Temperature regulation 1. Insert the plug into the wall socket. The temperature is regulated automatically. 2. Turn the Temperature regulator clockwise to a medium setting. Switching off To turn off the appliance, turn the temperature regulator to the "0" position. www.zanussi.com... -
Page 5: Daily Use
This appliance is equipped with one or more trays for the production of ice-cubes. Do not use metallic instruments to remove the trays from the freezer. 2. Reposition as required. 1. Fill these trays with water 2. Put the ice trays in the freezer compartment. www.zanussi.com... -
Page 6: Hints And Tips
• position food so that air can circulate freely • the maximum quantity of food which can be around it frozen in 24 hrs. is shown on the rating plate; www.zanussi.com... -
Page 7: Care And Cleaning
3. Rinse and dry thoroughly. 4. If accessible, clean the condenser and the compressor at the back of the appliance with a brush. This operation will improve the performance of the appliance and save electricity consumption. www.zanussi.com... -
Page 8: Troubleshooting
Possible cause Solution The appliance does not operate. The appliance is switched off. Switch on the appliance. The mains plug is not connec- Connect the mains plug to the ted to the mains socket cor- mains socket correctly. rectly. www.zanussi.com... - Page 9 The door has been opened of- Open the door only if necessary. ten. There is no cold air circulation Make sure that there is cold air cir- in the appliance. culation in the appliance. www.zanussi.com...
-
Page 10: Technical Information
+10°C to + 32°C This appliance can be installed in a dry, well ventilated indoor where the ambient +16°C to + 32°C temperature corresponds to the climate class +16°C to + 38°C indicated on the rating plate of the appliance: www.zanussi.com... - Page 11 The airflow behind the appliance must be sufficient. 5 cm min. 200cm min. 200cm 6. Install the lower pin on the opposite side. 7. Tighten the middle hinge. 8. Install the upper door. 9. Tighten the spacer and tighten the upper pin. www.zanussi.com...
- Page 12 (2) against the cupboard on the opposite side of the hinge. 9. Attach the covers (C, D) to the lugs and the hinge holes. 4. Make sure that the distance between the appliance and the cupboard front-edge is 44 mm. www.zanussi.com...
- Page 13 Install the part (Ha) on the inner side of appliance door by adjusting the part Hb. the kitchen furniture. ~50 mm 21 mm ~50 mm 21 mm 18. Press the part (Hd) on the part (Hb). b. Push the part (Hc) on the part (Ha). www.zanussi.com...
- Page 14 Return the product to your the packaging in applicable containers to local recycling facility or contact your municipal recycle it. Help protect the environment and office. human health and to recycle waste of electrical and electronic appliances. Do not dispose www.zanussi.com...
- Page 15 www.zanussi.com...
- Page 16 www.zanussi.com/shop...