
Related Manuals for Beko CEG 5311 Bio


Summary of Contents for Beko CEG 5311 Bio
- Page 1 Fully Automatic Espresso Machine User Manual CEG 5311 Bio 01M-8912093200-2922-02...
-
Page 2: Table Of Contents
CONTENTS 1 Important instructions for safety and environment 4 1.1 Danger of electric current ....4 1.2 Danger of burning or scalding ....4 1.3 Fundamental safety precautions. - Page 3 Following symbols are used in the various section of this manual: Dear Customers, Thank you for selecting an Beko product. Important information or useful hints We hope that you get the best results about usage. from your product which has been...
-
Page 4: Important Instructions For Safety And Environment
1 Important instructions for safety and 1 Important instructions for safety and environment environment This section includes the safety Before cleaning the bean • instructions that will help container, pull the mains plug providing protection against of the appliance out of the personal injury and material socket. -
Page 5: Fundamental Safety Precautions
1 Important instructions for safety and environment 1.3 Fundamental Repairs to the coffee machine • during the warranty period safety precautions may only be carried out by Observe the following safety service centres authorised by precautions to ensure safe the manufacturer, otherwise the warranty will become void handling of the coffee machine: in the event of subsequent... - Page 6 1 Important instructions for safety and environment This appliance is intended Do not fill the water tank • • to be used in household and beyond the maximum mark similar applications such as: (lower edge of the filling hole). - staff kitchen areas in shops, offices and other working Only operate the machine •...
-
Page 7: Intended Use
• a stable, flat, clean dry, and 1.4 Intended use non-slip surface. The fully automatic coffee machine Beko is Appliance is not built-in intended for use in homes and similar applications, • for instance in staff kitchens, shops, offices and coffee-makers and is not similar areas or by customers in bed &... -
Page 8: Limitation Of Liability
1 Important instructions for safety and environment 1.5 Limitation of liability 1.7 Compliance with RoHS Directive All technical information, data and instructions on installation, operation and maintenance of The product you have purchased complies with EU the coffee machine contained in these operating RoHS Directive (2011/65/EU). -
Page 9: Plug Wiring
1 Important instructions for safety and environment 1.9 Plug Wiring The moulded plug on this appliance incorporates a 13 A fuse. Should the fuse need to be replaced an ASTA approved BS1362 fuse of the same rating must be used. Do not forget to refit the fuse cover. In the event of losing the fuse cover, the plug must not to be used until a replacement fuse cover has been fitted. -
Page 10: Your Fully Automatic Coffee Machine
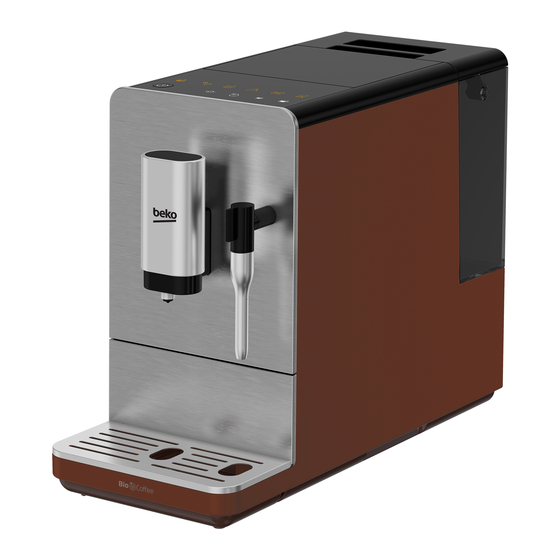
Your Fully Automatic Coffee Machine Technical data 1. Coffee Bean Container Cover 2. Coffee Bean Container Power supply: 3. Control Panel 220-240 V~, 50-60 Hz Power: 1350 W 4. On/Off button Technical and design modifications 5. Steam Nozzle reserved. 6. Nozzle cover 7. -
Page 11: Display
Display 3.1 Control Panel Flashing: Low water level/ Water tank missing Not enough coffee beans Steady warning light: The coffee grounds container is full Flashing light: The internal Drip Tray/coffee grounds container is missing Steady warning light: Brewer is missing/ installed improperly Flashing light: Service door is opened / installed improperly Steady warning light: Requires descaling Flashing light: Descaling is under way... -
Page 12: Preparation
Preparation 4.1 Installation Remove any protective films, stickers and any other packing material on the appliance. 150mm 150mm 150mm 150mm 150mm Choose a safe and stable surface with an Insert the external drip tray. Make sure it Unwind and straighten the power cord easily reachable power supply and allow is inserted correctly. - Page 13 Preparation To prevent overflow of water from the water tank, do not add water directly into the appliance with another container. WARNING: Never fill the water tank with warm or hot water, sparkling water or any other liquid which might damage the water tank and the machine. Place the water tank back by using the lid Close the water tank by using the lid.
-
Page 14: Operation
Operation 5.1 Grinding Adjustment You can adjust the grinder to suit the roast of your coffee by turning the adjuster knob in the bean container: WARNING: Never adjust the grinder when it is in use. The dots on the adjuster knob indicate the fineness of the grind. 5.2 Filling the bean container When is flashing, the appliance needs to be filled with coffee beans. -
Page 15: Making Your Coffee
Operation Press the hot water button to clean the inside of the coffee maker before first use. 5.3 Making Your Coffee Switch on the appliance by pressing Place a cup under the coffee spout and Press the espresso button and the light the power on/off button. -
Page 16: Water
Operation 5.4 Adjusting The Volume of Your Coffee/Hot Water You can save your desired volume of coffee for both strong espresso and mild espresso and also the hot water from 25ml to 250ml. beep! When making your coffee (either strong When the volume of coffee meets your espresso or mild espresso) press and desired volume, release the button. -
Page 17: Hot Water
Operation Prepare the espresso coffee with a lar- Press the steam button. The steam indi- Pour the hot frothy milk into the espres- ger cup. Turn the steam nozzle toward to cator light will flash. Then the appliance so. Now you can enjoy your coffee! the Drip tray. - Page 18 Operation ECO Mode Speed Mode Default Setting Illumination Light Pre-brewing* Auto shut off time 10mins 30mins 20mins Cup Volume memory The pre-brewing function moistens the ground beans in the brewer with a small amount of water before full extraction. This expands the coffee grounds to build up greater pressure in the brewer, which helps extract all the oils and bring out the full flavour of the beans.
-
Page 19: Cleaning
Cleaning 6.1 Cleaning of the appliance 1. Disconnect the power cord from the mains supply outlet. 2. Pour away all the water in the internal and external drip tray. 3. Use a damp cloth or non-scratching cleaner to clean the water stains on the appliance. WARNING: Never use any abrasive, vinegar or descaling agents not included in the box to clean the appliance. -
Page 20: Self-Cleaning
Cleaning Press unlock area, sevice door will pop Press release knobs and pull out. Remove the brewer. Wash the brewer out. Then pull out the service door. with fresh water. Dry the brewer after- wards. When lights up, it indicates that the brewer is missing / installed improperly. When flashing, it indicates that the service door is missing/installed improperly. -
Page 21: Empty System Function
Cleaning WARNING: Keep skin/body away from hot water. 8. When all the water in the water tank has been emptied, the and self cleaning button will flash. Remove all the remaining solution in the water tank and fill the tank with normal tap water up to the max position. -
Page 22: Troubleshooting
Troubleshooting Problem Cause Solution The appliance does not work. The appliance is not connected to the Plug in and press the switch. Check the mains. cable and the Plug. No or delayed response in several trials Appliance is under an electromagnetic Unplug the appliance. - Page 23 Product Guarantee 12 months breakdown and repair guarantee Guarantor: Beko plc, 1 Greenhill Crescent, Watford, Hertfordshire. WD18 8UF The guarantee does not in any way diminish your statutory or legal rights. Your appliance has the benefit of our manufacturer’s guarantee which covers the product for 12 months from the date of original purchase.
- Page 24 Arçelik A.Ş. Karaağaç Cad. No: 2-6 34445 Sütlüce, İstanbul, Türkiye www.beko.co.uk...