LG MUSIC flow SH7 - Wireless Multi-Room Sound Bar Short Manual
- Simple manual (4 pages) ,
- Simple manual (24 pages) ,
- Owner's manual (75 pages)
Advertisement
- 1 Front Panel
- 2 Rear Panel
- 3 Subwoofer Connection
- 4 TV Connection
- 5 Network Connection
- 6 Remote control
- 7 Additional Information
- 8 OPEN SOURCE SOFTWARE NOTICE INFORMATION
- 9 How to disconnect the wireless network connection or the wireless device
- 10 Disposal of your old appliance
- 11 Disposal of waste batteries/accumulators
- 12 Declaration of Conformity
- 13 Documents / Resources
Front Panel

The buttons are located on the rear.
 Standby / On
 Selects function
 Adjusts volume
 Connects wireless network.
 Adds the additional MUSICflow product to your network. (In case that one or more MUSICflow product is connected.)
LED indicator: Shows connection status.
- White (blinking): waiting for network connection
- White (staying on): network connection is completed.
- White (Dimmed): standby mode with network connection.
- Green (staying on): the first group was set.
- Red (staying on): standby mode without network connection
Rear Panel

DC IN Connect to AC Adapter.
OPTICAL IN Connect to an optical device
PORTABLE IN Connect portable device.
USB (Service only) S/W download connector.
HDMI IN Connect to device with HDMI OUT.
HDMI OUT (TV ARC) Connect to a TV.
LAN Connect to router.
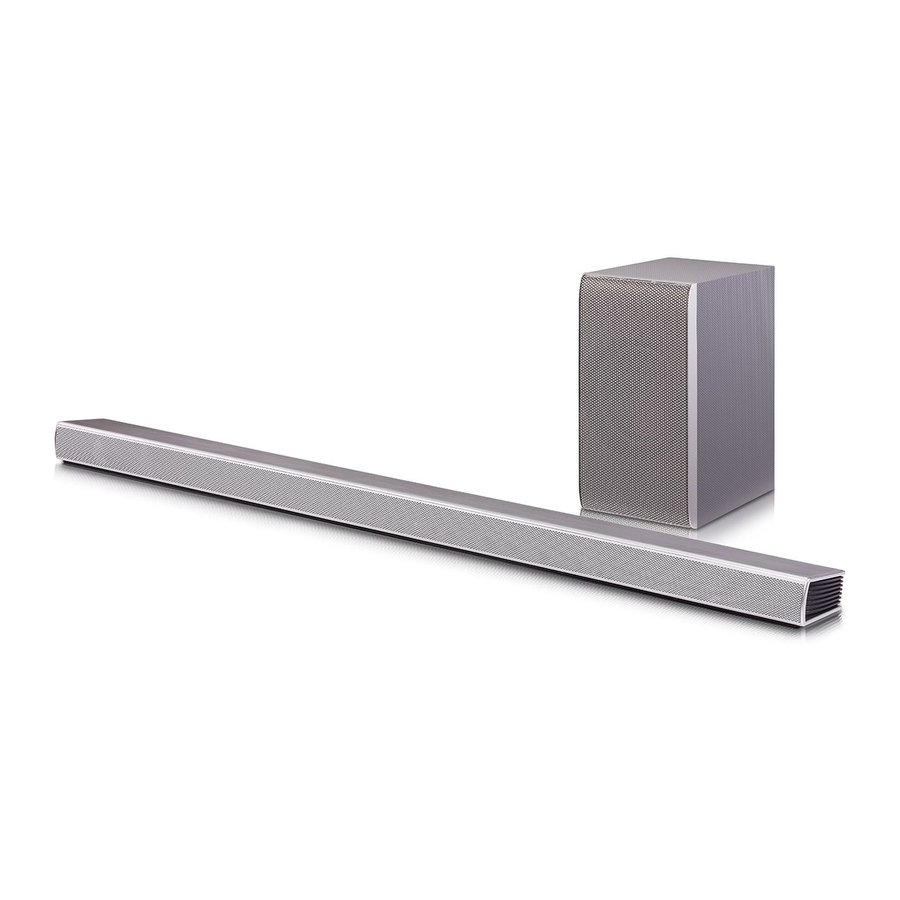
Subwoofer Connection
Place the wireless subwoofer near the speaker and follow steps below.
- Connect the power cord of wireless subwoofer to the outlet.
- Turn on the main unit.:
The sound bar and wireless subwoofer will be automatically connected. The subwoofer's green LED turns on.
Subwoofer Connection Manually
- Reset the Subwoofer
If the green LED on the subwoofer blinks quickly, skip this step and go to 2
- Press and hold Paring button for 5 seconds.
- The LED lights up alternately in red and green.
- Plug out the power cord. After the LED turns off completely, plug in the power cord again.
When the reset is completed, the subwoofer's green LED blinks quickly.
- Reset the sound bar
- Adjust volume to minimum. "MIN" appears on display window.
- Press and hold
![]() (Mute) button on the remote control for 5 seconds. "SUB - WF RESET" appears on display window.
(Mute) button on the remote control for 5 seconds. "SUB - WF RESET" appears on display window. - Turn the sound bar's power off and on while the subwoofer's green LED blinks.
 (Mute) button on the remote control for 5 seconds. "SUB - WF RESET" appears on display window.
When the connection is completed, you can see the green LED on the subwoofer.
 Keep the sound bar and the subwoofer away from the device (ex. wireless router, microwave oven, etc.) over 1m to prevent wireless interference.

TV Connection
Connect the speaker and TV using Optical (A) or HDMI ARC (B).
- Optical
- Connect the speaker to the TV using Optical cable.
- Set up [External Speaker (Optical)] on your TV setting menu.

- HDMI(ARC) Connection
- Connect the speaker to the TV using HDMI cable.
- Set up [External Speaker (HDMI ARC)] on your TV setting menu.
 Connection")

 Connection")
HDMI connection is unavailable if your TV does not support HDMI ARC.
Addtional Device Connection
- Connect to the external device like as follow.

- Set the input source by pressing F on the remote control or unit repeatedly.

Network Connection

- Check network condition. A router connected to network should be installed.
- Connect your smart device to your home network.
- Connect the speaker to the power supply.
- Connect the media server to your home network in order to enjoy music.
All devices should be connected to same router.
- Download LG Music Flow Application
Download "Music Flow Player" on the Apps Store or Google Play Store.


- Launch Music Flow Player App
Follow the steps for wired or wireless connection displayed on the screen.
Remote control
Replacement of battery


SOUND EFFECT: Selects a sound effect mode.
F: Selects the function and the input source.
 : Turns down the volume at night.
 : Adjusts sound level of Treble, Bass and Sub-woofer.
DRC: Turns on or off DRC function.
AV SyNC: Synchronizes the audio and video.
SLEEP: Sets the system to turn off automatically at a specified time.
AUTO VOL: Adjusts the volume level appropriately.
AUTO POWER: Automatically turns on by an input source.
Additional Information
Specification
| Power consumption | Refer to the main label. |
|
Networked standby: 5.8 W (If all network ports are activated.) |
|
| AC adapter |
|
|
Dimensions (W x H x D) |
Approx. 1060 mm x 53 mm x 85 mm |
| Net Weight | Approx. 2.8 kg |
|
Bus Power Supply (USB) |
5 V  500 mA 500 mA
|
|
Amplifier (Total RMS Output power) |
360 W |
Design and specifications are subject to change without notice.
OPEN SOURCE SOFTWARE NOTICE INFORMATION
To obtain the source code under GPL, LGPL, MPL, and other open source licenses, that is contained in this product, please visit http://opensource.lge.com.
In addition to the source code, all referred license terms, warranty disclaimers and copyright notices are available for download.
LG Electronics will also provide open source code to you on CDROM for a charge covering the cost of performing such distribution (such as the cost of media, shipping and handling) upon email request to opensource@lge.com. This offer is valid for three (3) years from the date on which you purchased the product.
How to disconnect the wireless network connection or the wireless device
Press and hold the "  (Add)" button until you hear the beep sound twice.
POWER: This unit operates on a mains supply of 100-240V~ 5060Hz.
Wiring: This unit is supplied with a BS 1363 approved main plug. When replacing the fuse, always use of the same rating approved to BS 1362. Never use this plug with the fuse cover omitted. To obtain a replacement fuse cover contact your dealer. If the type of plug supplied is not suitable for the mains sockets in your home, then the plug should be removed and a suitable type fitted. Please refer to the wiring instructions below:

A mains plug removed from the mains lead of this unit must be destroyed. A mains plug with bared wires is hazardous if inserted in a mains socket. Do not connect either wire to the earth pin, marked with the letter E or with the earth symbol 6 or coloured green or green and yellow. If any other plug is fitted, use same rating of fuse in the plug.

The wires in this mains lead are coloured in accordance with the following codes:
- BLUE: NEUTRAL, BROWN: LIVE - As the colours of the wires in the mains lead of this unit may not correspond with the coloured marking identifying the terminals in your plug, proceed as follows: The wire which is coloured blue must be connected to the terminal which is marked with the letter N or coloured black. The wire which is coloured brown must be connected to the terminal which is marked with the letter L or coloured red.


RISK OF ELECTRIC SHOCK DO NOT OPEN
TO REDUCE THE RISK OF ELECTRIC SHOCK DO NOT REMOVE COVER (OR BACK) NO USER-SERVICEABLE PARTS INSIDE REFER SERVICING TO QUALIFIED SERVICE PERSONNEL.
 This lightning flash with arrowhead symbol within an equilateral triangle is intended to alert the user to the presence of uninsulated dangerous voltage within the product's enclosure that may be of sufficient magnitude to constitute a risk of electric shock to persons.
 The exclamation point within an equilateral triangle is intended to alert the user to the presence of important operating and maintenance (servicing) instructions in the literature accompanying the product.

TO PREVENT FIRE OR ELECTRIC SHOCK HAZARD, DO NOT EXPOSE THIS PRODUCT TO RAIN OR MOISTURE.
Do not install this equipment in a confined space such as a book case or similar unit.
Do not use high voltage products around this product. (ex. Electrical swatter) This product may malfunction due to electrical shock.

No naked flame sources, such as lighted candles, should be placed on the apparatus.
Do not block any ventilation openings. Install in accordance with the manufacturer's instructions.
Slots and openings in the cabinet are provided for ventilation and to ensure reliable operation of the product and to protect it from over heating. The openings shall be never be blocked by placing the product on a bed, sofa, rug or other similar surface. This product shall not be placed in a built-in installation such as a bookcase or rack unless proper ventilation is provided or the manufacturer's instruction has been adhered to.
concerning the Power Cord
The Power Plug is the disconnecting device. In case of an emergency, the Power Plug must remain readily accessible.
The apparatus shall not be exposed to water (dripping or splashing) and no objects filled with liquids, such as vases, shall be placed on the apparatus.
NOTICE: For safety marking information including product identification and supply ratings, please refer to the main label on the bottom or rear of the apparatus.
Disposal of your old appliance
![]()
This crossed-out wheeled bin symbol indicates that waste electrical and electronic products (WEEE) should be disposed of separately from the municipal waste stream.- Old electrical products can contain hazardous substances so correct disposal of your old appliance will help prevent potential negative consequences for the environment and human health. Your old appliance may contain reusable parts that could be used to repair other products, and other valuable materials that can be recycled to conserve limited resources.
- You can take your appliance either to the shop where you purchased the product, or contact your local government waste office for details of your nearest authorised WEEE collection point. For the most up to date information for your country please see www.lg.com/global/recycling.

Disposal of waste batteries/accumulators
![]()
This symbol may be combined with chemical symbols for mercury (Hg), cadmium (Cd) or lead (Pb) if the battery contains more than 0.0005% of mercury, 0.002% of Pb cadmium or 0.004% of lead.- All batteries/accumulators should be disposed separately from the municipal waste stream via designated collection facilities appointed by the government or the local authorities.
- The correct disposal of your old batteries/accumulators will help to prevent potential negative consequences for the environment, animal and human health.
- For more detailed information about disposal of your old batteries/ accumulators, please contact your city office, waste disposal service or the shop where you purchased the product. (http://www.lg.com/global/sustainability/environment/takeback-recycling/global-network-europe)

This device is equipped with a portable battery or accumulator.
Safety way to remove the battery or the battery from the equipment: Remove the old battery or battery pack, follow the steps in reverse order than the assembly. To prevent contamination of the environment and bring on possible threat to human and animal health, the old battery or the battery put it in the appropriate container at designated collection points. Do not dispose of batteries or battery together with other waste. It is recommended that you use local, free reimbursement systems batteries and accumulators. The battery shall not be exposed to excessive heat such as sunshine, fire or the like.
Declaration of Conformity

Hereby, LG Electronics declares that the radio equipment type WIRELESS MULTI-ROOM SOUND BAR is in compliance with Directive 2014/53/EU. The full text of the EU declaration of conformity is available at the following internet address:
http://www.lg.com/global/support/cedoc/cedoc#
The use of the 5150 – 5350 MHz band is restricted to indoor use only.
For consideration of the user, this device should be installed and operated with a minimum distance of 20 cm between the device and the body.
| Frequency range | Output power (Max.) |
| 2402 to 2480 MHz | 10 dBm |
| 2412 to 2472 MHz | 19 dBm |
| 5180 to 5240 MHz | 20 dBm |
| 5730 to 5821 MHz | 13 dBm |

Documents / Resources
References
![www.apple.com]() App Store - Apple
App Store - Apple![play.google.com]() Google Play
Google PlayLG Open Source
![www.lg.com]() Global Take-Back Policy | Take-Back & Recycling | LG Global
Global Take-Back Policy | Take-Back & Recycling | LG Global
Download manual
Here you can download full pdf version of manual, it may contain additional safety instructions, warranty information, FCC rules, etc.
Download LG MUSIC flow SH7 - Wireless Multi-Room Sound Bar Short Manual
Advertisement
Thank you! Your question has been received!


Need Assistance?
Do you have a question about the MUSIC flow SH7 that isn't answered in the manual? Leave your question here.