Advertisement
Quick Links
Operating Instructions
Vacuum Cleaner(Domestic use)
MC-YL799
Model No.
Thank you for purchasing the Panasonic product. Before use, please read these operating instructions
completely in order to use this product properly and ensure its lasting operation. After reading these operating
instructions store them safely.
Advertisement

Summary of Contents for Panasonic MC-YL799
- Page 1 Vacuum Cleaner(Domestic use) MC-YL799 Model No. Thank you for purchasing the Panasonic product. Before use, please read these operating instructions completely in order to use this product properly and ensure its lasting operation. After reading these operating instructions store them safely.
-
Page 2: Table Of Contents
TABLE OF CONTENTS / Page / Page / • IMPORTANT SAFETY INSTRUCTIONS ......2-3 • DISCARDING THE DUST ......9-10 FOR THE USER ......9-10 ......2-3 ......9-10 ......2-3 • MAINTAINING YOUR VACUUM CLEANER ......11-12 • PART NAMES AND THEIR ASSEMBLY ...... - Page 3 • • • • • • • • • • •...
-
Page 4: Part Names And Their Assembly
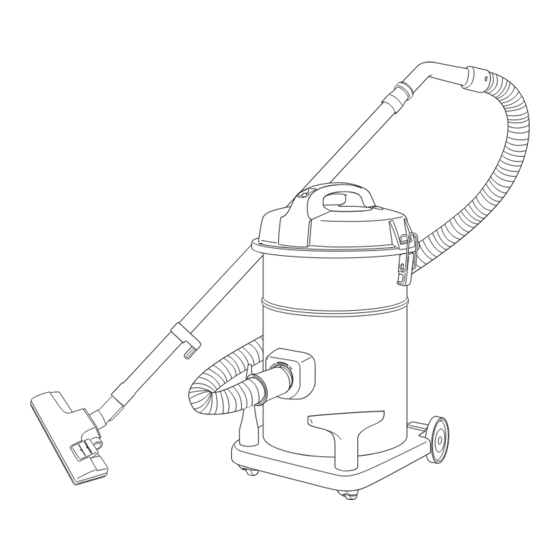
PART NAMES AND THEIR ASSEMBLY Projection Curved wand Suction regulator Hole Hose supporter Extension wands Hose Projection Hole Extension wand holder Floor nozzle Hose supporter Hose connection wand NOTE • At the beginning when you purchase this product, accessories like curved wand, hose, crevice tool and upholstery nozzle are located inside the dust box. - Page 5 OFF/ON switch Carrying handle Cord Rewind Button Vac gauge Turn on the appliance and lift the nozzle off the floor. If the vac gauge turn red, the dust box is full and Plug required to discard the dust. * Plug might be different from Motor Housing illustration.
-
Page 6: Operating Your Vacuum Cleaner
OPERATING YOUR VACUUM CLEANER CAUTION • DO NOT use the extension wand when using the blower operation. Wand will get hot. Press “I” to turn on the appliance, press “O” to turn off the appliance. Carrying handle Use the nozzle that is appropriate for the location you are cleaning. Flooring: Press lever A Carpet: Press lever B •... -
Page 7: Storing Your Vacuum Cleaner
STORING YOUR VACUUM CLEANER Standby storage hole Upholstery nozzle Crevice tool • For cushions and draperies. • For narrow places... -
Page 8: Discarding The Dust
DISCARDING THE DUST Removing the filter • If the vac gauge turns red, discard the dust. Pull the clamps upward. Remove the motor housing hanging upward with the carrying handle. Pull the expander upward and shake it about ten times. (Never shake up and down and leave the hose connected.) Remove the filter and empty dirt and dust. - Page 9 Installing the filter ON/OFF switch Motor housing Install the filter. Fix the motor housing and lock the clamps. Please ensure the location of the OFF/ON switch should be aligning with the hose inlet. Expander Filter Clamp Hose inlet Hose...
-
Page 10: Maintaining Your Vacuum Cleaner
MAINTAINING YOUR VACUUM CLEANER CAUTION / • The plug must be removed from the socket outlet before cleaning or maintaining the appliance. • IMPORTANT : Before re-installing the washable filter, make sure they are completely dry to avoid damaging the cleaner. NOTE Floor Nozzle •... - Page 11 Maintaining the filter Remove the expander from the filter as illustrated. Wash the filter in water by hand. (Do not use washer or dryer.) When filter becomes completely dry, replace it as in the same manner in reverse. Please ensure to place the filter supporter to its original location in order to avoid filter supporter become deform which can cause dust leaking.
-
Page 12: Troubleshooting
TROUBLESHOOTING What to do if your cleaner does not work Check that the appliance is correctly plugged in and that the socket outlet is working. In case that the thermal cut-off device has operated, wait until it resets after approximately 60 minutes. If after having checked the mentioned points, the cleaner does not work, take it to an Authorized Service Centre to be repaired. -
Page 13: Specifications
SPECIFICATIONS... - Page 14 MEMO...
- Page 15 V01ZLV000 © Panasonic Corporation 2016 Printed in Japan S0416-0...


