
Related Manuals for Philips NeoPix 330


Summary of Contents for Philips NeoPix 330
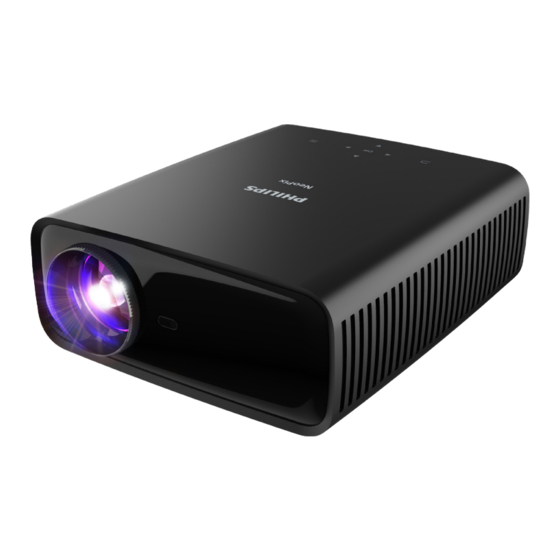
- Page 1 User Manual NeoPix 330 Home Projector Register your product and get support at www.philips.com/support...
-
Page 2: Table Of Contents
Table of contents Introduction �������������������������������������������������3 4 Connect to other devices ������������������10 Dear customer ...............3 Connect to a playback device through HDMI™ ...................10 About this user manual ..........3 Connect to a device through HDMI™ ARC ..10 What’s in the box ............3 Connect to a dongle ...........11 Customer service center ...........3 Connect to wired speakers or headphones ..11... -
Page 3: Introduction
Introduction What’s in the box NeoPix 330 projector (NPX330/INT) Remote control with 2 AAA batteries Dear customer Quick Start Guide with Warranty Card Thank you for purchasing this projector. AC power cables with plugs x 3 We hope you enjoy this product and the many... -
Page 4: General Safety Information
If the product gets too hot or emits smoke, shut it down immediately and unplug the power cable. Have your product checked by an authorised service center . Keep the product away from open flames (e.g. candles). Philips · NeoPix 330... -
Page 5: Power Supply
2 Overview Power supply Use only a power adapter which is certified for this product (see Technical data, page 18). Top view Check whether the mains voltage of the power supply matches the mains voltage available at the setup location. This product complies with the voltage type specified on the product. -
Page 6: Front View
LED lights up in red. Rear IR sensor Power out for dongle or software update HDMI Connect to an HDMI™ output port on a playback device. 3.5 mm audio output; connect to external speakers or headphones. Philips · NeoPix 330... -
Page 7: Initial Setup
3 Initial setup Input source Notice Confirm a selection. Make sure all devices are disconnected from their power supplies before Open or close the settings menu. establishing or changing any connections. Access the home screen. Install the projector Increase or decrease the volume. You can install the projector in four different ways. -
Page 8: Connect To Power Supply
The power LED on the projector lights up in red. If the projection direction is incorrect, press on the remote control to open the settings menu, go to Projector > Install Mode > Rear and press the OK button. Philips · NeoPix 330... -
Page 9: Prepare The Remote Control
Prepare the remote control Image focus adjustment To adjust the image focus (sharpness), turn CAUTION! the focus adjustment knob attached to the The improper use of batteries can projection lens. lead to overheating, explosion, risk of Tip: If you change the projection distance later, fire and injury. -
Page 10: Select The Language
System > Language. • The HDMI™ ARC port on your audio system might be labeled differently. See the documentation supplied with the device for more information. Philips · NeoPix 330... -
Page 11: Connect To A Dongle
Connect to wired speakers To activate the HDMI™ ARC function on the projector, press on the remote control or headphones and then select Sound > Output > ARC. You can connect wired speakers or headphones Connect to a dongle to the projector. With this connection, audio from the projector is played through the You can connect a dongle (e.g. -
Page 12: Change Projector Settings
Blue Gain: Adjust the gain for blue. • Noise Reduction: Turn off noise reduction or set its level to Low, Middle or High. • Reset to Default: Select Yes to reset all the picture settings above. Philips · NeoPix 330... - Page 13 Sound settings Image settings You can view and change the following sound You can view and change the following image settings. settings. • Sound Mode: You can set the projector to • Location: You can select a location and then use the following sound modes, depending modify the image settings.
- Page 14 Help information You can view the website addresses, QR code and email address for getting help information on the projector. Philips · NeoPix 330...
-
Page 15: Maintenance
Do not allow any moisture to Update software through USB reach the interior of the projector. Do not spray the projector with any Visit www.philips.com/support, find your cleaning fluids. product (model number: NPX330/INT), Wipe over the surfaces gently. Be open its support page and locate "Software... -
Page 16: Troubleshooting
• The projector does not support the exFAT file device. system. • Format the USB storage device in FAT32 or NTFS format, then use it. The projector does not react to remote • Check the batteries of the remote control. control commands. Philips · NeoPix 330... - Page 17 Problem Solution The temperature of the projector’s surface • For this projector it is normal to generate is warm. moderate heat during operation. The projector does not work after I connect • Check that the HDMI™ cable is plugged in it to a laptop.
-
Page 18: Appendixes
Sound Model Built-in speakers ..........2 x 5 W Speaker type ..........2.1 stereo NPX330/INT Equalization .............. yes EAN: 7640186960304 UPC: 667619992852 Connection HDMI™ in ...............x1 USB-A (5 V/1.5 A out) ..........x1 3.5 mm audio out ............x1 Philips · NeoPix 330... -
Page 19: Ce Statement
Directive 2014/53/EU. FCC ID: 2ASRT-NPX330 Canada regulatory compliance The Declaration of Compliance can be consulted on the site www.philips.com. This device complies with Industry Canada CAN ICES-3 (B)/NMB-3(B) FCC statement RSS-Gen & RSS-247 statement: This device complies with Industry Canada RSS standard(s). - Page 20 Screeneo Innovation SA shall not be liable for any damages or problems arising from the use of any options or any consumable materials other than those designated as original Screeneo Innovation SA/PHILIPS products or Screeneo Innovation SA/PHILIPS approved products. Screeneo Innovation SA shall not be held liable...
- Page 21 Route de Lully 5c - 1131 Tolochenaz - Switzerland Philips and the Philips Shield Emblem are registered trademarks of Koninklijke Philips N.V. and are used under license. Screeneo Innovation SA is the warrantor in relation to the product with which this booklet was packaged.