Advertisement
Quick Links
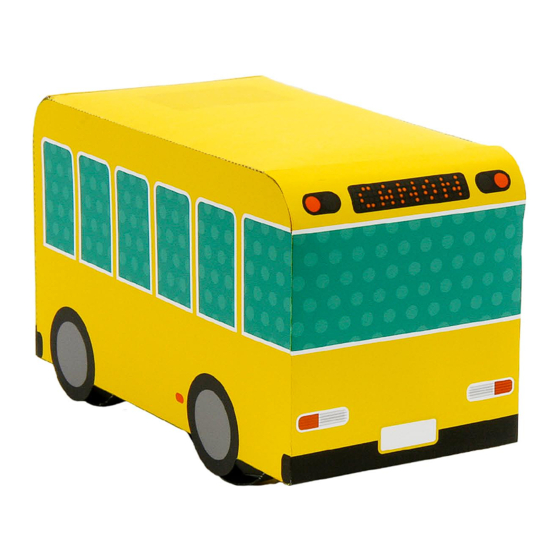
Elastic-powered Bus : Pattern
Assembly Instructions
1. Carefully cut out the parts.
2. Fold along the dotted lines, making mountain
or valley folds as indicated.
3. Attach the glue spots on each part together.
4. Glue the parts together, and you're done!
*Please read the Assembly Instructions
carefully before you begin.
Tools
Scissors
Glue (We recommend quick-drying paper glue)
3 rubber bands (preferably brand new ones)
About 1.57 inches in diameter
Actual size illustration:
check the size of your rubber bands here.
Notation Key
Scissors line
Cut in line
Glue spot
How to assemble your model neatly
Scoring along the fold lines in advance with a dried
up pen or a ruler with slightly sharp corners will result
in a neater model.
*Be careful not to press too hard as the paper may tear.
Caution
Keep scissors and glue away from small children.
Be careful not to cut your fingers when using scissors.
Mountain fold
Valley fold
Advertisement

Related Manuals for Canon CREATIVE PERK Elastic-powered Bus : Pattern


Summary of Contents for Canon CREATIVE PERK Elastic-powered Bus : Pattern
- Page 1 Elastic-powered Bus : Pattern Assembly Instructions Notation Key 1. Carefully cut out the parts. 2. Fold along the dotted lines, making mountain Scissors line Mountain fold or valley folds as indicated. 3. Attach the glue spots on each part together. 4.
- Page 2 Elastic-powered Bus : Pattern Body (front) Body (front) Body (back) Body (above) Axle Body (back) Axle stopper...
- Page 3 Elastic-powered Bus : Pattern Back tire 1 Body (left) Back tire 3 Back tire 2...
- Page 4 Elastic-powered Bus : Pattern Body (right) Body interior 2 Axle joint...
- Page 5 Elastic-powered Bus : Pattern Front tire 1 Axle parts Band stopper Front tire 2 Front tire 3...
- Page 6 Elastic-powered Bus : Pattern Body interior 1 Body interior 3 Bus stop...