Advertisement
Quick Links
Download this manual
See also:
User Manual
Installation Overview
To install your tape backup system, you will need to:
• Install the backup software
• Install the documentation
• Install the tape drive
• Prepare for a computer system failure
1
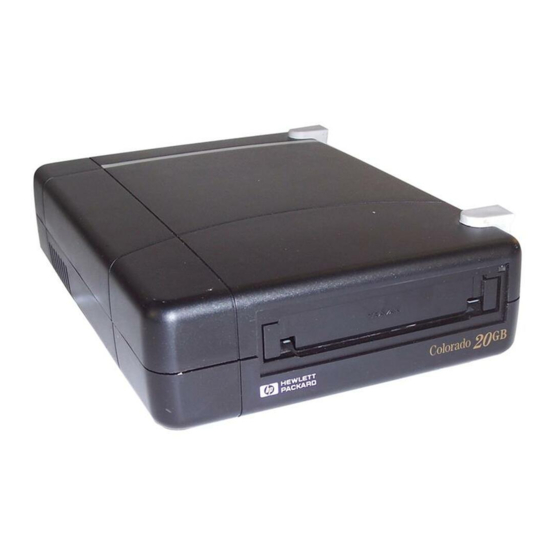
Unpack the tape drive
1.
2.
3.
4.
5.
2
Run the installation program
The installation program on the CD helps you install your tape drive, backup
software, and related documentation.
D. Select "Typical" to install everything, or "Custom" to choose which items to install,
and then click "Next". The "Typical" option is recommended for new installations.
E. Select "External HP Colorado tape drive", and click Next.
F. Click Finish to complete the hardware evaluation portion of this program.
G. The HP Colorado Backup II Setup program appears next, which will install the backup
software. Follow the screen instructions, and accept the default responses
(recommended).
H. The HP Colorado Documentation Setup program appears next, which will copy the
tape drive and software user's guides to your computer. Follow the screen instructions,
and accept the default responses (recommended). When the program quits, you will see
the desktop screen.
Now you are ready to install the tape drive.
3
Shut down your operating system and
turn off your computer
Contents:
1. External tape drive
2. Power supply
3. Power cord
4. Data cable
5. HP Colorado Backup II CD
Accessories required:
• Floppy diskettes (1 - 5 for disaster
recovery)
• Tape (to perform backups)
A. Turn on the computer, and insert
the HP Colorado Backup II CD.
The installation program may start
automatically. If it does not:
• Select Start > Run.
• Type D:\SETUP (where D is your
CD-ROM drive), and click OK.
B. Select the desired language, then
click Next.
C. Select "Install". You will be asked to
close any open programs, and click
Next.
A. Leave the CD inside your CD-ROM
drive, so the installation program can
re-run automatically when you
reboot your system.
installation
4
Connect the power cords
5
Connect the tape drive
To Printer
To Computer
Power
6
Connect the printer
To Printer
To Computer
Power
7
Test the tape drive
A. Plug the power supply into the
back of the tape drive.
B. Plug the power cord into the back
of the power supply and into an
outlet.
A. If you have a printer, disconnect the printer
cable from the back of your computer.
Leave the other end of this cable attached
to your printer.
B. Attach the data cable that came with the
tape drive to the parallel port on the
back of the computer. This port is often
labeled "Parallel" or "LPT1", or has a
printer icon.
C. Attach the other end of the data cable to
the back of the tape drive, where it says
"To Computer".
A. If you have a printer, attach the printer
cable to the back of the tape drive, where
it says "To Printer".
A. Make sure the HP Colorado Backup II
CD is inserted.
B. Turn on your computer. When the
computer reboots, the installation
program will automatically run for the
second time, and it will test the tape
drive.
C. Test results are displayed:
• If the test is successful, click Finish.
• If the test is unsuccessful, and the
system cannot detect the tape drive,
select Next to view your system's
resources, or Cancel to exit the
installation program.
D. If you are prompted to install Internet
Explorer, click Yes and follow the
screen instructions.
E. When the installation program is done,
remove the CD and store it in a safe
place.
If your computer does not boot up or
the drive test fails, see the
"Troubleshooting" section.
Advertisement

Related Manuals for HP C4405A


Summary of Contents for HP C4405A
-
Page 1: Installation Overview
installation Connect the power cords Installation Overview A. Plug the power supply into the To install your tape backup system, you will need to: back of the tape drive. • Install the backup software B. Plug the power cord into the back •... -
Page 2: Troubleshooting
B. Select the One-Button Backup icon from your screen. A full system backup will start. This could take several hours. C. Label the backup tape, store it in a safe place, and exit the backup software. © Hewlett-Packard Company 1998-1999 Edition 3 9/99 Part Number C4447-90100...