
Related Manuals for Electrolux EGT6345YOK


Summary of Contents for Electrolux EGT6345YOK
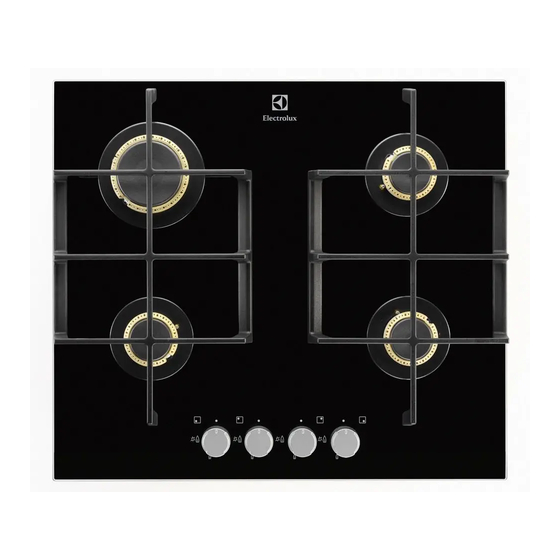
- Page 1 ..................... EGT6345 EN HOB USER MANUAL...
-
Page 2: Table Of Contents
9. TECHNICAL INFORMATION ..........15 WE’RE THINKING OF YOU Thank you for purchasing an Electrolux appliance. You’ve chosen a product that brings with it decades of professional experience and innovation. Ingenious and stylish, it has been designed with you in mind. -
Page 3: Safety Information
ENGLISH 1. SAFETY INFORMATION Before the installation and use of the appliance, carefully read the supplied instructions. The manufacturer is not responsible if an incorrect installation and use causes in- juries and damages. Always keep the instructions with the appliance for future reference. 1.1 Children and vulnerable people safety WARNING! Risk of suffocation, injury or permanent disability. -
Page 4: Safety Instructions
• Never try to extinguish a fire with water, but switch off the appliance and then cover flame e.g. with a lid or a fire blanket. • Do not store items on the cooking surfaces. • Do not use a steam cleaner to clean the appliance. -
Page 5: Gas Connection
ENGLISH • Make sure not to cause damage to the • If the surface of the appliance is mains plug (if applicable) or to the cracked, disconnect immediately the mains cable. Contact the Service or an appliance from the power supply. This electrician to change a damaged mains to prevent an electrical shock. -
Page 6: Product Description
• Contact your municipal authority for in- cleaning pads, solvents or metal ob- formation on how to discard the appli- jects. ance correctly. • Disconnect the appliance from the 2.4 Disposal mains supply. • Cut off the mains cable and discard it. -
Page 7: Helpful Hints And Tips
ENGLISH Always light the burner before you Thermocouple put cookware. WARNING! Do not keep the control knob To light the burner: pushed for more than 15 sec- Turn the control knob counterclock- onds. wise to the maximum position ( If the burner does not light after ) and push it down. -
Page 8: Care And Cleaning
WARNING! Do not put unstable or damaged pots on Do not use cast iron pans, pot- the rings to prevent from spill and injury. stones, grill or toaster plates on WARNING! gas burners. Do not use a flame diffuser. -
Page 9: Periodic Maintenance
ENGLISH can remove stubborn stains with a paste cleaner. • After you clean the pan supports, make sure that they are in correct positions. • Make sure that the arms of the pan supports are in the centre of the burner for the burner to operate correctly, . -
Page 10: Troubleshooting
10 www.electrolux.com the gas supply pipe and the pressure ad- juster, if fitted. 7. TROUBLESHOOTING Problem Possible cause Remedy There is no spark when • There is no electrical • Make sure that the unit lighting the gas supply is connected and the electrical supply is switched on. -
Page 11: Installation
ENGLISH MOD. MOD. MOD. TYPE PROD.NO. 230V-50Hz PROD.NO. PROD.NO. 0049 SER.NO. IP20 SER.NO SER.NO 03 IT DATA DATA MADE IN ITALY MODEL MODEL Stick it on Guarantee Card and send Stick it on instruction booklet this part Stick it on Guarantee Card and keep this part 8. - Page 12 12 www.electrolux.com volume greater than 20 m³), but not in a Make sure that the main connection pipe bathroom or shower room. does not exert any strain on the hob. The minimum distance combustible mate- If you use flexible metal pipes make sure...
-
Page 13: Electrical Requirements
ENGLISH With a thin screwdriver, adjust the by- The manufacturer refuses to pass screw position. be held responsible, if these safety measures are not abi- ded by. Supply connections: This hob has to be connected to 230 — 240 V ( 50 Hz) electricity supply. The hob has a terminal block which is marked as follows: •... -
Page 14: Possibilities For Insertion
14 www.electrolux.com 8.6 Building In Blue - Neutral Brown - Live min. 600 mm Replacement of the connection cable Connect the green and yellow (earth) wire to the terminal which is marked min. 450 mm min. 650 mm with the letter 'E', or the earth symbol min. -
Page 15: Technical Information
ENGLISH be equipped with vents to let a continu- 30 mm ous supply of air. The electrical connec- tion of the hob and the oven must be in- stalled separately for safety reasons and min 20 mm to let easy remove oven from the unit. (max 150 mm) 60 mm 50 cm... -
Page 16: Environment Concerns
16 www.electrolux.com Burner Ø By-pass in 1/100 mm Rapid Gas burners for NATURAL GAS G20 20 mbar BURNER NORMAL POWER kW inj. 1/100 mm Semi-rapid 1.65 Rapid Gas burners for LPG (Butane / Propane) NORMAL inj. POWER 1/100 mm 28–30 mbar... - Page 17 ENGLISH...
- Page 18 18 www.electrolux.com...
- Page 19 ENGLISH...
- Page 20 www.electrolux.com/shop...