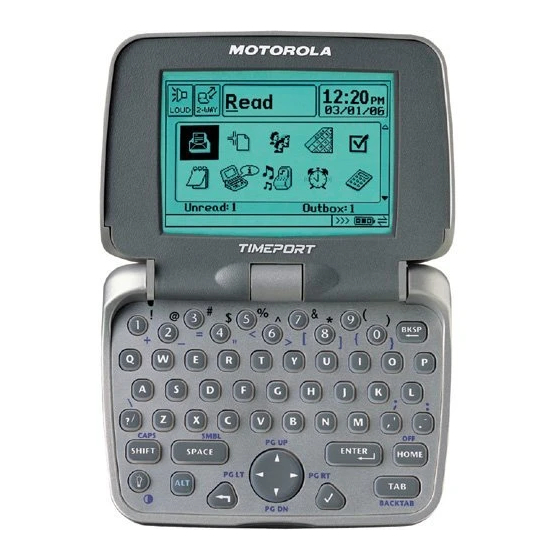
Motorola Timeport P935 User Manual
Personal interactive communicator
Hide thumbs
Also See for Timeport P935:
- User manual (172 pages) ,
- Quick start manual (38 pages) ,
- Quick start manual (37 pages)
Table of Contents
Advertisement
Quick Links
Advertisement
Table of Contents

Summary of Contents for Motorola Timeport P935
- Page 1 User's Guide PERSONAL INTERACTIVE COMMUNICATOR Model P935 ReFLEX™ Technology...
- Page 2 @6881035B75@ 6881035B75-O...
- Page 3 Boynton Beach, FL 33426-8292 MOTOROLA, the Stylized M logo and all other trademarks indicated as such herein are trademarks of Motorola, Inc. ® Reg. U.S. Pat. & Tm. Off. Starfish, TrueSync, and the Starfish logo are trademarks of Starfish Soft- ware, Inc.
- Page 4 Software. You may transfer all your rights to the Software under this Agreement to another person by transferring, on a permanent basis, to such other person the Motorola Timeport P935 device on which the Wis- dom OS and Applications are installed, or by transferring, on a permanent basis, to such other person the personal computer on which the PC Partner is installed;...
- Page 5 (90) days from the date the product accompanying the Software was purchased by you. Motorola, at its option, will at no charge repair or replace the media of the Software that contains defects in materials or workmanship in the media.
- Page 12 ENTER...
- Page 22 acti- ENTER vates toolbar BACKLIGHT buttons. In illuminates lists, opens the screen items for view- and keyboard returns HOME to the Home cancels BACK screen input for the current moves screen and Pressing the outside edge of SELECT between fields goes back to moves the cursor marks an...
- Page 23 ENTER Ã Displays the Changes current date and the volume time level Scroll bar indi- Changes cates that addi- the transmit tional status applications are out of view Status line ENTER Displays the current date and time Displays number of Changes the unread and volume level...
- Page 25 Arrow indicates that information Press the outside the cur- rent view area down to high- can be dis- light applica- played by press- tion items in ing the a list in the direction shown Select but- Arrow lets you tons on the know you can toolbar to per- press the...
- Page 26 Type data in Press the text boxes left or using the right to move QWERTY key- between tabs. board. An underline beneath the Highlight a arrow indi- check box and cates you can press ENTER select an toggle the option from a option on or off.
- Page 27 1. Insert the transformer’s 3. Slide your 2. Plug the round connector into transformer into an device, face the back of the charger. up, into the electrical outlet. charger base. A red light appears indicating that the battery is charging. A green LED indicator on the charger base...
- Page 28 1. Turn the device over and slide the 2. Align the battery so that battery door in the direction indicated the gold contacts on the by the arrow on the door. battery match the two contacts in the battery compartment. 3.
- Page 29 1. Connect one end of the RS232 cable to your computer’s 9- 4. Plug the pin serial port. transformer into an electrical outlet. 5. Snap your P935 into 2. Connect the the charger. other end of the Start the RS232 cable to Desktop the nine-pin applications...
- Page 30 ALT HOME...
- Page 31 ENTER...
- Page 32 ENTER ENTER...
- Page 33 HOME...
- Page 34 Ã ENTER...
- Page 38 SHIFT SHIFT SHIFT...
- Page 47 HOME...
- Page 54 SELECT...
- Page 57 SELECT...
- Page 58 HOME...
- Page 78 SELECT...
- Page 82 All-day events display as a light gray bar. Special days are noted with an asterisk (*). Appointments display as a medium gray bar. Appointment conflicts are shown as a black bar inside the medium gray bar. Use the to move between day tabs. Special days are displayed with a star below the weekday...
- Page 83 A dot indicates the current day. A star indicates a special day. A gray background indicates an All-day event. A turned-down corner indicates an event is scheduled for that day.
- Page 91 Tasks...
- Page 99 Memos...
- Page 105 A bell icon indicates that an alarm is turned on.
- Page 107 ENTER...
- Page 108 ENTER...
- Page 109 Calculator...
- Page 111 ENTER ENTER...
- Page 112 ENTER...
- Page 118 SPACE ENTER...
- Page 134 Beaming Settings AutoType Alert Settings Clean Up About Timeport Owner Home Information Screen Manager Memory Manager LED Alerts Key Clicks ENTER Delete Applications Fax Gateway Date and Time Contrast Font Sizes Signature Printer Selection Quiet Time Quick Text Privacy Options...
- Page 141 Š...
- Page 146 BACKLIGHT...
- Page 147 Sample Text Sample Text Sample Text...


