
Related Manuals for Frigidaire Professional PL36PC40EC


Summary of Contents for Frigidaire Professional PL36PC40EC
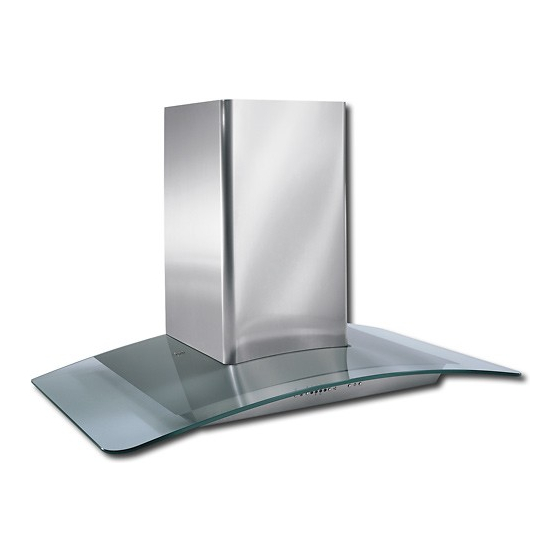
- Page 1 PROFESSIONAL SERIES Model PL36PC40EC ENGLISH........2 FRAN(_AIS........ 10...
- Page 2 INTENDED FOR DOMESTIC COOKING ONLY _, WARNING TO REDUCE THE RISK OF FIRE, ELECTRIC SHOCK, OR iNJURY TO PERSONS, OBSERVE THE FOLLOWING: 1. Use this unit only in the manner intended by the manufacturer. If you have questions, contact the manufacturer at the address or telephone number listed in the warranty.
-
Page 3: Operation
OPERATION Controls The hood is operated using the (5) push-buttons located at eye-level, on the front edge of the hood. The light switch turns the halogen lights on and off. Push the light switch once to turn the lights ON - push a second time to turn the lights ON to a brighter level - push a third time to turn the lights OFF. -
Page 4: Maintenance
MAINTENANCE Proper maintenance of the Range Hood will assure proper performance of the unit. Grease Filters The grease filters should be cleaned frequently. Use a warm detergent solution. Grease filters are dishwasher safe. See "INSTALL FILTERS" section for removal and installation instructions. Non-Ducted Recirculation Filter... -
Page 5: Install Support System
INSTALL THE DUCTWORK (DUCTED HOODS ONL Y) ROOF CAP ROUND DUCT CAUTION: To reduce the risk of fire, use only metal ductwork. 1. Decide where the ductwork will run between the hood and the outside. 2. A straight, short duct run will allow the hood to perform most efficiently. 3. - Page 6 PREPARE THE HOOD ELECTRICAL MOUNTING PLATE (DUCTED AND NON-DUCTED HOODS) MOUNTING Fix the electrical mounting plate with (2) 3.9x9.5mm screws and (2) serrated washers. SCREWS Fig. 9. (3.9x£.5mrn) (NON-DUCTED HOODS ONL Y) Purchase a Non-ducted recirculation KiT from your dealer (Model DFKTPC4OEC).
-
Page 7: Install The Hood
iNSTALL THE HOOD Fix the hood to the support frame with (6) 3.9x9.5mm mounting screws and (2) serrated washers. (3.9xg.Smrn) CONNECT DUCTWORK (DUCTED HOODS ONL Y) 1. Use 6" round metal duct to connect the discharge collar on the hood to the TAPE ductwork above. - Page 8 WIRING Note: Electrical wiring must be done by a qualified person(s) in accordance with all applicable codes and standards. This range hood must be properly grounded. Turn off electrical power at service entrance before wiring. 1. Remove the (2) screws of the upper flue and move the upper flue towards the bottom. 2.
- Page 9 Your appliance is covered by a one year limited warranty. For one year from your original date of purchase, Electrotux wilt pay all costs for repairing or replacing any parts of this appliance that prove to be defective in materials or workmanship when such appliance is installed,...
- Page 10 SEULEIVlENT POUR UTILISATION DOMESTIQUE ,_ _, AVERTISSEMENTS POUR REDUIRE LIES RISQUES D'INCENDIE, DE DECHARGES ELECTRIQUES OU DE DOMMAGES PERSONNES, OBSERVEZ LES INSTRUCTIONS SUIVANTES: 1. N_uti_isez_etapparei_que_mme_e_aestindiquepar_e_nst_u_teur.Siv_usave_despr_b_emes_nta_tez_efabriquantM_ad_esse ou au numero detelephone indiques dans la garantie. 2. Avant de pourvoir &l'entretien ou au nettoyage de votre appareil, eteignez-le au tableau des commandes ou bloquez letableau...
- Page 11 FONCTIONNEMENT Commandes Votre hotte fonctionne grace au× (5) boutons sur lesquels vous devez appuyer et qui se trouvent a. la hauteur de vos yeux, sur le devant de votre hotte. Le bouton de la iurniere alIume et eteint les tampes halogenes. En pressant 1 fois la touche, la lumiere s'a!lume au I _' niveau;...
-
Page 12: Entretien
ENTRETIEN Un bon entretien de votre hotte garantira une excellente performance. Filtres a graisse Les fiitres a graisse devront _tre frequemment nettoyes. Utilisez une solution a base de detergent tiede. Les filtres a graisse peuvent alter au lave-vaisselle. Voir la section " INSTALLATION DES FILTRES "pour les instructions d'installation et de retrait. -
Page 13: Installation
INSTALLATION DU SYSTEME D'EVACUATION COUVERCLE TOIT (HOTTES CARE-NEES) TUYAU ROND ATTENTmON: Pour r_duire les risques d'incendie, n'utilisez que des tuyau× en m_tal. 1. Decidez o_ le tuyau rond dolt 6tre installe, entre votre hotte et I'ext@ieur. 2. Un tuyau droit et court permettra b. votre hotte de fonctionner d'une fagon plus efficace. - Page 14 PREPAREZ LA HOTTE PLAQUE iNSTALLATION (HOTTES CARENEES ET NON-CARENEES) ELECTRIQUE Fixez la plaque de I'insta!lation electriqe au moyens des (2) vis d'assemblage VlS O'ASSEI_BLAQE 3.gxg.5mm et (2) rondelles dentees. Fig. 9. (3.9xg.5mm) (HOTTES NON-CARENEES) Procurez-vous un KIT version recyclant I'air (Modele DFKTPC40EC) chez votre fournisseur.
- Page 15 iNSTALLATiON DE LA HOTTE Fixez la hotte b.la structure de support au moyen des (6) vis d'assemblage 3.9x9.5mm et de (2) rondelles dentees. (3.gx9.5mm) CONNEXION DU SYSTEME D'EVACUATION RUBAN (CONFIGURATIONS CARENEES) 1. Reliez le co!lier d'evacuation qui se trouve sur votre hotte au systeme d'evacuation qui se trouve au-dessus au moyen d'un tuyau rond en m_tal de 6"...
- Page 16 iNSTALLATiON ELECTRIQUE Remarque : le c_blage _lectrique doit _tre effectu_ par une personne qualifi_e, et conform_ment aux codes et normes en vigueur. La hotte dolt _tre correctement reli_e a la terre. Mettez I'alimentation _lectrique hors tension avant de proc_der au c_blage. 1.
- Page 17 Votre appareil est couvert par une garantie limitee d'un an. Pendant un an a partir de la date d'achat originale, Electrolux assumera les coots des r@arations ou du remplacement des pieces de cet appareil qui presente un defaut de fabrication ou de materiau, si cet appareil est instalte, utilise et entretenu...
- Page 18 SERVICE PARTS - LISTE PIECES DE RECHANGE MODEL PL36PC40EC KEY No. DESCRiPTiON (ENGLISH) DESCRIPTION (FRANCAIS) Grease Filter Filtre a graisse Condensateur Motor Capacitor Electrical Box Support Support boite electrique Transformer Protection Protection transformateur Bulb Ampoule Board Box Boite circuit imprime electrique Control Cover + Board Coiuvercle commandes + circuit imprime...
- Page 19 SERVICE PARTS - LISTE PIECES DE RECHANGE MODEL PL36PC40EC -19-...
- Page 20 04307536...