Sharp KB-3300JW Installation Manual
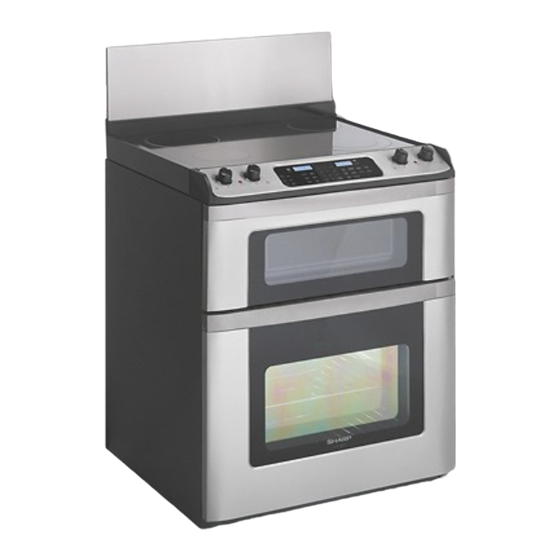
30" freestanding range with microwave drawer
Hide thumbs
Also See for KB-3300JW:
- Service manual (72 pages) ,
- Operation manual (32 pages) ,
- Installation manual (8 pages)
Advertisement
Quick Links
30" Freestanding Range
INSTALLATION MANUAL
INSTALLATION ANDSERVICEMUSTBE PERFORMED BY A QUALIFIED INSTALLER.
IMPORTANT: SAVE THIS INSTALLATION MANUAL FOR LOCAL ELECTRICAL
INSPECTOR'S USE.
READANDSAVETHESEINSTRUCTIONS FORFUTUREREFERENCE.
For SAFETY CONSIDERATIONS do not install a range in any combustible cabinetry which is not in
accord with the stated clearances and dimensions on page 2. See Figures 1 and 2.
CLEARANCES ANDDIMENSIONS ..............................
2
IMPORTANT NOTES .............................................
3
IMPORTANT SAFETYINSTRUCTIONS .........................
3
ELECTRICAL C ONNECTIONS ................................
3-5
BACKSPLASH I NSTALLATION ..................................
6
ANTI-TIP .......................................................
7
MODELANDSERIAL NUMBER .................................
8
CARE,CLEANING ANDMAINTENANCE......................
8
®
Insight
_
Advertisement

Related Manuals for Sharp KB-3300JW


Summary of Contents for Sharp KB-3300JW
-
Page 1: Table Of Contents
30" Freestanding Range INSTALLATION MANUAL INSTALLATION ANDSERVICEMUSTBE PERFORMED BY A QUALIFIED INSTALLER. IMPORTANT: SAVE THIS INSTALLATION MANUAL FOR LOCAL ELECTRICAL INSPECTOR'S USE. READANDSAVETHESEINSTRUCTIONS FORFUTUREREFERENCE. For SAFETY CONSIDERATIONS do not install a range in any combustible cabinetry which is not in accord with the stated clearances and dimensions on page 2. - Page 2 INSTALLATION MANUAL minimum 30" 29 5/8" to bottom of Jjustiabie cabinet over 29 7/8" backspash cooktop width 42-48" with adjustiaNe backsplash 36" countertop height 30" openmg width 45 3/8" //" 30" / oven door \'-,,. door widths Preferred electrical open //_J outlet area Figure...
-
Page 3: Electrical C Onnections
INSTALLATION MANUAL • Never use the range for warming or heating the room. Prolonged use of the range without adequate ventilation be dangerous. the information in this manual is not followed exactly, a fire or electrical shock may result causing property damage, •... - Page 4 INSTALLATION MANUAL ACCESS TO TERMINAL BLOCK 208/240 VOLT CONNECTION INSTRUCTIONS The range can be set for 208V o1"240V. The voltage setting for your Loosen screw on rear access cover and pull down as illustrated range is pre-set at 240V from the factory. Follow these steps to Figttre 6 to access terminal block wiring connection.
- Page 5 INSTALLATION MANUAL Make sure all connections are tightened securely and replace connections. Tighten all 3 or 4-wire leads to the terminal block. Follow wire locations shown in Figure 10. the rear access cover. See Figure 7. DO NOT LOOSEN the factory installed nut GROUNDING INSTRUCTIONS- ONLY...
-
Page 6: Backsplash I Nstallation
INSTALLATION MANUAL Parts Supplied The range backsplash is adjustable so that you can customize it for your particular kitchen situation. The height can be adjusted 4 Screws froln the low position (6-inches high) to the highest position (12-inches high) in one inch increments. Remove screw fioln the cooktop back fralne end cap on 1 Backsplash 1 Rubber Gasket... -
Page 7: Anti-Tip
INSTALLATION MANUAL 2 DRILL PILOT HOLES AND FASTEN BRACKET Drill a 1/8-inch pilot hole where screws are to be located. If bracket is to be mounted to the wall, drill pilot hole at an approximate NORMAL INSTALLATION STEPS degree downward angle. -
Page 8: Modelandserial Number
Reinstall in reverse seconds after plugged in. order making sure to level the range and check electrical connections. See pages 2 and 3 for proper anchoring instructions. ® SHARP s...,,,..c,..o.,cs co.,,o..'r,o. RECYCLED PAPER Sharp Plaza, Mahwah, New Jersey 07430-2135...