Table of Contents
Advertisement
Advertisement
Table of Contents

Related Manuals for Pioneer DEH-4490BT


Summary of Contents for Pioneer DEH-4490BT
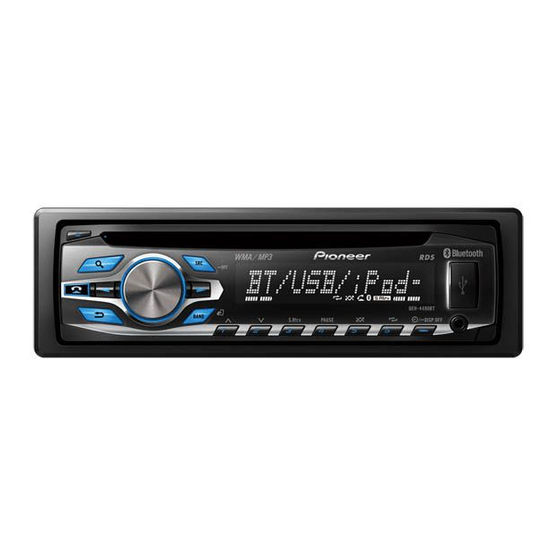
- Page 1 CD RDS RECEIVER DEH-4490BT Owner’s Manual...
-
Page 2: Demo Mode
CAUTION DISP/SCRL ! We offer the latest information about Press and hold to turn dimmer ! Use an optional Pioneer USB cable (CD- ! In the following instructions, USB memories PIONEER CORPORATION on our website. on or off. U50E) to connect the USB audio player/USB and USB audio players are collectively re- ferred to as “USB storage device”. -
Page 3: Display Indication
Section Operating this unit Operating this unit # If you prefer not to set up at this time, turn M.C. To finish your settings, turn M.C. to select Part Operation Indicator State to switch to NO. Press to select. YES. Press to select. # If you prefer to change your setting again, turn If you select NO, you cannot set up in the set up Press to start talking on the... -
Page 4: Using Bluetooth Telephone
Section Operating this unit Operating this unit ! Operations may vary depending on the kind Removing the front panel to protect your unit from Selecting a source WARNING of cellular phone. 1 Press SRC/OFF to cycle between: theft ! Keep the battery out of the reach of children. ! Advanced operations that require attention 1 Press the detach button to release the front TUNER (tuner)—CD (built-in CD player)—USB... - Page 5 Section Operating this unit Operating this unit Tuner Storing and recalling stations Adjusting the other party’s listening volume OTHERS for each band 1 Press c or d while talking on the phone. Basic operations EDUCATE (Education), DRAMA (Drama), CUL- ! When private mode is on, this function is not Using preset tuning buttons TURE (Culture), SCIENCE (Science), VARIED (Var- available.
-
Page 6: Function Settings
Section Operating this unit Operating this unit Local seek tuning lets you tune in to only those SEEK (left/right key setting) Switching between compressed audio and CD-DA Viewing a list of the files (or folders) in the se- 1 Press BAND/ . radio stations with sufficiently strong signals for lected folder You can assign a function to the left and right keys... - Page 7 Section Operating this unit Operating this unit Turn M.C. to change the menu option Playing songs related to the Selecting an album Playing a song in the selected category and press to select FUNCTION. currently playing song 1 Press 1/ 1 When a category is selected, press and hold or 2/ .
- Page 8 Section Operating this unit Operating this unit ! iPod touch 4th generation (software version ! When the control mode is set to CTRL iPod/ S.RTRV (sound retriever) DEVICELIST (connecting or disconnecting a de- 4.1 or later) CTRL APP, only PAUSE or S.RTRV is avail- vice from the device list) ! iPod touch 3rd generation (software version able.
-
Page 9: Bluetooth Audio
DEV. INFO (Bluetooth device address display) source while listening to a song. ! To complete the connection, check the de- vice name (DEH-4490BT) and enter the vice name (DEH-4490BT) and enter the 1 Press M.C. to display the setting mode. -
Page 10: Audio Adjustments
Section Operating this unit Operating this unit Turn M.C. to change the menu option Function and operation PHONE BOOK (phone book) FAD/BAL (fader/balance adjustment) and press to select FUNCTION. Display PHONE FUNC. ! The phone book in your cellular phone will be 1 Press M.C. -
Page 11: Initial Settings
Section Operating this unit Operating this unit Turn M.C. to select the initial setting. The cut-off frequency and output level can be ad- This setting allows you to switch your source to The RCA outputs can be used for rear speaker or After selecting, perform the following proce- justed when the subwoofer output is on. -
Page 12: Installation
Section Operating this unit Installation % Press and hold ! Use this unit with a 12-volt battery and nega- Connections Bluetooth device data can be deleted. To protect tive grounding only. Failure to do so may re- personal information, we recommend deleting sult in a fire or malfunction. -
Page 13: Unit/Power Cord/Amp
Section Installation Installation j When using a subwoofer of 70 W (2 Ω), be This unit Perform these connections when using a sub- Installation woofer without the optional amplifier. sure to connect the subwoofer to the violet Important and violet/black leads of this unit. Do not ! Check all connections and systems before connect anything to the green and green/ final installation. -
Page 14: Installing The Microphone
Section Installation Installation DIN Front-mount DIN Rear-mount Pull the unit out of the dashboard. Installing the microphone Insert the mounting sleeve into the dash- Determine the appropriate position CAUTION board. where the holes on the bracket and the side It is extremely dangerous to allow the micro- of the unit match. -
Page 15: Adjusting The Microphone Angle
Section Installation Installation Install the microphone clip on the steer- Adjusting the microphone angle ing column. The microphone angle can be adjusted. 1 Microphone clip 2 Clamp When installing the microphone on the steering column Install the microphone on the micro- phone clip. -
Page 16: Additional Information
Windows Media DRM 9/10 to the Error messages disc are em- DRM 9/10. USB storage de- When you contact your dealer or your nearest bedded with vice and connect. Pioneer Service Center, be sure to note the error DRM. message. -
Page 17: Handling Guidelines
To clean a CD, wipe the disc with a soft cloth out- more than use it. Turn the Pioneer Service the iPod and reset ward from the center. 500 mA (maxi- ignition switch to Station. -
Page 18: Compressed Audio Compatibility (Disc, Usb)
CAUTION compatibility (disc, USB) name. tures. ! Pioneer cannot guarantee compatibility with This unit may not operate correctly depending on To ensure proper operation, connect the dock con- all USB mass storage devices and assumes the application used to encode WMA files. -
Page 19: Ipod Compatibility
2 Put those files into a folder. A Pioneer CD-IU51 interface cable is also avail- vey a license nor imply any right to use this prod- 3 Save the folder containing files on the USB able. -
Page 20: Specifications
Appendix Additional information Additional information Specifications CD player 580 kHz to 12 215 kHz, 13 570 kHz to 13 870 kHz, 15 100 kHz System ......Compact disc audio system to 15 735 kHz, 17 500 kHz to General Usable discs ....Compact disc 17 985 kHz, 18 015 kHz to 18 Signal-to-noise ratio .. - Page 24 PIONEER ELECTRONICS OF CANADA, INC. 340 Ferrier Street, Unit 2, Markham, Ontario L3R 2Z5, Canada TEL: 1-877-283-5901 TEL: 905-479-4411 PIONEER ELECTRONICS DE MEXICO, S.A. de C.V. Blvd.Manuel Avila Camacho 138 10 piso Col.Lomas de Chapultepec, Mexico, D.F. 11000 TEL: 55-9178-4270 先鋒股份有限公司...