Canon imageCLASS MF4890dw Manuals
Manuals and User Guides for Canon imageCLASS MF4890dw. We have 10 Canon imageCLASS MF4890dw manuals available for free PDF download: Service Manual, Starter Manual, Settings Manual, Basic Operation Manual
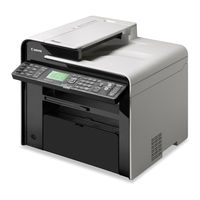
Canon imageCLASS MF4890dw Service Manual (511 pages)
Brand: Canon
|
Category: All in One Printer
|
Size: 54.44 MB
Table of Contents
-
-
Features23
-
-
-
-
Overview49
-
-
-
-
-
Overview64
-
Delay Jams66
-
Other Jams69
-
Maintenance70
-
-
-
Consumables73
-
Consumables74
-
-
Cleaning75
-
Printer75
-
Reader ADF76
-
-
-
-
Main Unit79
-
-
-
DADF Unit87
-
SADF Unit87
-
Reader Unit88
-
-
-
-
Mf4880Dw)225
-
Mf4712/Mf4710)317
-
-
-
Fixing System365
-
Advertisement
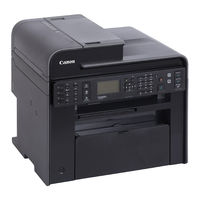
Canon imageCLASS MF4890dw Starter Manual (292 pages)
Brand: Canon
|
Category: All in One Printer
|
Size: 62.98 MB
Table of Contents
-
Power Supply18
-
Byta Tonerpatron116
-
Oppaista120
-
Kytkeminen122
-
Корисні Функції144
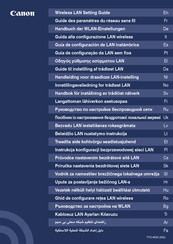
Canon imageCLASS MF4890dw Settings Manual (120 pages)
Brand: Canon
|
Category: Wireless Access Point
|
Size: 3.09 MB
Table of Contents
-
Software37
Advertisement

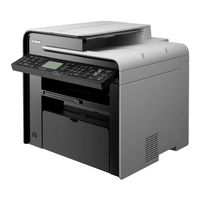
Canon imageCLASS MF4890dw Basic Operation Manual (116 pages)
Brand: Canon
|
Category: All in One Printer
|
Size: 8.03 MB
Table of Contents
-
-
-
Front Side10
-
Output Tray11
-
Power Button11
-
-
Interior12
-
Back Side13
-
-
Enter Text17
-
Load Paper22
-
-
Copy
29 -
Print
39 -
Fax
47-
Send a Fax55
-
Redialing57
-
Scan
73 -
-
-
Clear Jams94
-
Faq105
-
Power Supply110
-
Legal Notices111
-
Laser Safety114
-

Canon imageCLASS MF4890dw Basic Operation Manual (116 pages)
Table of Contents
-
-
-
Front Side10
-
Output Tray11
-
Power Button11
-
-
Interior12
-
Back Side13
-
-
Enter Text17
-
Load Paper22
-
-
Copy
29 -
Print
39 -
Fax
47-
Send a Fax55
-
Redialing57
-
Scan
74 -
-
-
Clear Jams94
-
Faq105
-
Legal Notices111
-
Users in Canada112
-
Laser Safety114
-
Canon imageCLASS MF4890dw Service Manual (52 pages)
Table of Contents
-
Cleaning18
-
Consumables19
-
E-Tag35
Canon imageCLASS MF4890dw Starter Manual (60 pages)
Brand: Canon
|
Category: All in One Printer
|
Size: 5.66 MB
Table of Contents
-
Contents
8-
Power Supply17
-
-
Contenido
34 -
Índice
46

Canon imageCLASS MF4890dw Starter Manual (37 pages)
Brand: Canon
|
Category: All in One Printer
|
Size: 7.42 MB
Table of Contents
-
Back Cover29
-
Power Supply31
Canon imageCLASS MF4890dw Starter Manual (37 pages)
Starter Guide
Brand: Canon
|
Category: All in One Printer
|
Size: 2.6 MB
Table of Contents

Advertisement