
Related Manuals for Philips CE235BT


Summary of Contents for Philips CE235BT
-
Page 1: User Manual
Always there to help you Register your product and get support at www.philips.com/support CE235BT Question? Contact Philips User manual... -
Page 3: Table Of Contents
Contents 1 Safety 9 Charge your USB device 2 Your car audio system 10 Adjust sound Introduction What's in the box 11 Adjust system settings Overview of the system 12 Additional information 3 Install the car audio system Reset the system Connect wires Replace the fuse Mount into the dashboard... -
Page 4: Safety
1 Safety Read and understand all instructions before you use this device. If damage is caused by failure to follow instructions, the warranty does not apply. • Modification of the product could result in hazardous radiation of EMC or other unsafe operation. -
Page 5: Your Car Audio System
What's in the box system Check and identify the contents of the package: Congratulations on your purchase, and welcome to Philips! To fully benefit from the support that Philips offers, register your product at www.philips.com/welcome. Introduction a Main unit (with a sleeve) -
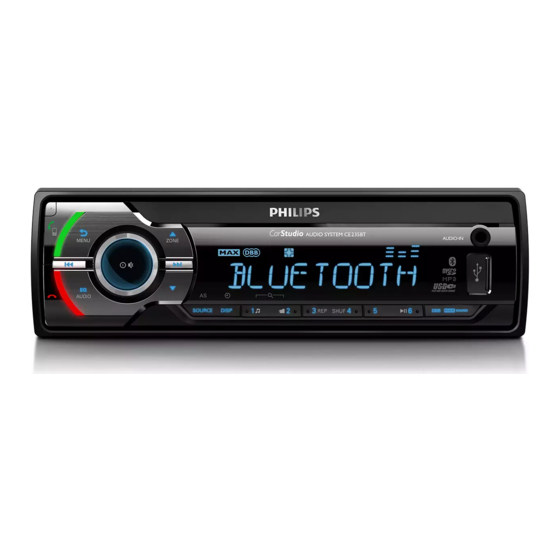
Page 6: Overview Of The System
Overview of the system q p o n m l k j i h d LCD screen • Unlock the front panel. e AUDIO IN • Connect to the audio output socket • Press to return to the previous menu. (usually the headphone socket) of an •... - Page 7 h DBB • In radio mode, press and hold to store • Press to enable or disable the DBB the current radio station at channel (dynamic bass boost) sound effect. No. 2. • For .mp3 tracks, press to access the folder list.
-
Page 8: Install The Car Audio System
3 Install the car • Tune to a radio station. audio system • Press to skip to the previous/next track. • Press and hold to rewind a track or search fast forward. Caution • Use the controls only as stated in this user manual. •... -
Page 9: Connect Wires
ISO male Connect to Connect wires connectors Yellow strip To the +12V car Note battery which is energized at all • Make sure that all loose leads are insulated with times electrical tape. • Consult a professional to connect wires as instructed below. -
Page 10: Mount Into The Dashboard
Mount into the dashboard • If the car does not have an on-board drive or navigation computer, disconnect the negative terminal of the car battery. • If the car battery is not disconnected, to avoid short-circuit, make sure that the bare wires do not touch each other. -
Page 11: Attach The Front Panel
Reconnect the negative terminal of the car battery. Attach the front panel Insert the notch on the front panel to the chassis on the main unit. Press the left end of the front panel inwards until it is securely locked with a "click". -
Page 12: Get Started
For the first time use Display the clock Press to turn on the system. » [PHILIPS] is displayed and then /DISP until [CLK] and the set Press and hold [SELECT OPERATING REGION] clock are displayed. -
Page 13: Mute The Button Beep
5 Listen to radio Mute the button beep The beep sound of buttons is enabled by Switch to radio mode default. Press and hold to access the system menu. Press AS/SOURCE repeatedly to switch the source to [RADIO]. repeatedly until [BEEP ON] Press or [BEEP OFF] is displayed. -
Page 14: Search For A Radio Station
Press and hold Search for a radio station to store the radio station at the selected channel. • To select a stored radio station, press Search for a radio station , , or automatically Press to search for the previous or Play with RDS next radio station with strong signals. - Page 15 Item Program Description Use alternate frequencies type If the signal of an RDS station is poor, enable the NEWS News services AF (Alternate Frequency) function to search for AFFAIRS Politics and current another station that broadcasts the same program. affairs Press and hold to access the system menu.
-
Page 16: Play From A Storage Device
6 Play from a Synchronize the system clock storage device You can synchronize the system clock with an RDS station that transmits time signals. Press and hold to access the system menu. This system can play .mp3 files that are copied repeatedly until [CT ON] or Press onto a compatible storage device. -
Page 17: Control Play
Press AS/SOURCE repeatedly to switch Switch tracks the source. • [USB PLAY]: For a USB storage device During play, you can switch tracks or folders that is connected to the USB socket quickly. on the front panel [SD PLAY]: For a micro SD card that is •... -
Page 18: Use Bluetooth Devices
On your device, follow the steps below. Press repeatedly until [RE-CON] is Search for Bluetooth devices. displayed. In the device list, select CE235BT. Press » If the pairing succeeds, [PAIRED] is » [WAIT] is displayed with -, --, displayed on the LCD screen of this and --- blinking alternately until system. -
Page 19: Play Audio From A Bluetooth Device
Pick up an incoming call Play audio from a Bluetooth device When the system receives an incoming call, the phone number or [PHONE IN] is displayed. Press to answer the call. If the connected Bluetooth device supports Advanced Audio Distribution Profile (A2DP), you can listen to tracks that are stored on the Reject an incoming call device through the system. -
Page 20: Listen To An External Player
8 Listen to an 9 Charge your external player USB device You can use the system to amplify the audio You can charge your USB device, for example, input from an external player, for example, MP3 smart phone, with this product. player. -
Page 21: Adjust Sound
10 Adjust sound 11 Adjust system settings The following operations are applicable to all supported media. Press to access system settings. Button Function Press repeatedly until one of the Rotate to increase or decrease following settings scrolls. the volume level. [BEEP], [DIMM], or [DANCE] •... -
Page 22: Additional Information
12 Additional Note information • If the fuse gets damaged immediately after it is replaced, an internal malfunction may occur. In such case, consult your local retailer. Reset the system If the system works abnormally, reset the system to factory default settings. Detach the front panel. -
Page 23: Product Information
13 Product Usable sensitivity 30 µV - AM(MW) (S/N information = 20 dB) Bluetooth Output Class 2 Note power • Product information is subject to change without prior Frequency 2.4000 GHz - 2.4835 GHz ISM notice. band Band Range 3 meters (free space) Standard Bluetooth 2.0 specification Product Information... -
Page 24: Troubleshooting
If the problem remains The audio quality is poor after connection unsolved, go to the Philips Web page (www. with a Bluetooth-enabled device. philips.com/support). When you contact the •... -
Page 25: Notice
Care of the environment 2015 © Gibson Innovations Limited. All rights Disposal of your old product reserved. Philips and the Philips’ Shield Emblem are registered trademarks of Koninklijke Philips N.V. and are used under license from Koninklijke Your product is designed and manufactured Philips N.V. - Page 26 This product has been manufactured by, and is sold under the responsibility of Gibson Innovations Ltd., and Gibson Innovations Ltd. is the warrantor in relation to this product. Philips and the Philips Shield Emblem are registered trademarks of Koninklijke Philips N.V. and are used under license from Koninklijke Philips N.V.