Table of Contents

Related Manuals for Toro Flex-Force Power System 21863


Summary of Contents for Toro Flex-Force Power System 21863
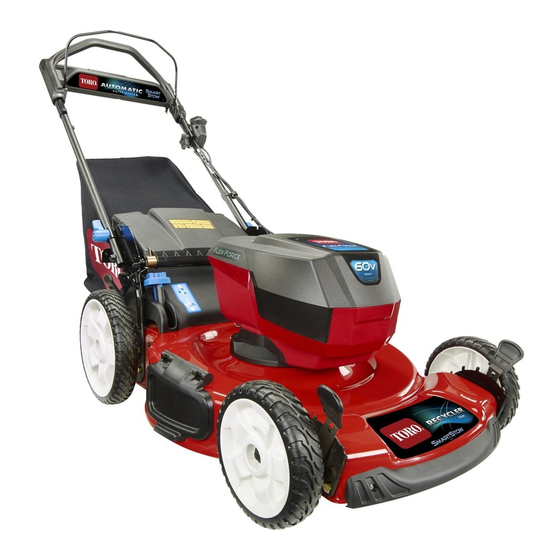
- Page 1 Form No. 3432-878 Rev A Flex-Force Power System ™ MAX 55cm Recycler ® Lawn Mower Model No. 21863—Serial No. 400000000 and Up Model No. 21863T—Serial No. 400000000 and Up *3432-878* A Register at www.Toro.com. Original Instructions (EN)
-
Page 2: Table Of Contents
Whenever you need service, genuine Toro parts, or Preparing the Battery Pack for additional information, contact an Authorized Service Recycling ............21 Dealer or Toro Customer Service and have the model Storage ..............21 and serial numbers of your product ready. Figure 1 Troubleshooting ............ -
Page 3: Safety
Charge the battery pack with only the battery their property. charger specified by Toro. A charger suitable for 1 type of battery pack may create a risk of fire Do not allow children to use or play with the when used with another battery pack. - Page 4 Toro [replacement] bag. caution when changing directions on slopes. Do not mow exceedingly steep slopes. Walk, never For best performance, use only genuine Toro run with the machine. replacement parts and accessories. Other replacement parts and accessories could be...
-
Page 5: Safety And Instructional Decals
Do not dispose of the battery in a fire. The battery pack above 68°C (154°F) or incinerate cell may explode. Check with local codes for it. Replace the battery pack with a genuine Toro possible special disposal instructions. battery pack only; using another type of battery pack may cause a fire or explosion. - Page 6 decal140-1328 140-1328 1. Warning—read the 4. Thrown object Operator’s Manual. hazard—keep bystanders away; shut off the engine and wait for all moving decal112-8760 parts to stop before 112-8760 leaving the machine; pick up debris before mowing. 1. Thrown object hazard—keep bystanders away. 2.
- Page 7 decal137-9196 137-9196 1. Lock 2. Unlock decal137-9461 137-9461 1. Battery charge status...
-
Page 8: Setup
Setup Note: The battery pack is not fully charged when it is purchased. Before using the machine for the first time, refer to Charging the Battery Pack (page 17). Mounting the Battery Charger (Optional) Parts needed for this procedure: Mounting hardware (not included) Procedure g247359 If desired, mount the battery charger securely on a... -
Page 9: Unfolding The Handle
Unfolding the Handle No Parts Required Procedure WARNING Unfolding the handle improperly can damage the cables, causing an unsafe operating condition. • Do not damage the cable(s) when folding or unfolding the handle. • Ensure that the cable(s) are routed to the outside of the handle. •... -
Page 10: Assembling The Grass Bag
Assembling the Grass Bag No Parts Required Procedure g230447 Figure 4... -
Page 11: Product Overview
Product Overview g292995 Figure 7 2. Battery pack model 81860 1. Battery charger (included with Model 21863) (included with Model 21863) Specifications Appropriate Temperature Ranges Charge/store the battery pack 5°C (41°F) to 40°C (104°F)* Use the battery pack at -30°C (-22°F) to 49°C (120°F)* Use the machine at 0°C (32°F) to 49°C (120°F)* *Charging time will increase if you do not charge the... -
Page 12: Before Operation
Operation Before Operation Installing the Battery Pack Important: Operate the battery pack only in temperatures that are within the appropriate range; refer Specifications (page 11). Make sure that the vents on the battery are clear of any dust and debris. Lift up the battery-compartment lid (A of Figure Line up the cavity in the battery pack with the tongue on the machine and slide the battery pack into the... -
Page 13: Adjusting The Cutting Height
Adjusting the Cutting Height Adjust the cutting height as desired. Set all wheels to the same cutting height (Figure g254131 Figure 9 During Operation Starting the Machine Ensure that the battery pack is installed in the machine; refer to Installing the Battery Pack (page 12). -
Page 14: Using The Self-Propel Drive
Using the Self-Propel Drive Simply walk with your hands on the upper handle and your elbows at your sides, and the machine will automatically keep pace with you (Figure 11). g233423 Figure 11 Note: If the machine does not freely roll backward after self-propelling, stop walking, hold your hands in place, and allow the machine to roll a couple of centimeters (inches) forward to disengage the wheel drive. -
Page 15: Operating The Bag-On-Demand Lever
Removing the Grass Bag To remove the bag, reverse the steps in Installing the Grass Bag (page 14). Operating the Side-Discharging the Bag-on-Demand Lever Clippings The bag-on-demand feature allows you to either Use the side discharge for cutting very tall grass. collect or recycle grass and leaf clippings while the If the grass bag is on the machine and the grass bag is attached to the machine. -
Page 16: Shutting Off The Machine
For best performance, install a new blade before the cutting season begins. Note: Whenever you are not using the machine, • Replace the blade when necessary with a Toro remove the battery pack. replacement blade. Cutting Grass • Cut only about a third of the grass blade at a time. -
Page 17: After Operation
After Operation Indicator Indicates light No battery pack inserted Charging the Battery Pack Green Battery pack is charging blinking Important: The battery pack is not fully charged Green Battery pack is charged when you purchase it. Before using the tool for the first time, place the battery pack in the charger Battery pack and/or battery charger is over or under the appropriate temperature range... -
Page 18: Cleaning Under The Machine
Cleaning under the Machine Cleaning under the Machine in the Vertical-Stow Position Service Interval: Before each use or daily Set the machine in the vertical-stow position; refer to Storing the Machine in the Vertical-Stow Cleaning under the Machine Using Position (page 19). -
Page 19: Storing The Machine In The Vertical-Stow Position
g251585 Figure 21 Fold the handle fully forward. Important: Route the cables to the outside of the handle knobs as you fold the handle. Engage the handle locks. Lift the front of the machine by the handle and move it into a storage space (Figure 22). -
Page 20: Maintenance
Maintenance Remove the electric-start button and battery pack from the machine before maintaining or cleaning the machine. Use only the manufacturer’s recommended replacement parts and accessories. Inspect and maintain the machine regularly. Have the machine repaired only by an Authorized Service Dealer. -
Page 21: Adjusting The Self-Propel Drive
Do not attempt to destroy or disassemble the battery pack or remove any of its components. Contact your local municipality or your authorized Toro distributor for more information on how to responsibly recycle the battery. -
Page 22: Troubleshooting
Troubleshooting Perform only the steps described in these instructions. All further inspection, maintenance, and repair work must be performed by an authorized service center or a similarly qualified specialist if you cannot solve the problem yourself. Problem Possible Cause Corrective Action The machine does not start. - Page 23 Problem Possible Cause Corrective Action The machine is producing a beeping 1. The battery pack is not charged. 1. Remove the battery pack from the sound. machine and charge it. 2. The machine is in an unsafe position 2. Ensure that the machine is not at an for operation.
- Page 24 The Toro Company (“Toro”) respects your privacy. When you purchase our products, we may collect certain personal information about you, either directly from you or through your local Toro company or dealer. Toro uses this information to fulfil contractual obligations - such as to register your warranty, process your warranty claim or to contact you in the event of a product recall - and for legitimate business purposes - such as to gauge customer satisfaction, improve our products or provide you with product information which may be of interest.