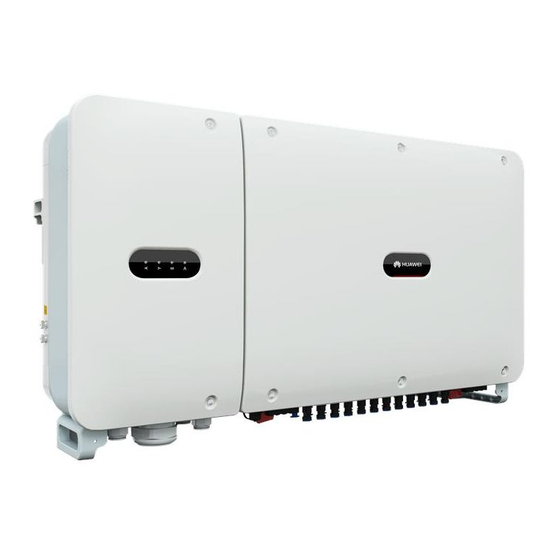
Huawei SUN2000-90KTL Series Quick Manual
Hide thumbs
Also See for SUN2000-90KTL Series:
- User manual (139 pages) ,
- Quick manual (19 pages) ,
- User manual (129 pages)
Summary of Contents for Huawei SUN2000-90KTL Series
- Page 1 SUN2000-(90KTL, 95KTL, 100KTL, 105KTL) Series Quick Guide Issue: 08 Part Number: 31509903 Date: 2020-03-15 HUAWEI TECHNOLOGIES CO., LTD.
- Page 2 Before installing the device, read the user manual carefully to get familiar with product information and safety precautions. Huawei shall not be liable for any consequences caused by the violation of the storage, transportation, installation, and operation regulations specified in this document and the user manual.
-
Page 3: Installation Requirements
Installation Requirements Angle Space Recommended: 600 mm ≤ bottom space ≤ 730 mm Dimensions Installing the SUN2000 • The M12x40 bolt assemblies are delivered with the SUN2000. If the bolt assembly length does not meet the installation requirements, prepare M12 bolt assemblies by yourself and use them together with the delivered M12 nuts. - Page 4 1. Install the mounting bracket. You are advised to apply anti-rust paint on the hole positions for protection. 2. For the SUN2000-90KTL-H2 used in Australia, install the delivered screw for locking each DC switch. 3. Install the SUN2000 on the mounting 4.
-
Page 5: Electrical Connections
Electrical Connections Connect cables in accordance with the local installation laws and regulations. Preparing Cables No. Cable Type Recommended Outer Conductor Diameter Cross- Sectional Area ≥ 16 mm PE cable Outdoor copper cable and M8 OT/DT terminals (Optional) Tracking Three-core outdoor copper cable 6 mm 14–18 mm system power cable... -
Page 6: Opening The Maintenance Compartment Door
Installing the PE Cable (on the Enclosure) Reserved PE point • It is recommended that the PE cable be connected to a nearby PE point. Connect the PE points of all SUN2000s in the same PV array to ensure equipotential connections to PE cables. -
Page 7: Installing The Ac Output Power Cable
Installing the AC Output Power Cable • This document introduces how to install the four-core AC output power cable, which can be a reference for installing the three-core cable. The three-core cable does not need a PE cable installed in the maintenance compartment. •... -
Page 8: Installing The Dc Input Power Cable
Installing the DC Input Power Cable The SUN2000 provides 12 DC input terminals, which are controlled by its two DC switches. DC SWITCH 1 controls DC input terminals 1–6 (MPPT1–3) and DC SWITCH 2 controls DC input terminals 7–12 (MPPT4–6). When DC inputs are not fully configured, the input terminals should meet the following requirements: 1. - Page 9 Amphenol UTX PV Connectors Crimp the metal contacts using crimping tool UTXTC0003 (Amphenol, recommended) or UTXTC0002 (Amphenol). Positive connector Positive metal contact UTXTC0003 (Amphenol) Negative Ensure that the cable connector Click Negative metal contact cannot be pulled out after being crimped. Ensure that the DC voltage locking nut is...
-
Page 10: Installing The Rs485 Communications Cable
Installing the RS485 Communications Cable 1. When routing the communications cable, separate it from power cables and connect the shield layer to the ground point to prevent communication from being affected. 2. The RS485 communications cable can connect to a terminal block or an RJ45 network port. Select one in actual installation. - Page 11 Connecting to an RJ45 Network Port Definition Definition 1, 4 2, 5 RS485A, RS485 differential signal+ RS485B, RS485 differential signal– After the RS485 communications cable is installed, seal the cable gland. (Optional) Installing the Tracking System Power Cable • The tracking system should be equipped with an overcurrent protective device/component. The power cable between the device/component and wiring terminal should be no longer than 2.5 m.
-
Page 12: Closing The Maintenance Compartment Door
After the tracking system power cable is installed, seal the cable gland. Closing the Maintenance Compartment Door 1. Install the cover and adjust the support bar. 2. Close the maintenance compartment door. If the screws on the enclosure door are lost, obtain the spare screws from the fitting bag tied at the enclosure bottom. -
Page 13: Verifying Installation
Verifying Installation Acceptance Criteria The SUN2000 is installed correctly and securely. The DC switches and downstream AC switch are set to OFF. All cables are connected correctly and securely. Used cable glands are sealed and sealing nuts are tightened. Unused terminals and ports are locked by watertight caps. The installation space is proper, and the installation environment is clean and tidy, without foreign matter. - Page 14 QR code to download and install the FusionSolar app. The app version is 2.5.7 (Android) or later. • SUN2000 app: Log in to Huawei AppGallery (https://appstore.huawei.com), search for SUN2000, and download the app installation package. Alternatively, scan the QR code (https://solar.huawei.com/~/media/Solar/APP/SUN2000.apk)
- Page 15 Scenario in Which the SUN2000 Is Connected to the FusionSolar Hosting Cloud 1. Run the FusionSolar app and tap Device Commissioning. With Network Access Without Network Access 2. Log in to access the Device Commissioning screen. • When the WLAN connection is used, the initial name of the WLAN hotspot is Adapter-WLAN module SN, and the initial password is Changeme.
- Page 16 • Use the initial password upon first power-on and change it immediately after login. To ensure account security, change the password periodically and keep the new password in mind. Not changing the initial password may cause password disclosure. A password left unchanged for a long period of time may be stolen or cracked.
- Page 17 Huawei Technologies Co., Ltd. Huawei Industrial Base, Bantian, Longgang Shenzhen 518129 People's Republic of China www.huawei.com...


