DeWalt DCD931 User Manual
Xr li-ion
Hide thumbs
Also See for DCD931:
- Original instructions manual (29 pages) ,
- Original instructions manual (157 pages)
Table of Contents
Advertisement
Quick Links
Advertisement
Table of Contents

Related Manuals for DeWalt DCD931


Summary of Contents for DeWalt DCD931
- Page 1 DCD931 DCD936 DCD980 DCD985 www.
-
Page 2: Definitions: Safety Guidelines
ENG LIS H Vibration emission value a Screwdriving < 2.5 < 2.5 < 2.5 < 2.5 m/s² Uncertainty K = m/s² The vibration emission level given in this information An estimation of the level of exposure to sheet has been measured in accordance with a vibration should also take into account standardised test given in EN 60745 and may be the times when the tool is switched off... -
Page 3: Ec Declaration Of Conformity
2) ELECTRICAL SAFETY Power tool plugs must match the outlet. Never modify the plug in any way. Do DCD931, DCD936, DCD980, DCD985 not use any adapter plugs with earthed WALT declares that these products described (grounded) power tools. Unmodified plugs... - Page 4 ENG LIS H wrench or a key left attached to a rotating be performed. Use of the power tool for part of the power tool may result in personal operations different from those intended injury. could result in a hazardous situation. Do not overreach.
-
Page 5: Residual Risks
E N G L I S H hearing loss. Temporary hearing loss or serious WARNING: Shock hazard. Do not allow ear drum damage may result from high sound any liquid to get inside charger. Electric levels generated by hammerdrilling. shock may result. •... -
Page 6: Charging Process
ENG LIS H the charger in a position away from any heat Charging Process source. Refer to the table below for the state of charge of • Do not operate charger with damaged cord the battery pack. or plug — have them replaced immediately. State of charge •... -
Page 7: Battery Pack
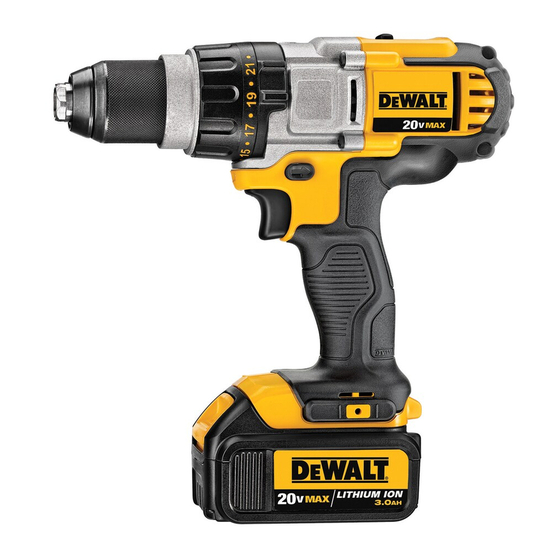
• Charge the battery packs only in designated BATTERY TYPE WALT chargers. The DCD931 and DCD936 operate on 14.4 volt • DO NOT splash or immerse in water or other battery packs. liquids. The DCD980 and DCD985 operate on 18 volt •... -
Page 8: Package Contents
1 cordless midhandle drill driver • This product is not intended for use by persons (DCD980, DCD931) (including children) suffering from diminished physical, sensory or mental abilities; lack of 1 Li-Ion battery pack (M1, L1 models) - Page 9 E N G L I S H To actuate the fuel gauge, press and hold the fuel Mains Plug Replacement gauge button (o). A combination of the three green (U.K. & Ireland Only) LED lights will illuminate designating the level of charge left.
- Page 10 ENG LIS H The center position of the control button locks the adjustment collar (e) are numbers. These numbers tool in the off position. When changing the position are used to set the clutch to deliver a torque range. of the control button, be sure the trigger is released. The higher the number on the collar, the higher the torque and the larger the fastener which can be NOTE: The first time the tool is run after changing...
-
Page 11: Operation
E N G L I S H To release the accessory, repeat Steps 1 and 2 Proper hand position requires one hand on the main above. handle (n), with the other hand on the side handle (h). Be sure to tighten chuck with one hand on the chuck sleeve and one hand holding the tool for Drill Operation (fig. -
Page 12: Maintenance
ENG LIS H NOTE: Use the lowest torque setting required to seat the fastener at the desired depth. The lower the number, the lower the torque output. 2. Rotate the mode control collar (f) so the screw Lubrication symbol is aligned with the arrow. Your power tool requires no additional lubrication. -
Page 13: Rechargeable Battery Pack
ENG LIS H Should you find one day that your D WALT product GUARANTEE needs replacement, or if it is of no further use to you, do not dispose of it with household waste. Make this WALT is confident of the quality of its product available for separate collection.