Advertisement
Quick Links
Advertisement

Related Manuals for Beko VRR 60110 VW


Summary of Contents for Beko VRR 60110 VW
- Page 1 VRR 60110 VW ROBOT VACUUM CLEANER 2-in-1 WITH MOP QUICK INSTALLATION EN - FR - RO - PL - FI...
- Page 2 9,5 cm EN / The height of the items from the ground should be 9.5 cm. Refer EN / Keep things in the house organized and remove any cables, toys, user manual of the product for lower furniture. etc. around. FR / La hauteur des articles par rapport au sol doit être de 9,5 cm.
- Page 3 EN / - It is recommended to place the charging unit in front of the wall and remove EN / Remove the protective sponges. the obstacles within a distance of 1-2 meters. - Attach the lead of the charging adapter to the charging dock. FR / - Il est recommandé...
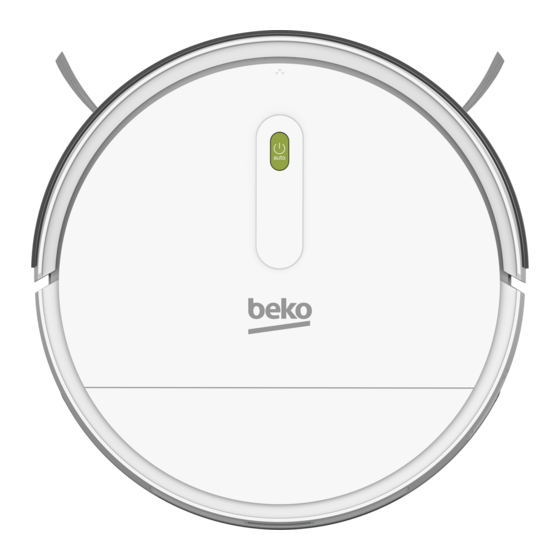
- Page 4 EN / EN / When the device is not in the charging station; Then press the “AUTO” button once. Before proceeding to the next - Press the power button (1/0) next to the device. step,wait for the light on the “AUTO” button to turn solid. FR / FR / "AUTO".
- Page 5 To use it with the mobile app, download the app from Google Play or the App Store based on the app name specified under the QR code on the product. (Beko Robot) FR / Pour utiliser votre aspirateur robot avec EN / Press and hold the “AUTO”...
- Page 6 EN / Enter your e-mail address and then click ''get a security code''. After clicking, please check your e-mail box to find the code. While waiting for the code, you can create your password* and accept agreements. *Password should include 6-18 characters with letters and numbers.
- Page 7 EN / When the robot is not on the charging station; - Press and hold the 'Auto' button until you hear the beep for the second time. - The robot is now in pairing mode and the blue light is flashing. - Then click the operation completed box below and proceed to the next step.
- Page 8 EN / If you are having Wi-Fi connection problems with Robot vacuum cleaner, repeat the process steps by activating the ‘Manual Connection’ with the options button (…) in the upper right corner of the screen in the Wi-Fi configuration phase. FR / Si vous rencontrez des problèmes de connexion au Wi-Fi avec votre aspirateur robot, répétez les étapes du processus en prenant le soin...
- Page 9 RO / Func ii în aplica ia mobilă: • Start: Activa i dispozitivul pentru a ini ia cură area. • Reîncărcare: Trimite robotul la sta ia de încărcare. • Setări de cură are: Aceasta este sec iunea în care pute i seta modul de cură...
- Page 10 EN / Cleaning Modes FR / Modes de nettoyage PL / Tryby odkurzania RO / Moduri de cură are FI / Puhdistustilat EN / • Intensive: The robot operates two laps of cleaning by f EN / • Auto: The robot cleans the entire area following a zigzag ollowing a zigzag route.
- Page 11 EN / Cleaning Modes FR / Modes de nettoyage PL / Tryby odkurzania RO / Moduri de cură are FI / Puhdistustilat EN / • Edge: The robot cleans by following the walls of your home or EN / • Area: The robot cleans an area of 2m*2m, including its point room.
- Page 12 EN / Under the profile menu; EN / Cleaning Modes FR / Modes de nettoyage PL / Tryby odkurzania • In the Messages section, you can view notifications that RO / Moduri de cură are FI / Puhdistustilat the robot has started cleaning, and information and details if there is an error.
- Page 13 EN / Press the “AUTO” button on the device to start the cleaning. EN / You can operate your device in three ways after charging FR / Appuyez sur le bouton "AUTO" de l'appareil pour lancer le nettoyage. FR / Vous pouvez utiliser votre appareil de trois manières différentes après la charge.
- Page 14 RO / Apăsa i butonul ” ON/ OFF” de pe telecomandă pentru a începe RO / Da i click pe "Start" din aplicatia Beko Robot. cură area. PL / Naciśnij przycisk „WŁ/WYŁ” na pilocie, aby rozpocząć odkurzanie. PL / Uruchom robota i rozpocznij odkurzanie za pomocą...
- Page 15 EN / Turn the appliance upside down. Place the EN / Attach the mop attachment to the cloth EN / Open the water container lid, fill it mop attachment ducts on the ducts found on duct and stretch the mop cloth to fix it on the with water and closec the lid.
- Page 16 EN / The mobile app screen shows the areas swept by the robot. This area information is not a map record, the map record is not kept on the application. With each cleaning process, the area scanning starts over. FR / L'écran de l'application mobile montre les zones nettoyées par le robot. Cette information sur la zone n'est pas un enregistrement cartographique, l'enregistrement cartographique n'est pas conservé.