Advertisement
Quick Links
Advertisement

Summary of Contents for Haier HWO60S14TPB2
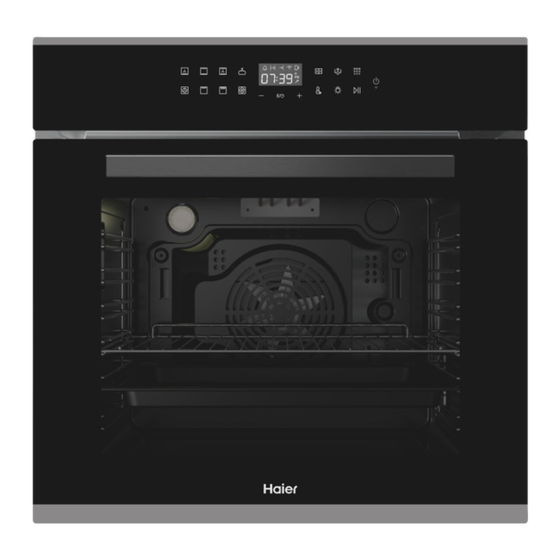
- Page 1 Built-in Oven HWO60S14TPB2 60cm INSTALLATION AND USER GUIDE NZ AU...
-
Page 2: Table Of Contents
CONTENTS SAFETY INSTRUCTIONS Mains lead of adjacent appliances may be damaged by hobs or stuck between the oven doors, and produce short circuit, therefore keep them at safe distance from the Safety instructions appliance. How to save energy Never put pans weighing over 15kg on the opened door of the oven. Packaging Do not use the oven in the event of a technical fault. -
Page 3: How To Save Energy
DESCRIPTION OF THE APPLIANCE HOW TO SAVE ENERGY Using energy in a responsible way not only saves money but also helps the environment. So let's save energy! And this is how you can do it: Make use of residual heat from the oven. If the cooking time is greater than 40 minutes, switch off the oven 10 minutes before the end time. -
Page 4: Installation
INSTALLATION Electrical connection Installing the oven The kitchen should be dry and have effective ventilation according to the existing technical Warning! provisions. All electrical work must be carried out by a qualified and authorized electrician. Remove any packaging materials (foils, artificial foam, plastics nails, etc.) from the reach of Before attempting the connection, check whether the voltage indicated on the rating plate children, because they represent potential danger. -
Page 5: Operation
OPERATION Before first use Remove packaging, clean the interior of the oven with soft damp cloth and warm water and allow to dry. Take out and wash the oven accessories with warm water and a little washing-up liquid and dry thoroughly. Switch on the ventilation in the room or open a window. - Page 6 Cook function operation Time/Temperature Display Select the cooking function. Timer Cook Time Set the temperature. Set the cooking time (if desired). End of cooking time WIFI connection Status Press Play/pause to start Remote mode Probe connection The oven will display the current temperature as it heats up. Time/Temperature Adjustment Cooking functions Clock Function...
- Page 7 Note: Opening the oven door at any point during normal cooking operation will pause Air fry the active function. The function will automatically restart when you close the door. Use this function with the supplied tray to air fry your food. The rear high-speed convection Auxiliary Functions fan heats the oven up faster and more evenly.
- Page 8 Remote Mode Pyrolytic Self-clean To enable remote operation of the oven via the app, after successful wifi connection, Use this mode to break down food residue for an easy clean. press and hold the Rapid heat button for 2 seconds. The duration of this function can be set to 75, 90 or 120 minutes depending on the level When remote operation has successfully been enabled, the Remote mode icon will...
- Page 9 BAKING IN THE OVEN Key Lock The oven is equipped with a safety key lock function to lock the controls when the oven Please note: is operating. The cooking advice given in the following tables is approximate and can be adjusted based on your previous experience and cooking preferences.
- Page 10 Pastry Baking Table Roasting Use the bake or fan bake oven function for best results. Type of pastry Guide level Temp Guide level Baking time ℃) ℃) Roasting tips (see “Oven (see “Oven (in min.) shelf guide shelf guide For best results, use light enamel trays, oven proof glassware, clay or cast-iron cookware. levels”) levels”) Covering your roast or wrapping it in foil will preserve the juices as well as keep the oven...
- Page 11 Roasting Table Grilling Intensive heat from the infrared element makes the oven and its accessories extremely hot. Weight Temp Temp Roasting Guide level Guide level Type of meat Use oven gloves and appropriate grilling utensils. (see “Oven time (in grams) (see “Oven (℃)...
- Page 12 CLEANING AND MAINTENANCE Grilling Table Replacing the oven light bulb Type of meat Temp Weight Guide level Roasting time Unscrew the glass protective cover. Once removed, we recommend washing and (in grams) (see “Oven (in min.) drying the cover before replacing it. shelf guide Carefully remove the old bulb and insert the new bulb suitable for high temperatures levels”)
- Page 13 Troubleshooting Door removal In the event of an emergency, you should: In order to gain easier access to the oven cavity for cleaning and maintenance purposes, the door can be removed. Switch off the power to the oven from the mains. To remove the door, first tilt the safety catch part of the hinge upwards.
- Page 14 You must produce both warranty card and proof of purchase in the event of a warranty repair being Model HWO60S14TPB2 required. When you purchase any new Haier Product you automatically receive a two year Manufacturer's Warranty Rated voltage AC220-240V covering parts and labour for servicing.
- Page 15 This information is needed in order to better respond to your request for assistance. Product Details Model ------------------------------------------------- Serial No. ------------------------------------------------------------ Date of Purchase------------------------------------ Purchaser------------------------------------------------------------- Dealer------------------------------------------------- Suburb----------------------------------------------------------------- Town-------------------------------------------------- Country---------------------------------------------------------------- Thank you for choosing Haier. We are confident that you will enjoy many years of good service from your appliance.


