Manfrotto MKCOMPACTACN-BK, MKCOMPACTACN-WH, MKCOMPACTACN-RD - Tripod Manual
Also See for MKCOMPACTACN-BK:
- Instructions for use (2 pages) ,
- Instructions manual (7 pages)
Advertisement
Table of Contents
Contents
Manfrotto MKCOMPACTACN-BK, MKCOMPACTACN-WH, MKCOMPACTACN-RD - Tripod Manual
INTRODUCTION

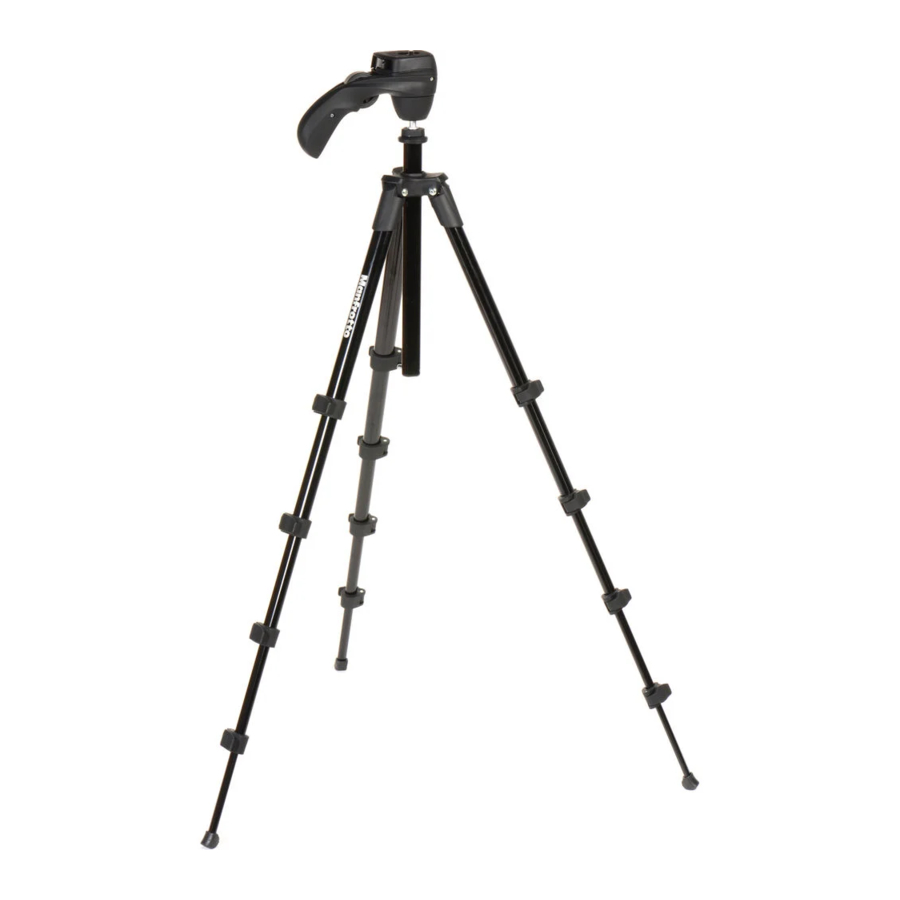
This tripod is designed for use with digital photo and video cameras, and has a unique hybrid photo/video ball head.
The tripod is extremely compact and lightweight, making it easy to carry and transport.
BEFORE USE

- Remove the tripod from its fabric bag.
- Stand the tripod by unfolding its legs (1). Unlock the head by rotating the locking dial backwards (2), bring the head to a horizontal position (3) and turn the locking dial towards the front to re-lock the head (4).
HOW TO ATTACH YOUR CAMERA TO THE HEAD

- Open lever (1) and take the round quick release plate out from the centre space at the top of the head (2).
- Screw the plate to your camera's ¼" thread, turning it clockwise to tighten.
![warning]() SONY NEX 5R/5T: for improved performance with this model of camera, it is best to use the specifically designed adaptor included with your tripod. Position the adaptor underneath the camera, ensuring the hole is positioned to allow access to the tripod mount. Ensure also that the arrows on the adaptor are facing the direction of the lens and then attach the quick release plate using the ¼" universal screw.
SONY NEX 5R/5T: for improved performance with this model of camera, it is best to use the specifically designed adaptor included with your tripod. Position the adaptor underneath the camera, ensuring the hole is positioned to allow access to the tripod mount. Ensure also that the arrows on the adaptor are facing the direction of the lens and then attach the quick release plate using the ¼" universal screw.
![warning]() **COMPACT CAMERAS with tripod thread in off-centre position: to guarantee the declared performance, the ¼ thread of your camera must be at a minimum distance of 13 mm from the lateral edge.
**COMPACT CAMERAS with tripod thread in off-centre position: to guarantee the declared performance, the ¼ thread of your camera must be at a minimum distance of 13 mm from the lateral edge. - Put the camera on the head so that the plate slots back into its hole at the top of the head (1) and close the lever (2).
![warning]() When the camera is attached to the head, the following situations can arise:
When the camera is attached to the head, the following situations can arise: - The lever closes easily, but the camera is not stable: reopen the lever (1), turn the regulating dial towards the bottom/+ (2), then close the lever again.
- The lever is too tight to close: reopen the lever (1), turn the regulating dial towards the top/- (2), then close the lever again.
Repeat these steps until the lever closes perfectly and the camera is firmly held on the head.
 SONY NEX 5R/5T: for improved performance with this model of camera, it is best to use the specifically designed adaptor included with your tripod. Position the adaptor underneath the camera, ensuring the hole is positioned to allow access to the tripod mount. Ensure also that the arrows on the adaptor are facing the direction of the lens and then attach the quick release plate using the ¼" universal screw.
HOW TO REGULATE THE HEIGHT OF THE TRIPOD

- To adjust the height of the tripod, each leg has telescopic sections that can be released and extended: open the lever on the leg locking collar, slide the inner section in or out until the desired extension is reached, then close the locking lever again. Leg sections should be extended in order, from top to bottom (widest section first, narrowest section last), to reach the required tripod height. Using predominantly the leg sections with larger diameters makes the tripod more stable.
- To improve stability, the tripod's centre column should be only really be used as the final means of height adjustment, or as a way of reaching the tripod's maximum extension. To extend it, unlock the knob, turn it anti-clockwise to release the column (1), then pull the column upwards to the desired height (2).
- To lock the centre column at the desired height, close the knob by turning it clockwise.
HOW TO USE THE HEAD: PHOTO AND VIDEO FUNCTIONS


- and
- The head can be used for photography or video. In general, the main difference is that, when shooting video, you will want to avoid the camera tilting sideways so that you can stabilise any panoramic movements you choose to make. This allows you to follow a moving subject more accurately or make a pan across the landscape that stays horizontal in-camera. The head has a special video setting that ensures the camera remains horizontal during such movements. On the other hand, totally free movement against all axes is usually preferred for photography, since this allows any frame or composition to be captured, and the camera to be rotated to portrait orientation.
- To use the PHOTO setting, turn the selector anti-clockwise to a horizontal position.
- To use the VIDEO setting, turn the selector clockwise to a vertical position.
![warning]() When you wish to swap from PHOTO to VIDEO setting, please first ensure that the handle is positioned as shown in fig. 13 (1), the rotate the selector to the VIDEO (2) position. This is how the head is supplied.
When you wish to swap from PHOTO to VIDEO setting, please first ensure that the handle is positioned as shown in fig. 13 (1), the rotate the selector to the VIDEO (2) position. This is how the head is supplied.
AFTER USE

- Fold the tripod's legs back into the centre (1). Reclose the head by turning the dial (2) backwards, and then positioning the head vertically (3).
- Return the tripod to its fabric bag.
- The bag can also be used as a practical shoulder bag for transporting the tripod quickly and easily.

Documents / ResourcesDownload manual
Here you can download full pdf version of manual, it may contain additional safety instructions, warranty information, FCC rules, etc.
Download Manfrotto MKCOMPACTACN-BK, MKCOMPACTACN-WH, MKCOMPACTACN-RD - Tripod Manual
Advertisement
Thank you! Your question has been received!


Need Assistance?
Do you have a question about the MKCOMPACTACN-BK that isn't answered in the manual? Leave your question here.