Logitech BRIO 500 - 1080p Webcam with Privacy Cover Manual
- Setup manual (234 pages) ,
- Setup manual (42 pages) ,
- Setup manual (234 pages)
Advertisement
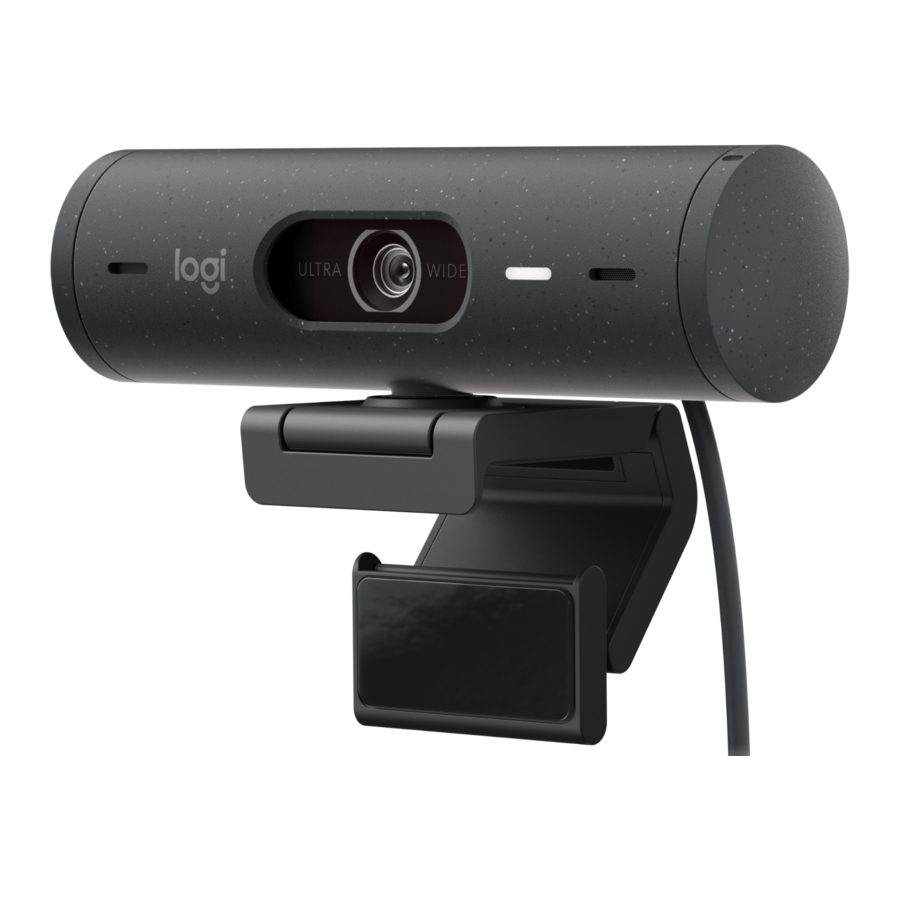
KNOW YOUR PRODUCT
BRIO 500 FRONT VIEW WITH FUNCTION INDICATIONS

MOUNT DESIGN OVERVIEW

Micro-suction pad
Micro-suction pad allows the mount to stay securely attached to your monitor This removable pad leaves no residue and can be cleaned with water.
WHAT'S IN THE BOX

- Webcam with attached USB-C cable
- Mount clip with removable mount adaptor
- User documentation
DETERMINE MOUNT PLACEMENT
Placement to allow one-handed camera adjustments (using micro-suction pad)
- Determine the best placement for your webcam before continuing.
- Wipe the back of your monitor to clear any dust or dirt.
![]()
- Remove the protective film from the micro-suction pad.
![]()
- Open the mount fully and place on top of your monitor, being sure that the pad of the front clip makes contact with the front of the monitor.
- Rotate the rear foot down until it makes contact with the back of the monitor.
- Press the micro-suction pad to the back of your monitor firmly to create a good bond.


Note:
- The mount adaptor can be removed and reused for mounting adjustments without leaving residue.
- To clean the micro-suction pad, rinse with water to remove debris, and let it air dry in order to regain strong suction.
(Optional) Placement without the micro-suction pad
Slide the removable mount adapter down to remove it from the webcam foot Adjust the foot on the mounting clip until it is flush with the back of your device and press firmly in place.

MOUNT ADAPTOR REMOVAL AND CLEANING
- Remove the webcam from mount and gently peel the adaptor from one corner to remove.
![]()
- With a wet finger gently rub the pad clear of dust and dirt and let the micro-suction pad air dry completely before remounting (do not use cloth or tissue to dry).
![]()
- Repeat the monitor placement setup steps to best deploy your webcam.


ATTACH CAMERA TO THE MOUNT
Place the webcam into the magnet attachment point on top of the mount Listen for an audible click indicating the webcam is properly seated on the mount.

CONNECT THE WEBCAM VIA USB-C & GET STARTED
- Plug the USB-C connector into the USB-C port on your computer, monitor, laptop, or docking station.
![]()
- Rotate the dial on the right side of the webcam to open/close the privacy shutter.
![]()
- Adjust the webcam by turning side to side and tilting up and down to find the best framing for your video meetings.
![]()


SUCCESSFUL CONNECTION
LED activity light will light up when the webcam is in use by any video application.
LED activity lights:
| Video ON / Audio ON: White |  |
| Video ON / Audio OFF: White | |
| Video OFF / Audio ON: Yellow |  |
| Video OFF / Audio OFF: No light |  |
| Firmware Update: Breathing Lilac |  |
SHOW MODE
Easily show physical items in video calls by tilting the camera down to present sketches, objects, and work in progress There are two ways to use Show Mode:
- If mount is secured with micro-suction pad: Using one hand, tilt the camera down to show your desktop, and tilt back up to show yourself.

- If mount is not secured with micro-suction pad: Hold the mount still with one hand and tilt the camera up or down with the other.


LOGI TUNE
Logi Tune helps boost your webcam performance with periodic software and firmware updates.
It is recommended to update your webcam To do so, download Logi Tune from www.logitech.com/tune

ADJUSTABLE OPTIONS
- Show Mode
- Auto-framing
- Zoom adjustment
- Field of View (90°/78°/65°)
- Image adjustment
- Auto-focus
- Disable mics
- LED on/off for video and audio
![]()

ATTACH TO A TRIPOD
(OPTIONAL)
For placement on a tripod (not included)
- Rotate counterclockwise to remove the mounting screw from the bottom of the webcam.
![]()
- Locate the ¼ inch tripod thread on the bottom of the universal mounting clip.
![]()
- Secure the webcam on your tripod by twisting it into the ¼ inch thread.
![]()
- Repeat the monitor placement setup steps to best deploy your webcam.
- Please refer to sections "CONNECT THE WEBCAM VIA USB-C & GET STARTED" and "SUCCESSFUL CONNECTION" to complete your webcam setup.


DIMENSIONS
WEBCAM:
Height x Width x Depth: 1.2 in (31.5 mm) x 4.3 in (110 mm) x 1.2 in (31.5 mm)
Height x Width x Depth (incl. mount clip): 2 in (51.5 mm) x 4.3 in (110 mm) x 1.8 in (45 mm)
Weight: 4.2 oz (121 g), incl. mount clip & cable Attached Cable length: 5 ft (1.5 m)
MOUNTING CLIP:
Height x Width x Depth: 1 in (25 mm) x 1.8 in (45.8 mm) x 2.6 in (65.1 mm)
Weight: 1.4 oz (40 g), incl. Removable mount adapter
www.logitech.com/support/Brio500

Documents / Resources
References
Download manual
Here you can download full pdf version of manual, it may contain additional safety instructions, warranty information, FCC rules, etc.
Download Logitech BRIO 500 - 1080p Webcam with Privacy Cover Manual
Advertisement
Thank you! Your question has been received!


Need Assistance?
Do you have a question about the BRIO 500 that isn't answered in the manual? Leave your question here.