Sharp Conference Series Manuals
Manuals and User Guides for Sharp Conference Series. We have 7 Sharp Conference Series manuals available for free PDF download: Operation Manual
Advertisement

Advertisement
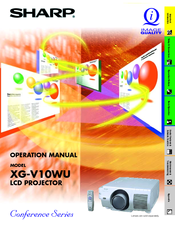
Sharp Conference Series Operation Manual (90 pages)
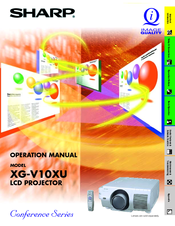
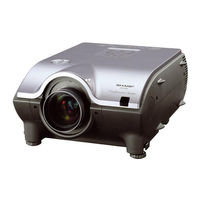
Sharp LCD Projector Operation Manual
Table of Contents
Sharp Conference Series Operation Manual (90 pages)
Sharp Operation Manual LCD PROJECTOR XG-V10XU
Table of Contents

Sharp Conference Series Operation Manual (83 pages)
Sharp Operation Manual LCD PROJECTOR XG-P20XU
Table of Contents
Advertisement