Table of Contents
Advertisement
Quick Links
q
1.
Removing the rear cover unit . . . . . . . . . . . . . . . . . . . . . . . . . . . . . . . . . . 1
2.
Removing the side cover . . . . . . . . . . . . . . . . . . . . . . . . . . . . . . . . . . . . . 1
3.
Removing the LCD unit . . . . . . . . . . . . . . . . . . . . . . . . . . . . . . . . . . . . . . 1
4.
Removing the MCR unit . . . . . . . . . . . . . . . . . . . . . . . . . . . . . . . . . . . . . . 2
5.
Fixing the HDD unit . . . . . . . . . . . . . . . . . . . . . . . . . . . . . . . . . . . . . . . . . 2
6.
Removing the AC cord . . . . . . . . . . . . . . . . . . . . . . . . . . . . . . . . . . . . . . . 3
7.
Removing the AC adapter . . . . . . . . . . . . . . . . . . . . . . . . . . . . . . . . . . . . 3
8.
Removing the Main board (Extention RAM module) . . . . . . . . . . . . . . . . 3
9.
COM port connector. . . . . . . . . . . . . . . . . . . . . . . . . . . . . . . . . . . . . . . . . 4
9-1. FIXING THE REAR DISPLAY UP-I20DP. . . . . . . . . . . . . . . . . . . . . . . . . . . 4
9-2. FIXING THE POLE DISPLAY: UP-P20DP/DPB . . . . . . . . . . . . . . . . . . . . . 4
9-3. FIXING THE DRAWER UNIT: ER-03DW/04DW . . . . . . . . . . . . . . . . . . . . . 4
10. Removing the contactless clerk key. . . . . . . . . . . . . . . . . . . . . . . . . . . . . 5
11. Specification. . . . . . . . . . . . . . . . . . . . . . . . . . . . . . . . . . . . . . . . . . . . . . . 5
Parts marked with "!" are important for maintaining the safety of the set. Be sure to replace these parts with specified
ones for maintaining the safety and performance of the set.
INSTALLATION MANUAL
CONTENTS
. . . . . . . . . . . . . . . . . . . . . . . . . . . . . . . . . . . 4
SHARP CORPORATION
CODE : 00Z
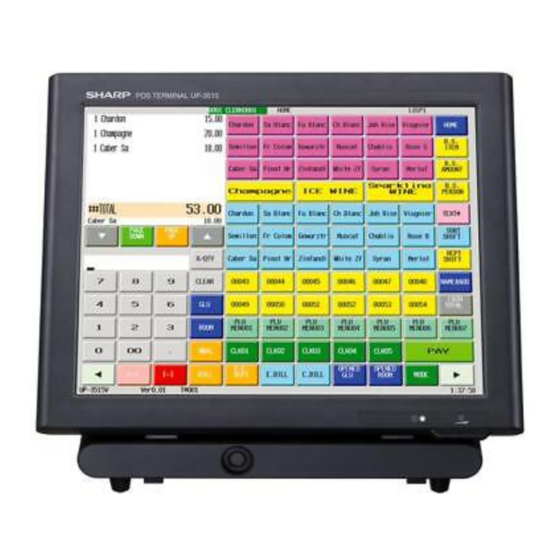
POS TERMINAL
UP-X500
MODEL
(V version)
This document has been published to be used
for after sales service only.
The contents are subject to change without notice.
UPX500VIME
Advertisement
Table of Contents

Related Manuals for Sharp UP-X500


Summary of Contents for Sharp UP-X500
-
Page 1: Table Of Contents
INSTALLATION MANUAL CODE : 00Z UPX500VIME POS TERMINAL UP-X500 MODEL (V version) CONTENTS Removing the rear cover unit ........1 Removing the side cover . - Page 2 CONSUMPTION • LCD (Back light) 15,000 h • MCR unit 300,000 pass BATTERY DISPOSAL Contains Lithium Battery. Must be Disposed of Properly. Contact Local Environmental Officials for Disposal Instructions. CAUTION RISK OF EXPLOSION IF BATTERY IS REPLACED BY AN INCORRECT TYPE. DISPOSE OF USED BATTERIES ACCORDING TO THE INSTRUCTIONS.
-
Page 3: Removing The Rear Cover Unit
3. Removing the LCD unit Precautions • Before installation, be sure to turn off the power. 3-1. Removing the top cover section • Use gloves to protect your hands from being cut by the angle and Remove each screw , and lift the rear side of the top cover the chassis. -
Page 4: Removing The Mcr Unit
3-3. Removing the LCD cabinet 3-5. Removing the touch panel 1. Remove the screw 1 . Remove the T/P angle A 2 , T/P angle B 3 , with screws 1 . 2. Use a screwdriver to catch the notched section and disassemble And disassemble the Touch panel 2 . -
Page 5: Fixing The Hdd Unit
5. Fixing the HDD unit 6. Removing the AC cord 5-1. Assembly HDD unit Remove the screw 1 , and remove the AC cord cover 2 . Remove the screws 3 , and remove the AC cover 4 . Attach the holder to the angle , and fix the assembly Disconnect the connector and remove the earth cable 5 and the AC cord. -
Page 6: Removing The Main Board (Extention Ram Module)
9-1-3. Wind the UP-I20DP harness one turn around the rib 1 , insert the connector 2 and install the rear cover unit. From 2004 February production, the sheet metal for the UP-X500 is included in the package. UP-X500I Removing the Main board... -
Page 7: Fixing The Pole Display: Up-P20Dp/Dpb
10. Removing the contactless clerk key 9-2. Fixing the pole display (UP-P20DP/DPB) Fix the cable clamp with the screw , and attach the UP-P20DP cable Remove the screw , and remove the wire holder Caution: Parts 1 , 2 , 4 , 5 are packed together with the set. Remove the screw , and remove the wire holder Remove two screws... - Page 8 COPYRIGHT 2004 BY SHARP CORPORATION All rights reserved. Printed in Japan. No part of this publication may be reproduced, stored in a retrieval system, or transmitted. In any form or by any means, electronic, mechanical, photocopying, recording, or otherwise, without prior written permission of the publisher.